

Topaz Labs Sharpen AI takes sharpening of images to a whole new level. With the newly introduced selective adjustments feature photographers can now selectively sharpen just the areas of the image that require it.
If you prefer to go directly to the software without reading click here Topaz Sharpen AI. Apply Topaz Labs Coupon Code coolwildlife15 to receive an automatic 15% discount.
This is part two of our four part review on the Topaz Utility Bundle AI which I recommend every photographer have as part of their editing kit. In part one I reviewed Topaz Denoise AI v2.0 which as the name implies is used for minimizing noise created by high ISO settings. This time I will be reviewing Topaz Sharpen AI for full image sharpening and the newly introduced selective adjustment sharpening that was just released.
The third product is Topaz Gigapixel AI which is used for upscaling images by up to 600% while totally preserving image quality. I use Gigapixel for two primary applications within my editing workflow. The first is on images where I need to crop in on the subject. Example, with my Nikon D5 at 20MP if I crop out half of the frame I am left effectively with 10MP to work with. Topaz Gigapixel AI allows me to render that image back to a resolution of my choosing up to 600% of the size.
And the final review is on JPEG to RAW AI which allows you to convert a JPEG to a RAW format which provides an enhanced editing capability that would not be possible if we were editing a JPEG image.
PRICING TIP:
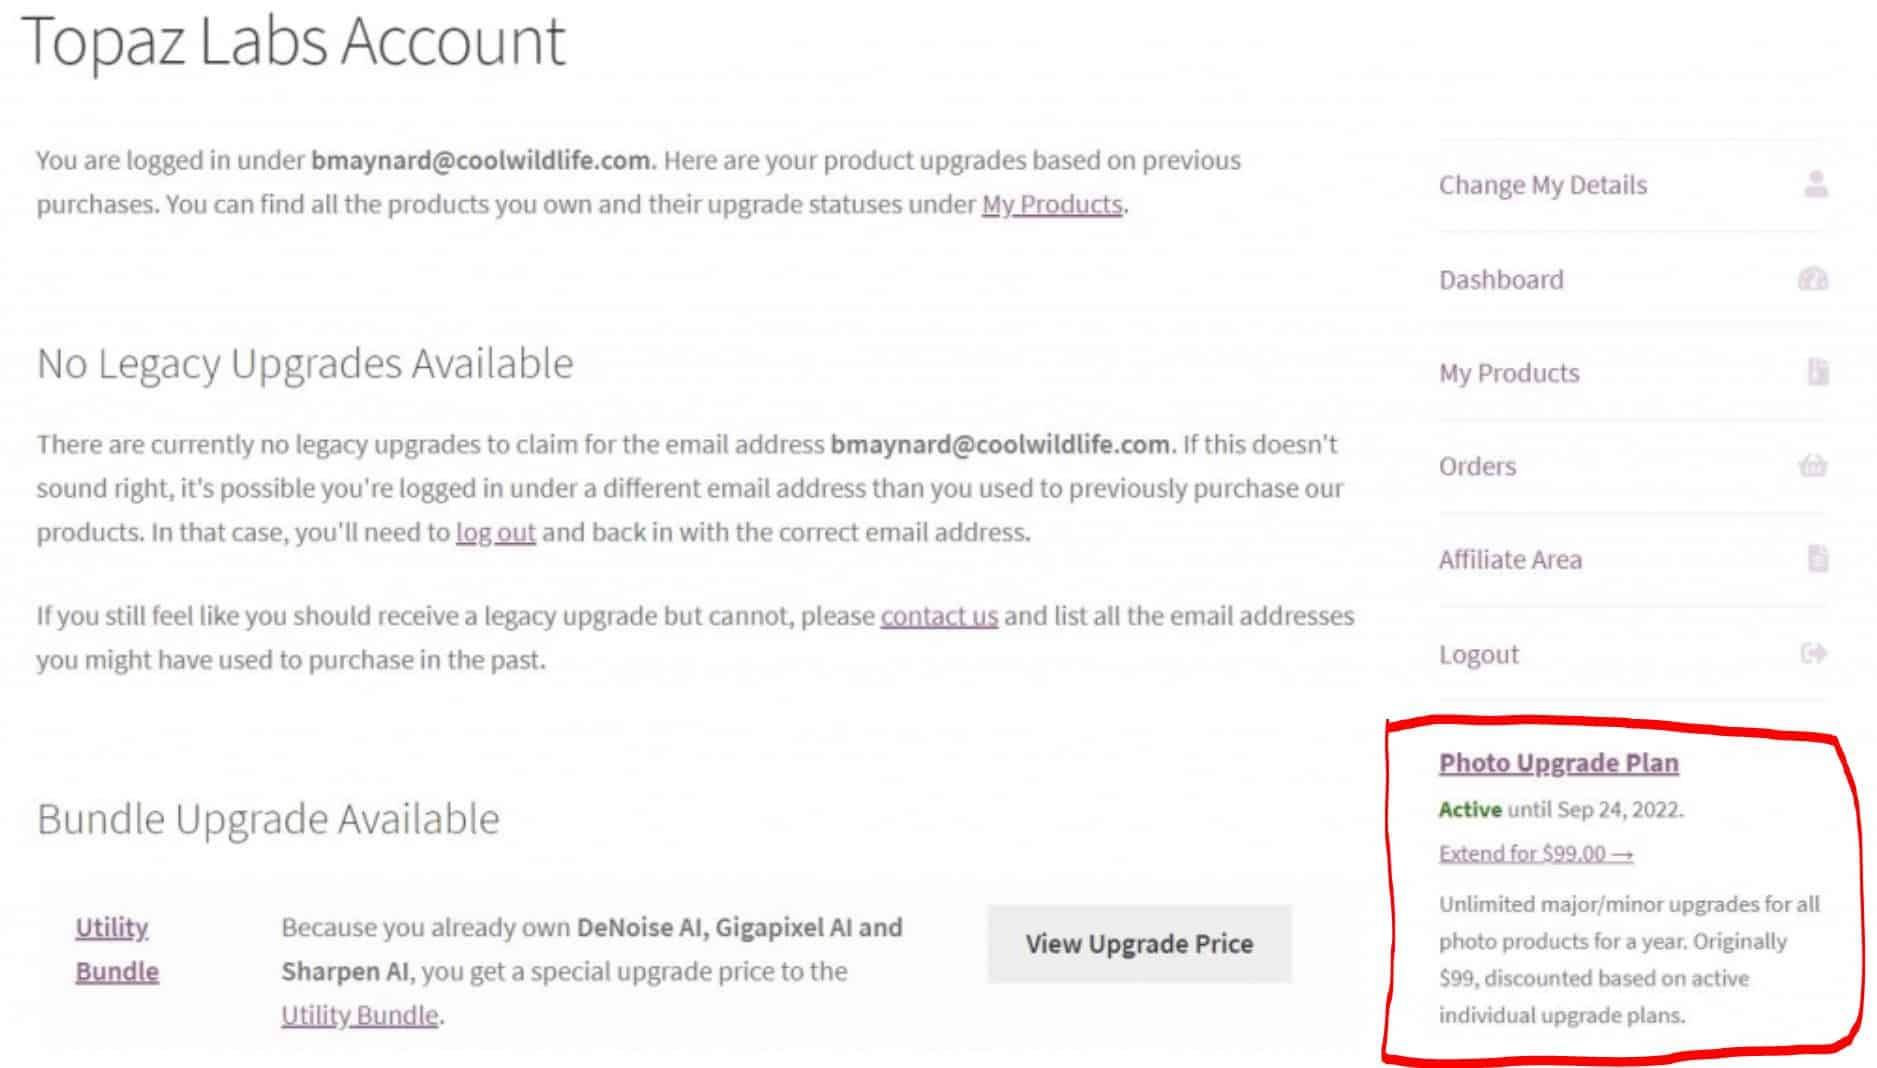
Topaz Labs now charges for upgrades to their products annually. The upgrade price is $49 USD per product. For those of you who own more than one product you will want to use the NEW Photo Upgrade Plan which is $99 USD. This allows you access to unlimited major/minor upgrades to all Topaz Labs products for a year. As the owner of every Topaz Labs product this is a huge savings for me. When you log in to to your Topaz Labs dashboard you’ll see the Photo Upgrade Plan which I have highlighted in the image below. If you apply the coolwildlife15 coupon code you’ll get the plan for $84.15.
Topaz Labs Sharpen AI Quick Start
Let’s be honest, we’ve all had those moments when you capture that once in a lifetime wildlife image and you chimp away on the back of your LCD while out in the field and it looks great. Then you get home and bring it up on your big monitor and realize the eyes are not tack sharp. Another image headed for the trash can……..or is it?
What if I told you there might be a way to rescue that National Geographic award winning soft image? That’s right, Topaz Sharpen AI just might hold the answer to your prayers unless you really missed the mark. Before we jump in to the full review there are many of you asking me questions about a new masking feature that was just introduced into Topaz Sharpen AI.
How do you use the Topaz Sharpen AI Masking Tool?
- Open Topaz Sharpen AI Stand Alone or Photoshop
- Drag or open your image
- Click on the Sharpen or Stabilize Model
- Select the masking tool
- Check the box for overlay
- Change the size of your brush with radius
- Paint in where you want to sharpen
- Adjust the sliders and click apply mask
Topaz Sharpen AI Workflow – Step By Step Guide
For those of you who prefer a detailed step by step workflow guide follow this link. I walk you through every aspect of Sharpen AI from start to finish.
The masking for selective adjustments to just the parts of your image that you wish to apply it to is a little more in depth. For that piece of the Sharpen AI walk through I created a Topaz Sharpen AI masking tool video for you to watch.
Step By Step Video
How Do You Use the Topaz Labs Sharpen AI Masking Tool?
Fast start video on how to perform your image sharpening with the new Topaz Sharpen AI Masking Tool.
NEW UPDATES V2.1.7
FREE UPGRADE & EXCITING NEW FEATURES: September, 2020 – The Topaz Labs development team appear to have been very busy these past few months to bring users of Topaz Labs Sharpen AI several new features that I have found to be very useful in my workflow. It is a free upgrade if you purchased within the last year.
Below is a list of the features that I think you’ll want to make yourself aware of.
- Auto-detect Mask – A new auto-detect mask functionality has been added for generating base masks
– The tool can now detect 20 different types of subjects including people, cars, planes, and various animals. In the image below of the wolves I selected find objects and it detected and masked every wolf in my image so I could easily sharpen just the wolves very quickly. - Auto-detect Modes – They’ve also added new auto detection for which mode to use in addition to settings.
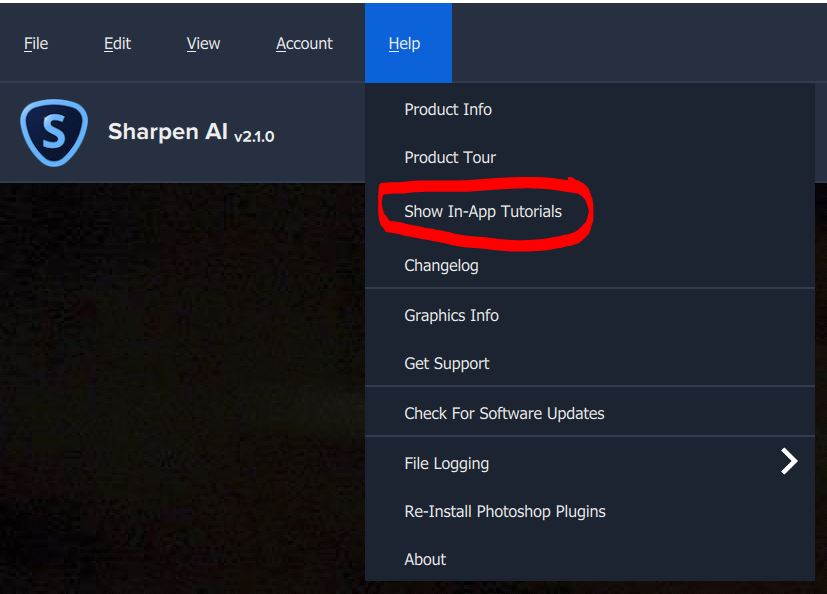
– Works like auto-detect settings, but for which mode to use on an image. I suggest you play with this feature and view the results before accepting the AI recommendation. For my wildlife images, given I use long lenses that introduce camera shake, I have always found stabilize provides me with the best results. The AI auto recommendation selected sharpen on most of my images and sharpened just a little too much for my tastes so I back it off manually to adjust sharpening to the level I prefer. - Tutorials – Tutorials have been added to provide you with a basic workflow introduction. You will now find that under the Help menu “Show In-App Tutorials” which will walk you through how to use each feature within the tool.

- Fit View Mode – Newly added to the view modes is a “fit” view mode in addition to the arbitrary zoom levels that were previously in the menu.
– Worth noting is that if you are zoomed in on large images this will degrade rendering performance. More to see is more to process.
– Minimum zoom level is the minimum of either the fit zoom level or 50%. For example, if your fit zoom level is 75% the minimum is 50%. If your fit zoom level is 20%, then that is the minimum. I prefer to use 100% as I apply the sharpening so that I can really see in detail how the sharpening is being applied and then I back it off to 50% or fit to see how it looks when rendered. - Interface Updates – The newly revised interface includes find objects, the two new auto-detect buttons and you’ll now find the masking options along the bottom.
The new version of Sharpen AI or any other Topaz Labs product can be downloaded by going to Topaz Product Downloads.

MAJOR UPDATE
FREE UPGRADE V2: March 20, 2020: The new masking tools are all part of this newly released major update. Topaz Sharpen AI has now added two highly-requested features for image sharpening, selective adjustment abilities and batch processing capabilities! Both are included in a free upgrade for those who already own the product and you can download it at Topaz Labs Sharpen AI. These new features are a big deal for all photographers but especially so for wildlife photographers when it comes to selective adjustments.
Selective Adjustments:
Hundreds of users made selective adjustments their #1 priority for the new release of Topaz Sharpen AI and Topaz delivered in a big way. As wildlife photographers we DO NOT want to overlay image sharpening across the entire image. If you are doing that let me suggest there is a better way, especially now with the addition of selective adjustments. You no longer have to create an image sharpening layer in Photoshop and brush away to leave behind only the areas you want sharpened.
The Eyes Have It:
You can now do selective image sharpening within Topaz Sharpen AI in a few easy steps. As wildlife photographers we obsess over details in our images starting with the eyes. That’s the first thing I look at when I review an image, if the eyes are not in focus I run the image through the three Topaz Sharpen AI modes to see if it can be recovered and if the answer is no the image is deleted. If the eyes are in focus I turn my image sharpening to details in skin, scales, fur, feathers or whatever else I feel will highlight the details of the subject that I wish to focus a viewers attention on.
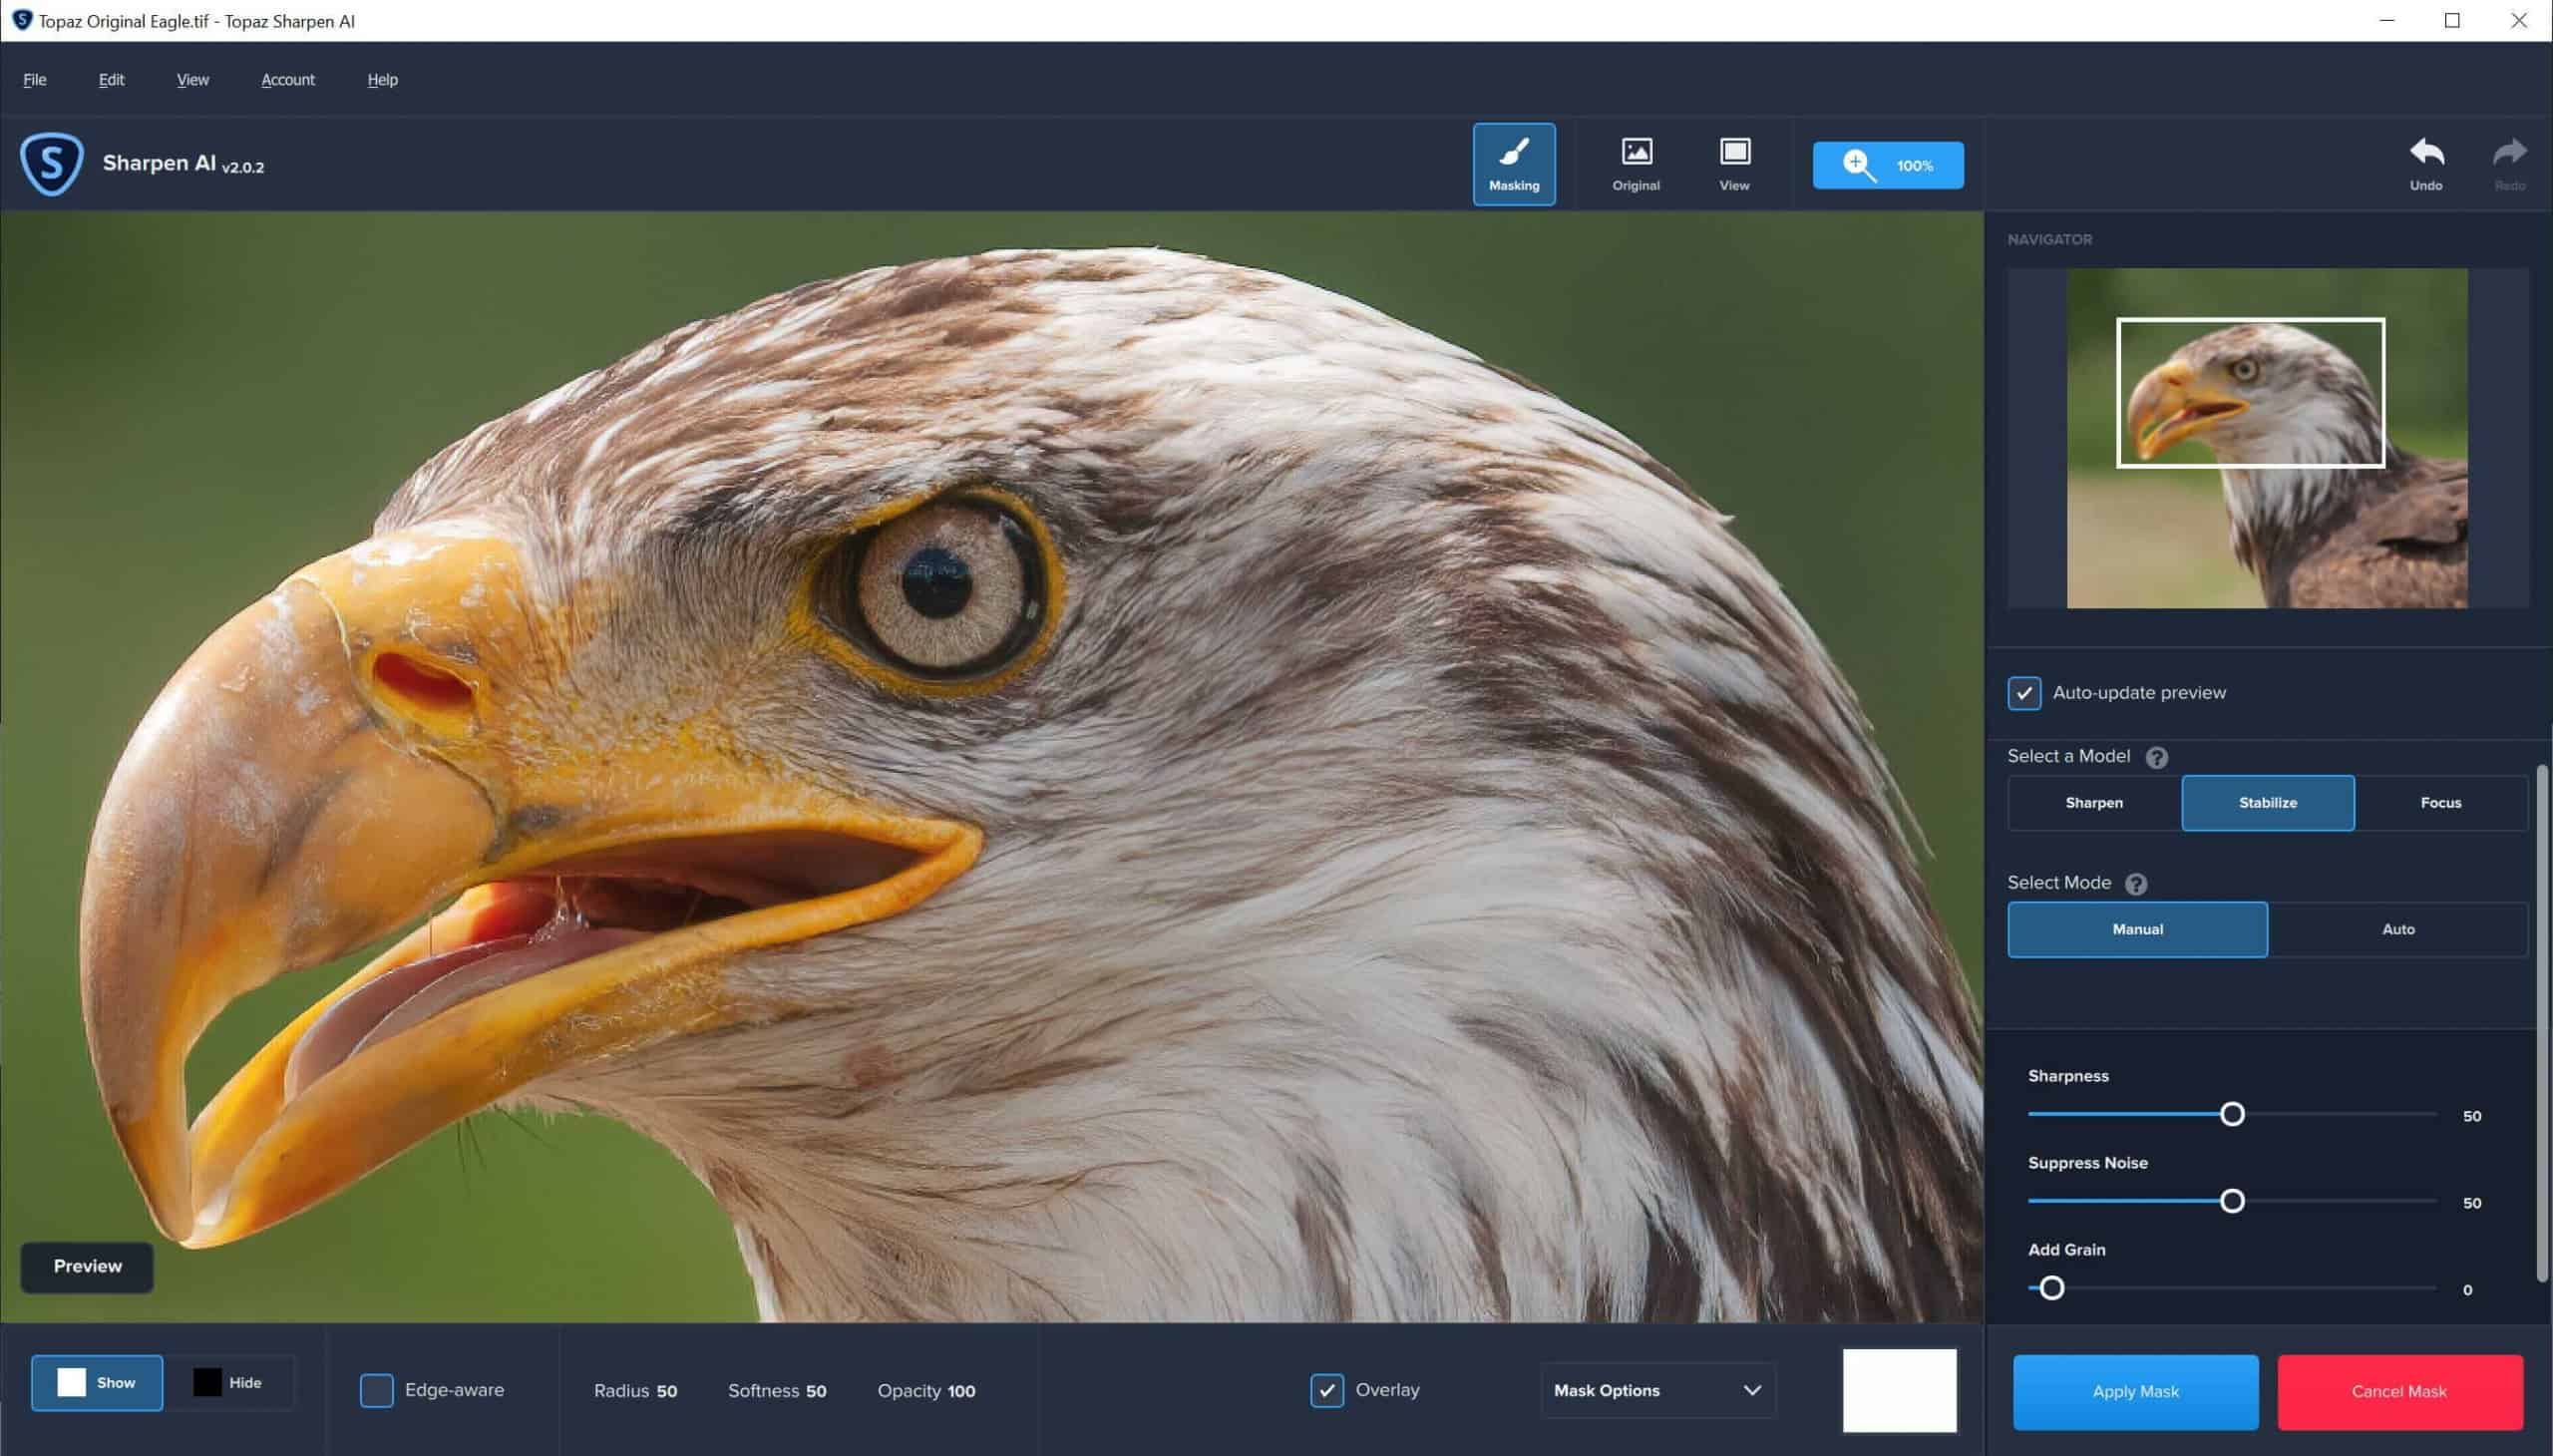
New Interface:
Below is what the new interface looks like in Topaz Labs Sharpen AI v2.0.2. You’ll notice the masking icon at the top of the interface and once you click on that you will see the new masking options along the bottom of your screen. If you want to see this image in full size click on it to enlarge it. Note: You’ll have to use your back button to come back to the blog after reviewing the image.
Having tried selective adjustments now on a few images I am over the top excited with this new feature as it saves me additional steps in other tools. Editing Tip: When performing image sharpening do not overdue it. Your sharpening should not be obvious to someone viewing the image and I see it all the time, so please lend a critical eye to this small but important detail.
Batch Processing:
You now have the option to import multiple images quickly and easily for batch processing. You can apply the same settings to all images for rapid processing or you can single out an image, or a handful of images, and apply different settings before completing your batch process.
Wedding photographers I’m sure they will love this new feature but as a wildlife photographer I had to think about how I might apply this new feature. My typical workflow sees me reviewing all of the images from a shoot and selecting to review only those that are a 10/10 based on my criteria for a winning image.
Bursts:
Often times I may have rattled off 10’s of shots of the same subject in burst mode and I am trying to select only the very best image from that sequence. Say I have 10 images of the same subject shot in a burst, I could batch process them in Topaz Sharpen AI before I review and select the best image based on which one is the sharpest. I may try this after my next shoot to determine if it is helpful in the process or whether it just adds another step to my workflow that is unnecessary.
The Three Models:
The first thing you’ll notice when you dive in to the new Topaz Sharpen AI interface is that you have three basic image sharpening options: Sharpen, Stabilize and Focus.
- Sharpen – used for images that are mostly in focus and stable. This is the standard image sharpening mode most of us have used for years to add a little sharpening to our images except now it is AI based and the software can recommend the optimal settings as a starting point.
- Stabilize – employ this method of image sharpening when you have camera shake or blur from reduced shutter speed. This is very common especially when using long lenses or hand holding and it is the mode that I get the best results from 95% of the time. Not surprising as the majority of my wildlife images are shot with a 600 mm lens so camera shake or blur presents itself especially with high megapixel cameras.
- Focus – recovery for images that are out of focus. Worth trying if Stabilize does not do the trick.
AI Analysis:
In all three image sharpening modes, the artificial intelligence (AI) within the software analyzes the image and sets the sliders to the recommended settings for correcting the image but you can change any of the sliders manually as you wish. The sliders present you with three options; Remove Blur, Suppress Noise and Add Grain and you can move each slider independently and view the image preview as you do to see the changes. The split view allows you to move a line across the image so you can see the original and the modified view as you make your changes to each slider.
Auto or Manual:
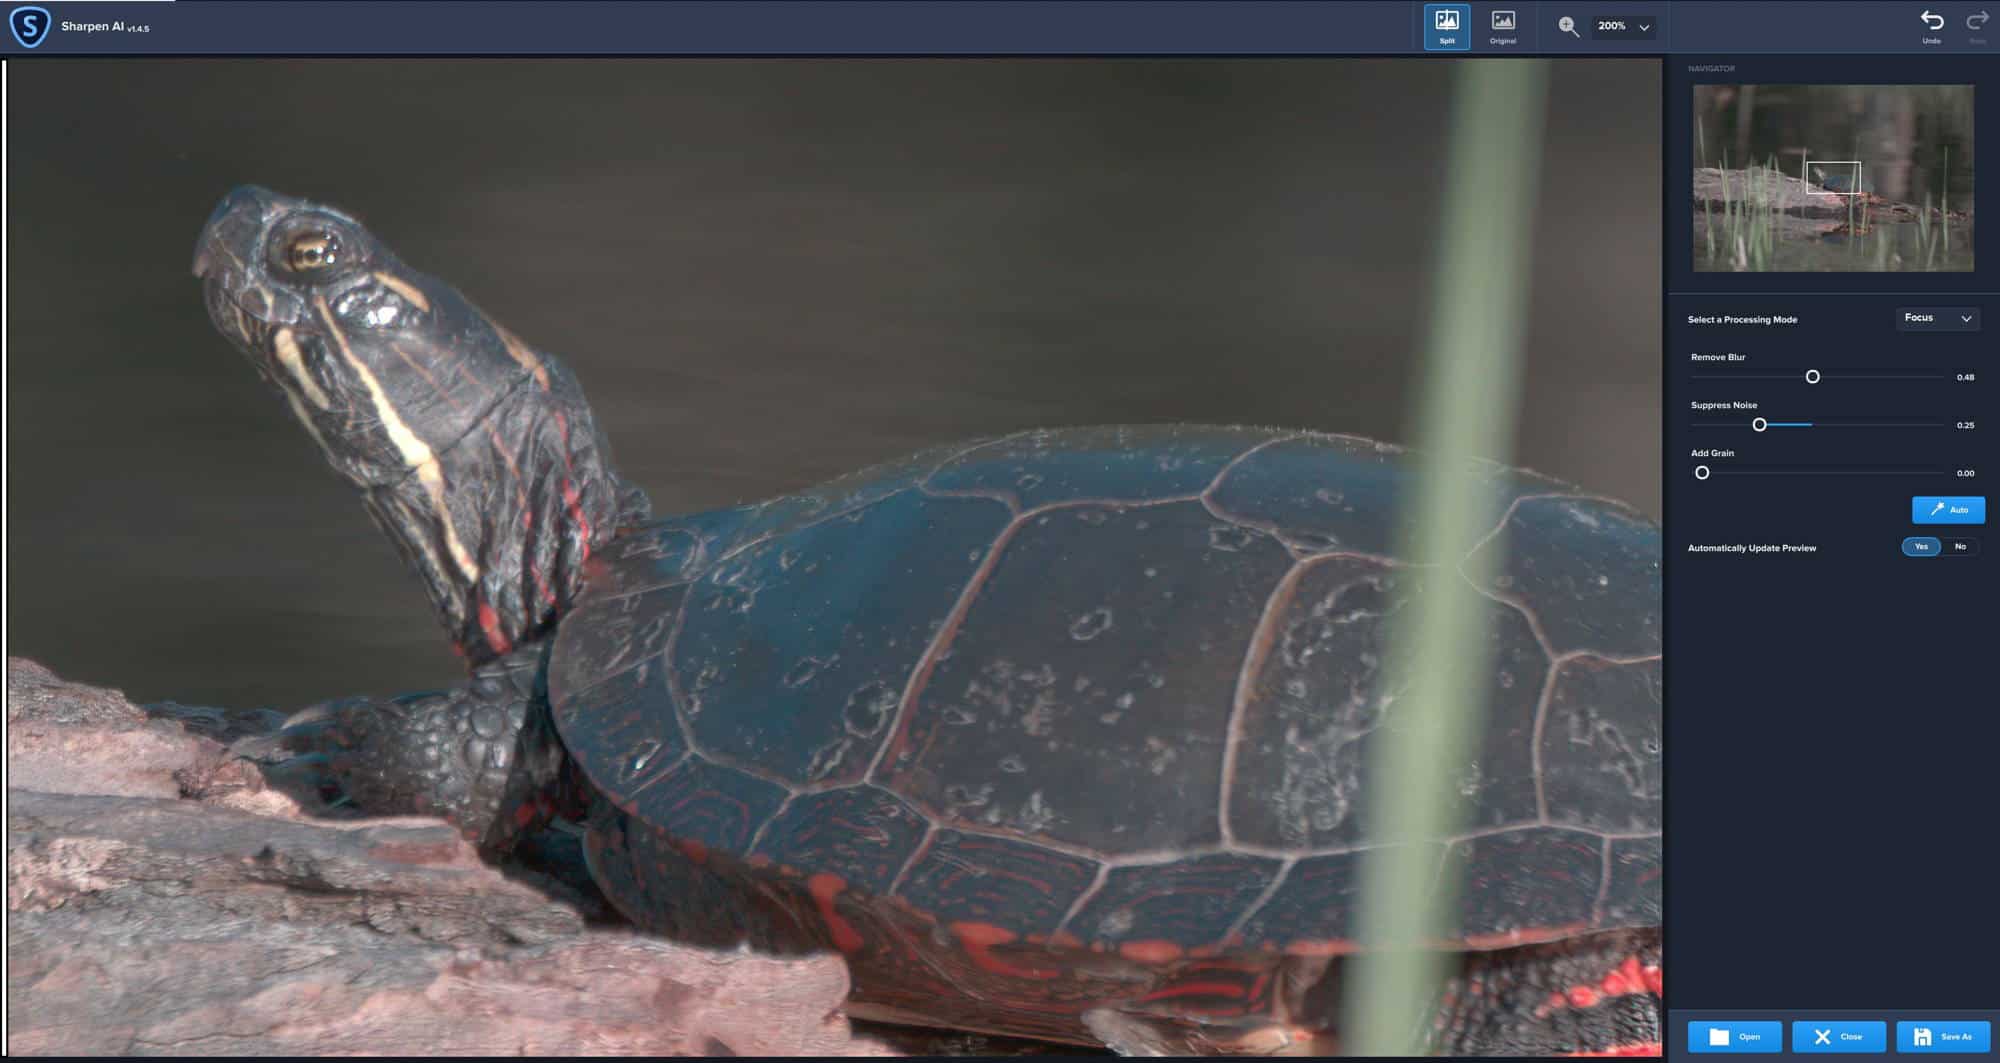
For each of the RAW images below I zoomed in to 200% of the image and left each mode in AUTO so you could see the results that the software applies. You could then manually use the sliders to render the image to your preference, however I did not do that so you could see how the software rendered the image sharpening by default using its AUTO mode.. The first image is intended to show you the interface on the right side and the next three depict the difference between the original image and the Stabilize and Focus modes. You can click on each image to magnify them for a better look.
Topaz Sharpen AI Interface
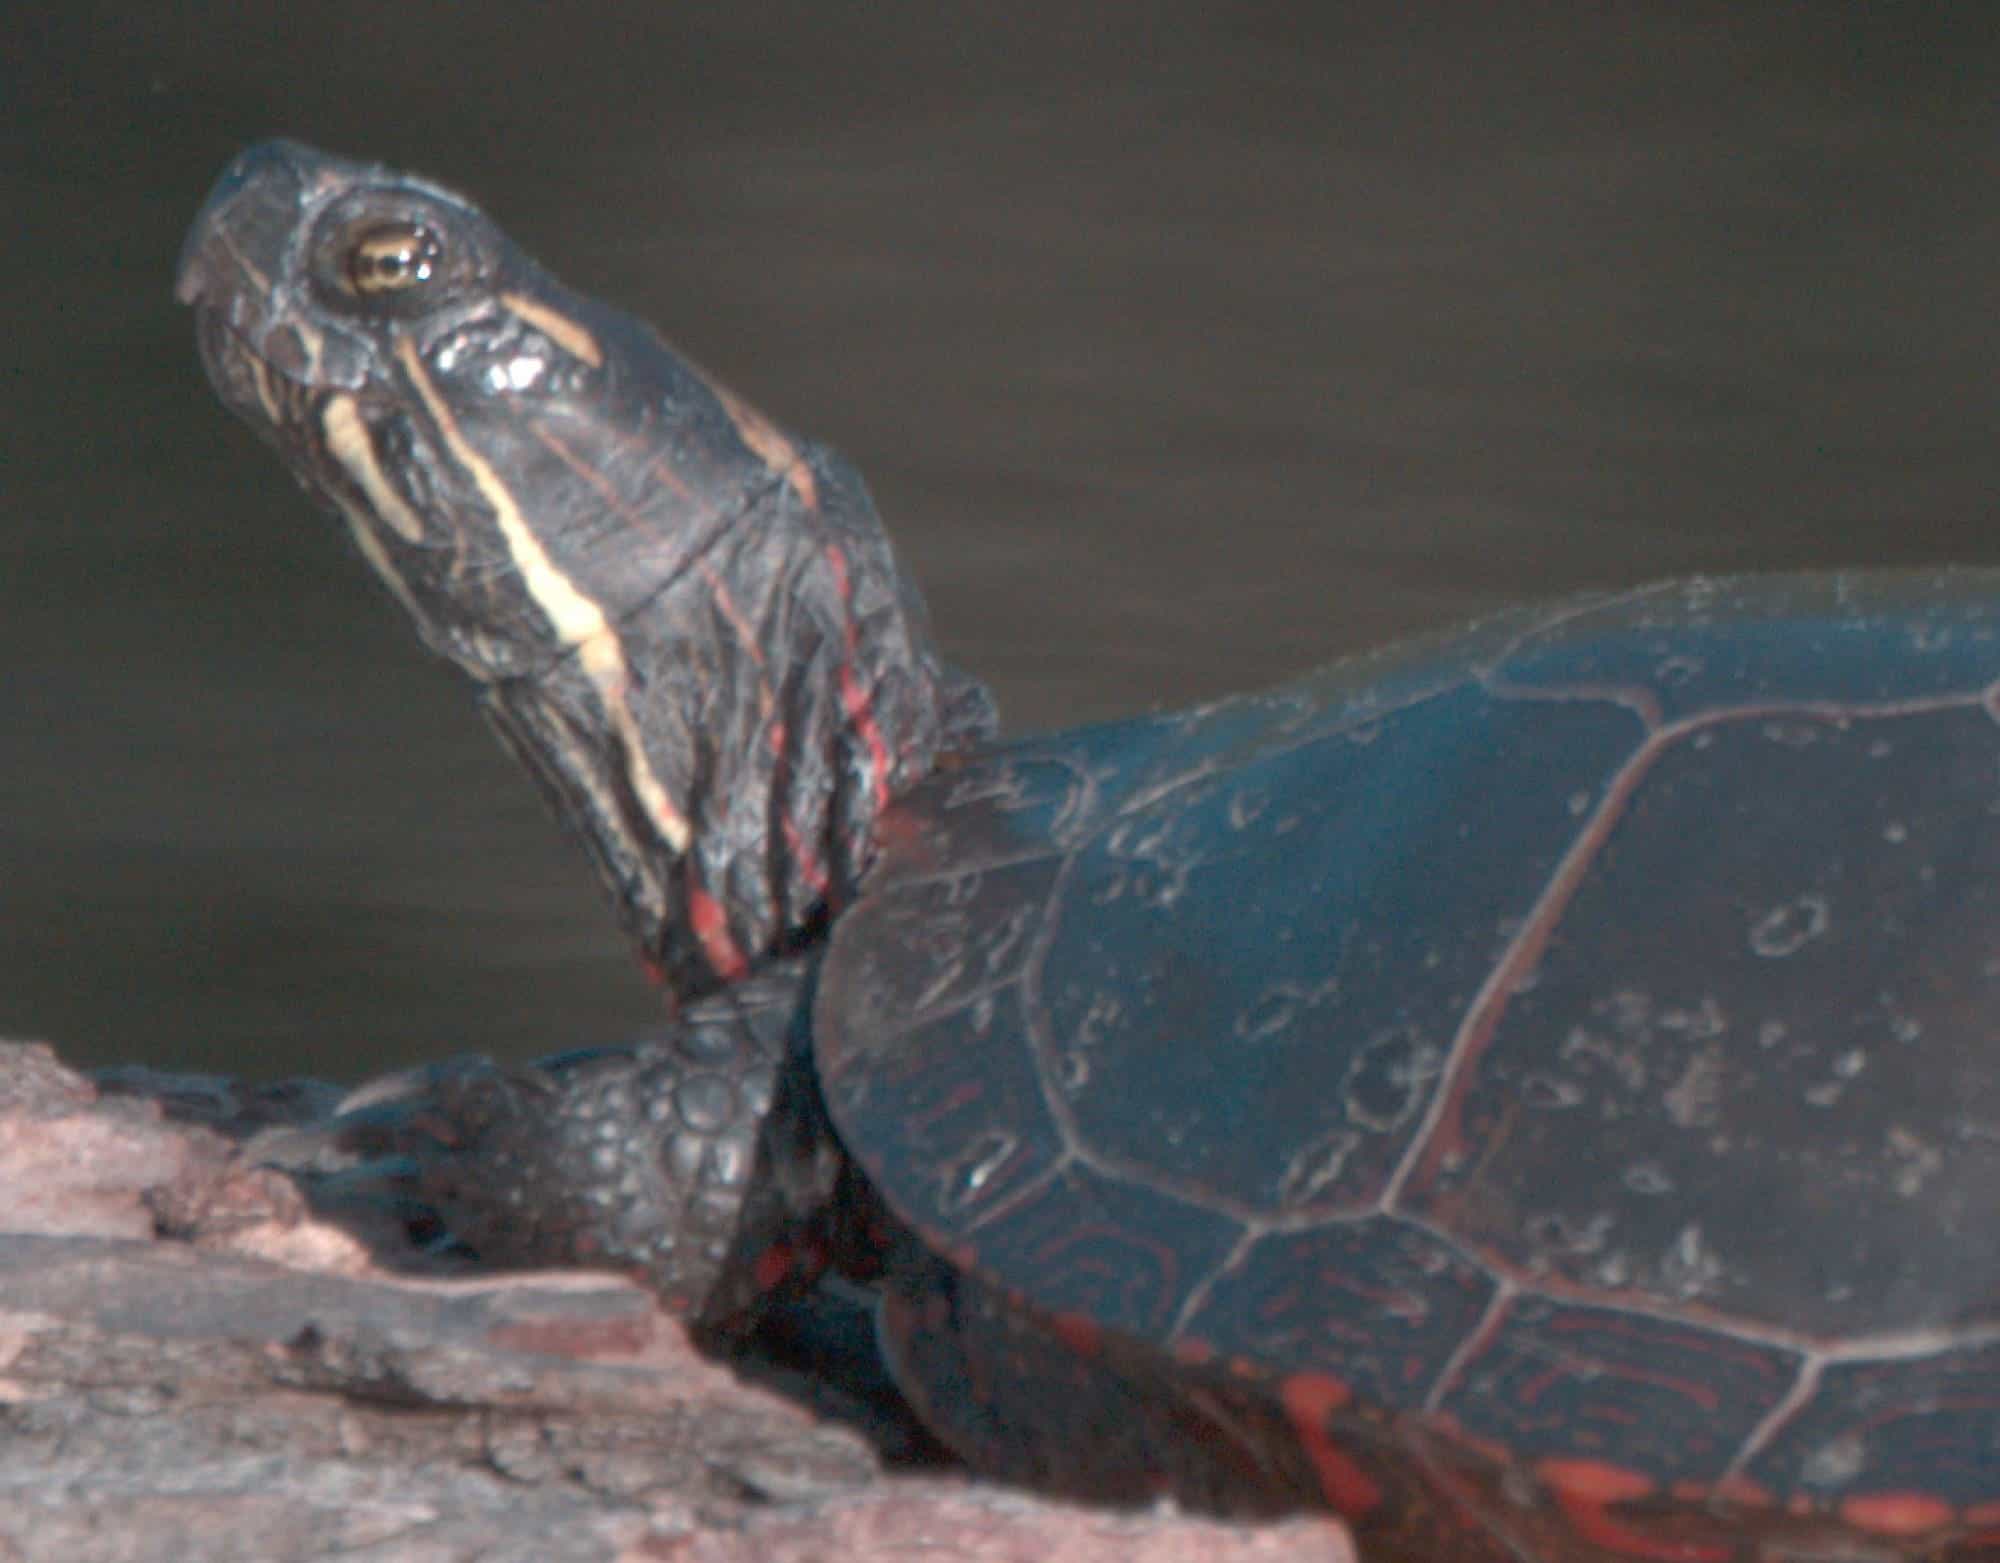
Topaz Sharpen AI Original
Topaz Sharpen AI Stabilize Mode

Topaz Sharpen AI Focus Mode
Sharp Just Got Sharper:
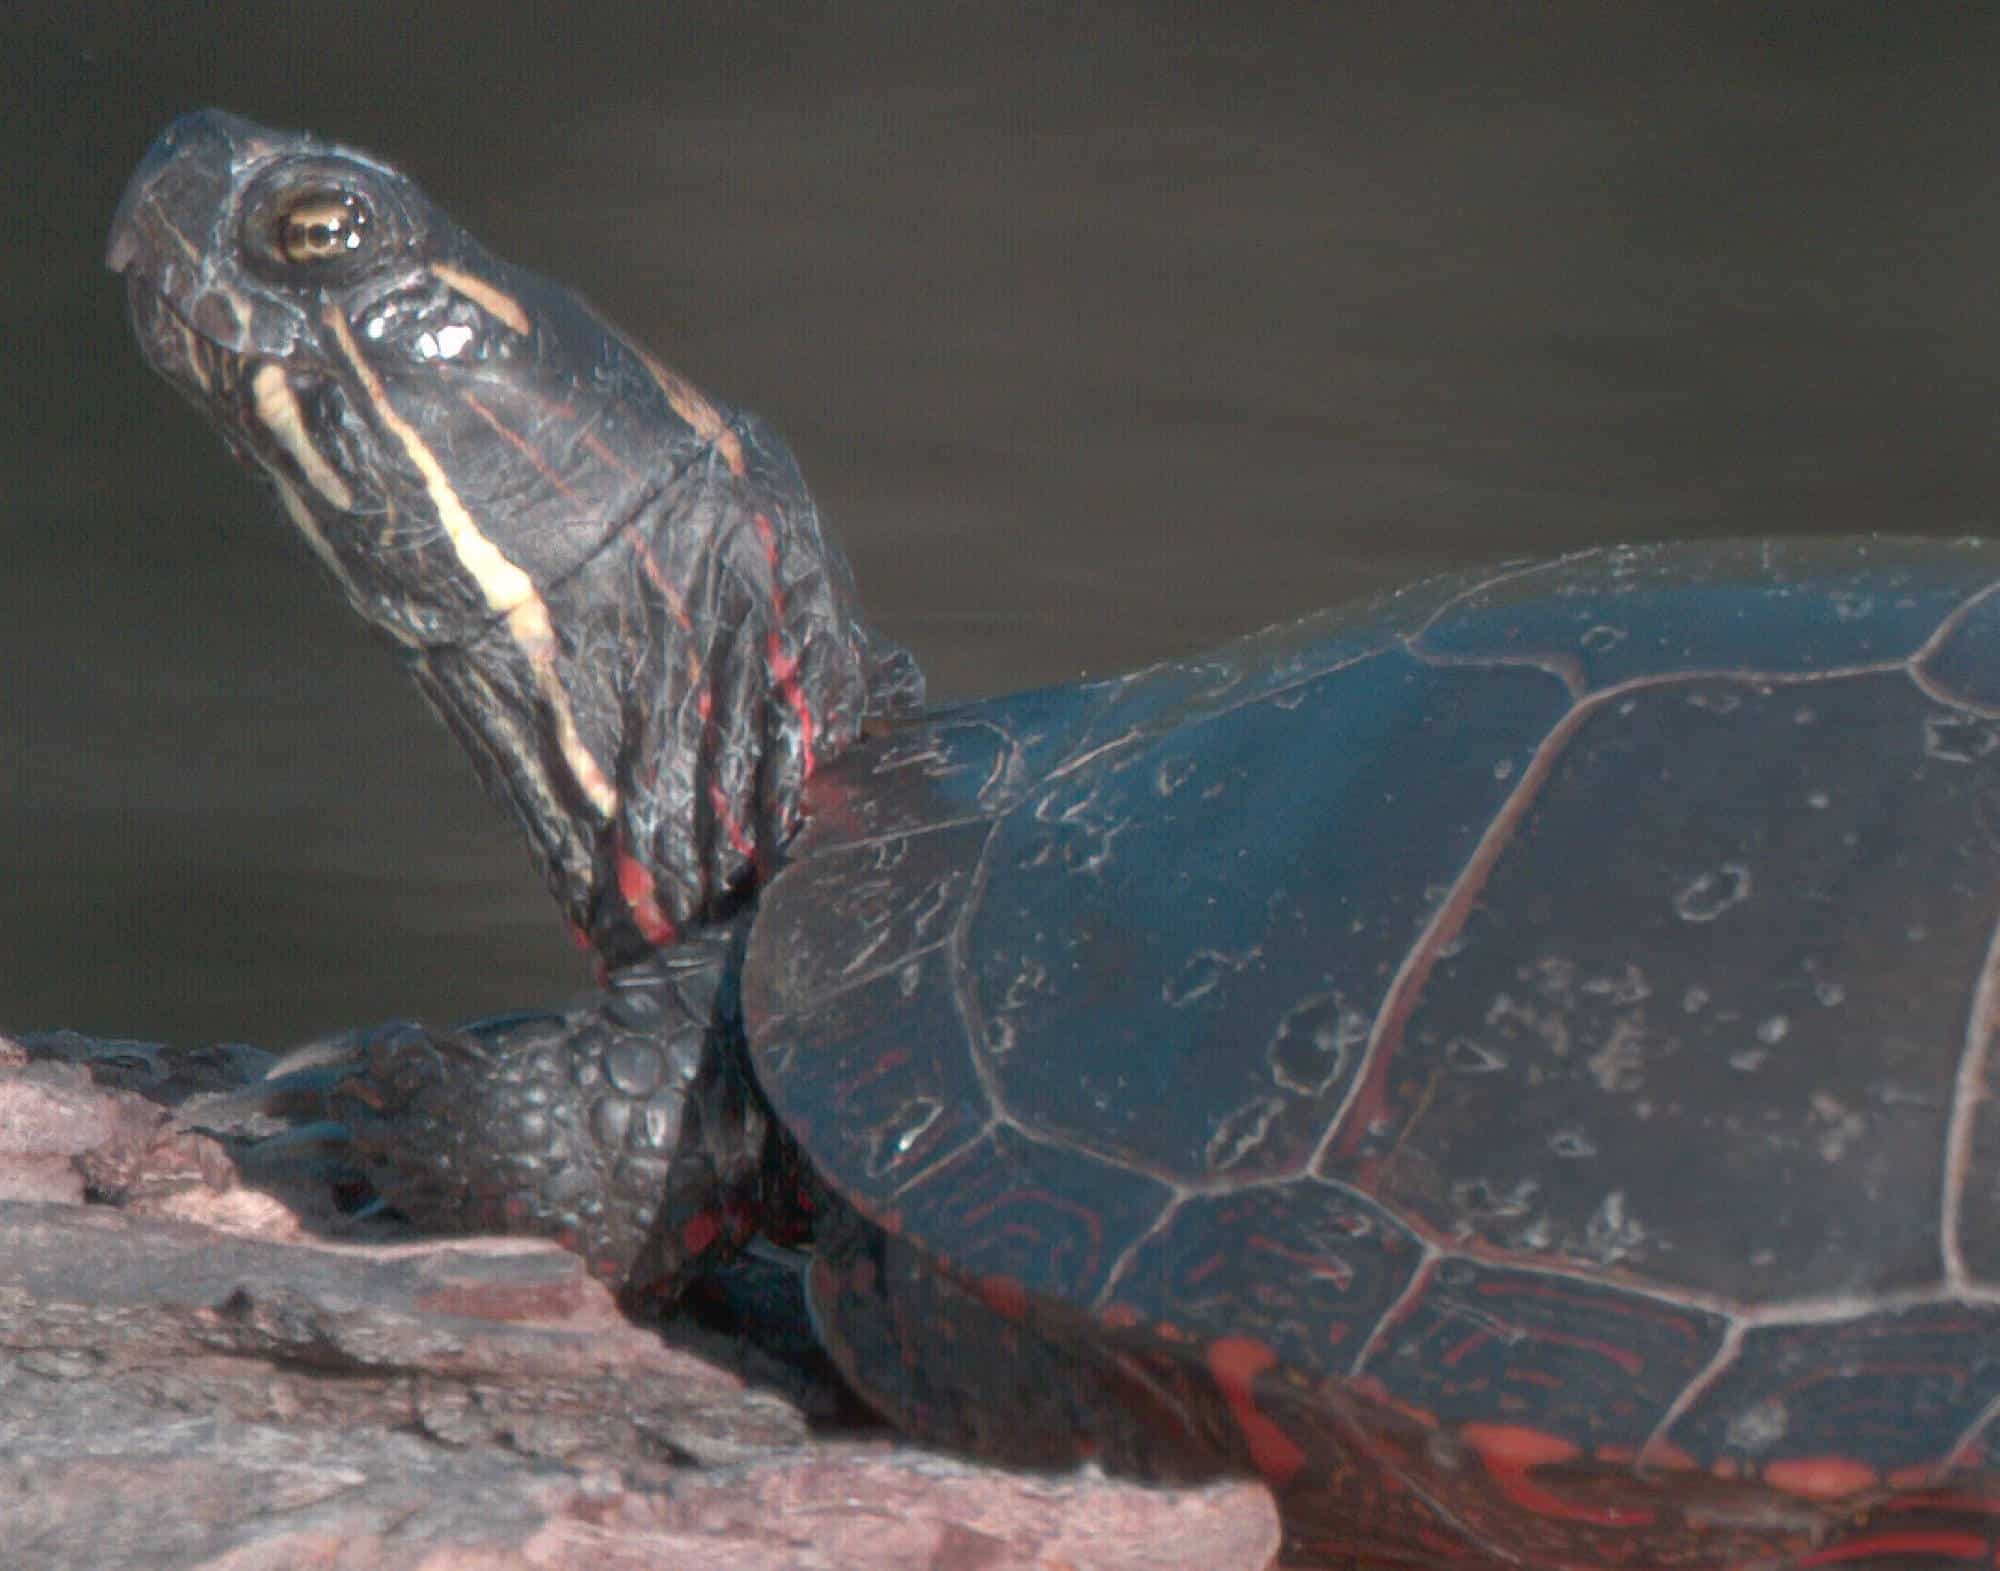
This image was taken from my kayak hand held with a Nikon 80-400 VR at 400mm f 5/6, 1/1000th and ISO 250. Not surprisingly there was camera movement so the Stabilize mode did the best job sharpening the image and dare I say bringing it back in to focus. Take a close up look at the eye, the wrinkles in the neck and the scales on the foot. Comparing the original and the stabilize mode image you can really see just how much sharper the image is and remember that’s without me tweaking the image any further than the auto adjustments.
Why Are My Images Not Sharp?
There are many reasons that contribute to your images not being sharp. I wrote a very detailed blog post entitled: “Why Are My Photo’s Blurry?” which details 12 reasons why your images might not be sharp. While some sharpness issues can be remedied in Topaz Labs Sharpen AI it’s still a best practice to avoid the things that contribute to soft images in the first place. I won’t go into the detail I did in my blog post but I did want to list those 12 reasons for you here so if you recognize any that you think apply to your situation you can read the full post for additional details.
1/ Poor Long Lens Technique: The image below depicts the proper long lens technique that should be used to minimize camera shake. I am placing my hand and arm along the top of the lens to reduce the amount of vibration that will travel down the lens. Next you will notice that I have my eye socket/forehead pressed against the back of the camera. which further aids in dampening any vibration. Lastly, the shutter gets gets gently rolled not jabbed to further reduce unnecessary vibration through the lens.

2/ Wind: Windy days can render some of the best images especially where water is included in the image. You just need to be aware that the wind will contribute to camera shake and additional vibration which is a cause of your images not being sharp. You can’t control the wind but there are things you can do to reduce its impact on your photo’s. If you’re shooting with a long lens, take off the lens hood to reduce the surface area. If your tripod has a center column remove it. Get down as low as possible to the ground and shoot in bursts to improve your odds of coming away with a sharp image.
3/ Stable Platform: One of the best investments you can make especially if you shoot with longer lenses or in low light is in a rock solid tripod and a fluid gimbal head. Do not cheap out in this department, you’ll only end up disappointed by soft images and buying better gear later. My recommendations are as follows:
- Tripod for heavy lenses 400mm, 500mm, 600mm, 800mm will be the Gitzo GT5543XLS which is a rock solid 4 section carbon fiber tripod.
- Tripod for all other lighter lenses is the Gitzo GT3543XLS also a 4 section carbon fiber tripod just a lighter gauge than its 5 series big brother.
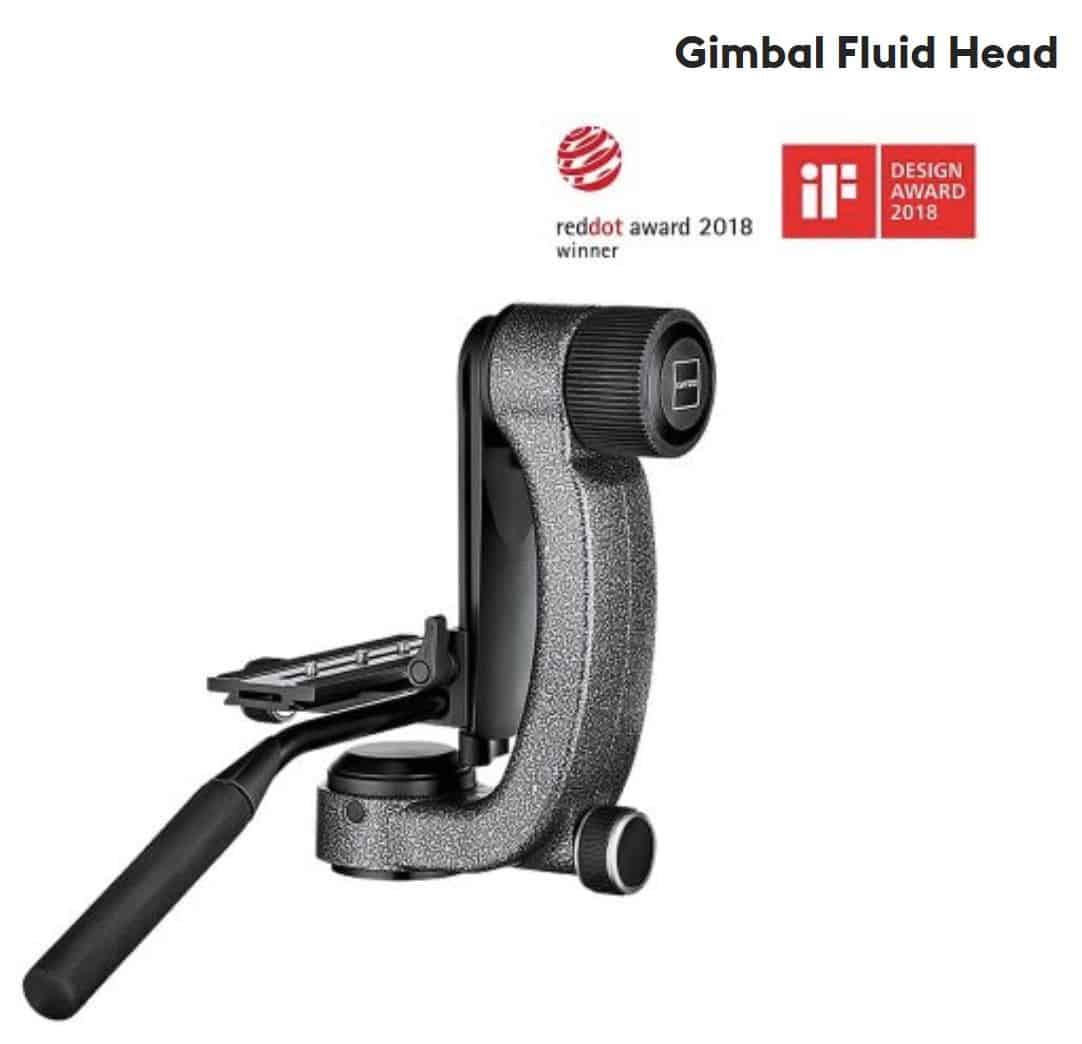
- The Gitzo GHFG1 Gimbal Fluid Head will be the head for both tripods. Fluid heads are well known in the video world but they can also make a huge difference with camera shake with stills especially while panning wildlife in action.
4/ Loosen The Gimbal Head: One thing I see all the time in the field are people shooting from a tripod with their gimbal head locked down tight. That’s fine if you are using a remote trigger however it introduces additional motion blur if you are manually pressing down on the shutter release.
5/ Increase Your Shutter Speed: If the light permits maintain as high a shutter speed as you can, something like 1/1000th or higher unless you are intentionally looking to create motion blur for an artistic look.
6/ Pay Attention To Your Depth Of Field: This one requires a little bit of thought depending on how you wish to render your final image. Do you want to blur the background or have it in focus? Shooting in f 2.8 for example let’s in a lot of light and allows you to shoot with a higher shutter speed and have a very nice out of focus background. However it does not allow for a lot of depth of field and as such if you are not spot on with your focus your image will be blurry. With wildlife photography that usually means an eye that is out of focus. Shooting at f/8 is a lot more forgiving from a depth of field perspective and as such usually renders more in focus images but it’s a trade off for light and shutter speed so you’ll need to experiment.
7/ Understand Image Stabilization: The more expensive longer lenses come with image stabilization and some cameras have it built in to the body of the camera. I go into a ton of detail in my blog post entitled: “Why Are My Photo’s Blurry?” but for the purpose of this article just know that turning it on and forgetting about it is not in your best interest. You need to understand when to apply it and when to leave it off.
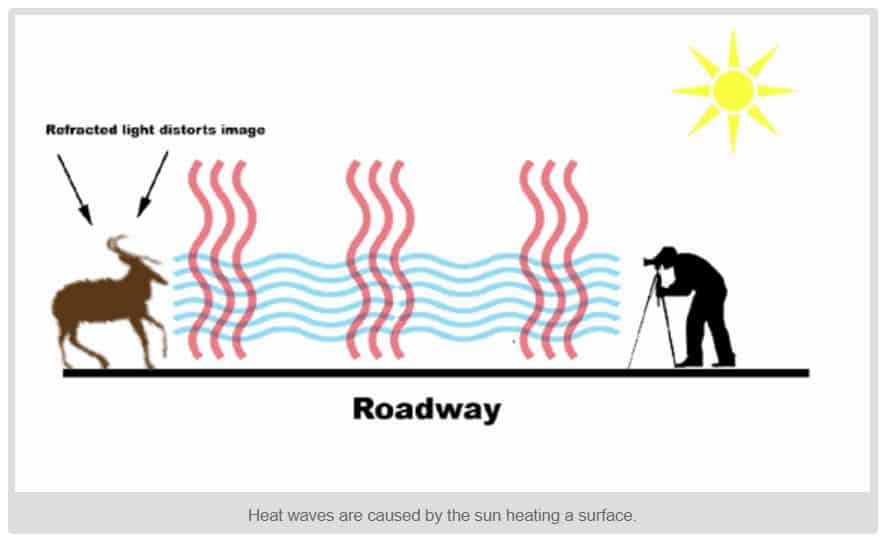
8/ Heat Waves: If there is a heat source with a higher temperature relative to the outside temperature between you and your subject the heat wave impact will cause your images to blurry. The longer the distance between you and your subject, the more impact those heat waves will have. And don’t rest your lens on your car hood, that warm engine is also giving off heat waves.
9/ Turn Off The Engine: The biggest cause of blurry images when shooting from a vehicle is created by vibration from your engine, most folks rest their big lens on the window frame as a support which is fine however if your engine is still running the vibration from your engine will travel through the window frame and in to your lens. This produces blurry images so it is a best to turn off your engine. In addition to turning the engine off, I have found a bean bag to be the best choice for support when shooting from my vehicle, it really does an excellent job of dampening the vibration.
10/ Lens Calibration: The chance of getting a perfect lens from the manufacturer is low and this is why I strongly urge you to have your lenses calibrated. You can determine whether it needs to be calibrated by zooming in on an image where you know exactly where the focus point was and if you notice consistently that the image is sharper behind or in front of your focus point then your lens needs to be calibrated. Note, calibration needs to occur with every camera and lens combination including teleconverters.
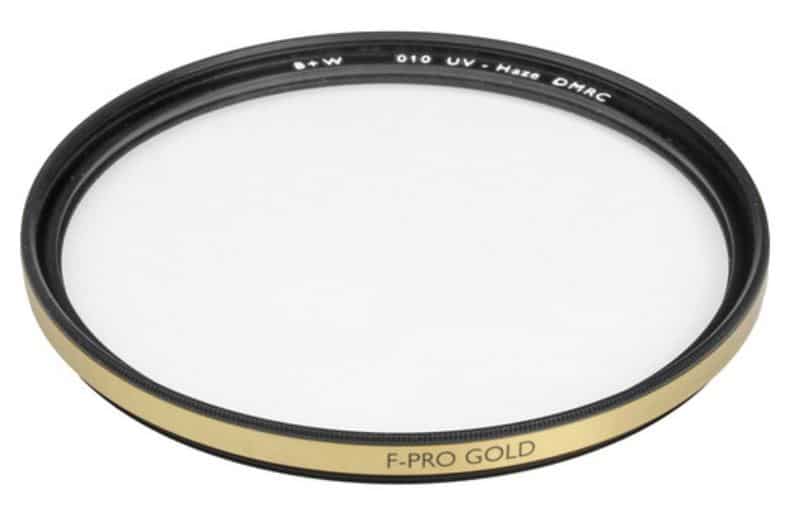
11/ UV Filters: Do not buy an expensive lens and then screw a $25 UV filter on the front of it to protect the front element. That cheap glass is another variable that can be the cause for blurry images. If I can’t convince you not to do it, at the very least go for brand names like B+W or Hoya.
12/ Sharpen Images in Post: Even if you followed all of the advice above to maximize image sharpness you’ll still want to add a little sharpening to your images in the edit phase. I have tested many sharpening tools but hands down the best one is Topaz Labs Sharpen AI. Topaz claims their Sharpen AI software allows you to bring back focus to a blurry image by as much as 10 pixels. I have tried it and it really does work so you can rescue an image where the focus was just off slightly to make it pin sharp.
Bundle & Save:
Topaz JPEG to RAW AI is included in the Topaz Utility Bundle which I recommend every photographer has as part of their editing kit. You could purchase each of these products; Topaz JPEG to RAW AI, Topaz Denoise AI v2.0, Topaz Sharpen AI and Topaz Gigapixel AI separately but you’ll save some cash by purchasing them through Topaz’s Utility Bundle. Trust me, you’ll want them all eventually so you might as well pay a little extra upfront to save a lot on the back end.

System Requirements
Windows: Windows 7, 8, 10 (64-bit only)
*As of Jan 14, 2020, Microsoft has ended its support for Windows 7.
Mac: macOS version 10.12 (Sierra) and above
Topaz Labs currently do not support Linux-based operating systems.
RAM – Minimum 8GB, Recommended 16GB, Optimal 32GB
Monitor
A monitor that outputs at a resolution of at least 1024 x 768 is recommended.
CPU and GPU Requirements
For peak performance your system’s graphic drivers need to be fully up to date, which you can accomplish by following this guide that Topaz Labs put together for you. Updating your GPU
All Topaz Labs products also require OpenGL version 3.3 or later.
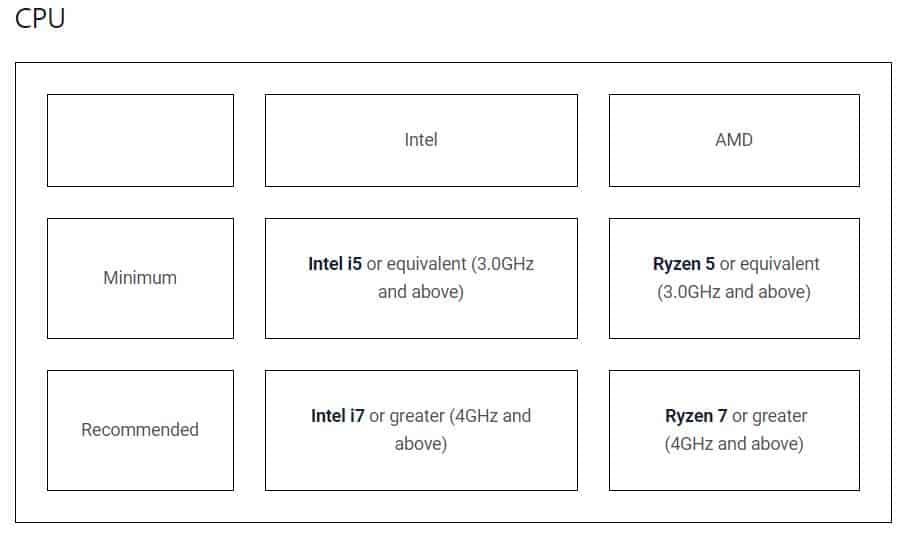
A note on openVINO: Topaz Labs products support Intel’s openVINO toolset for high-speed CPU-based rendering. If you are currently using an Intel CPU, you can enable openVINO in the Preferences menu of any Topaz product.
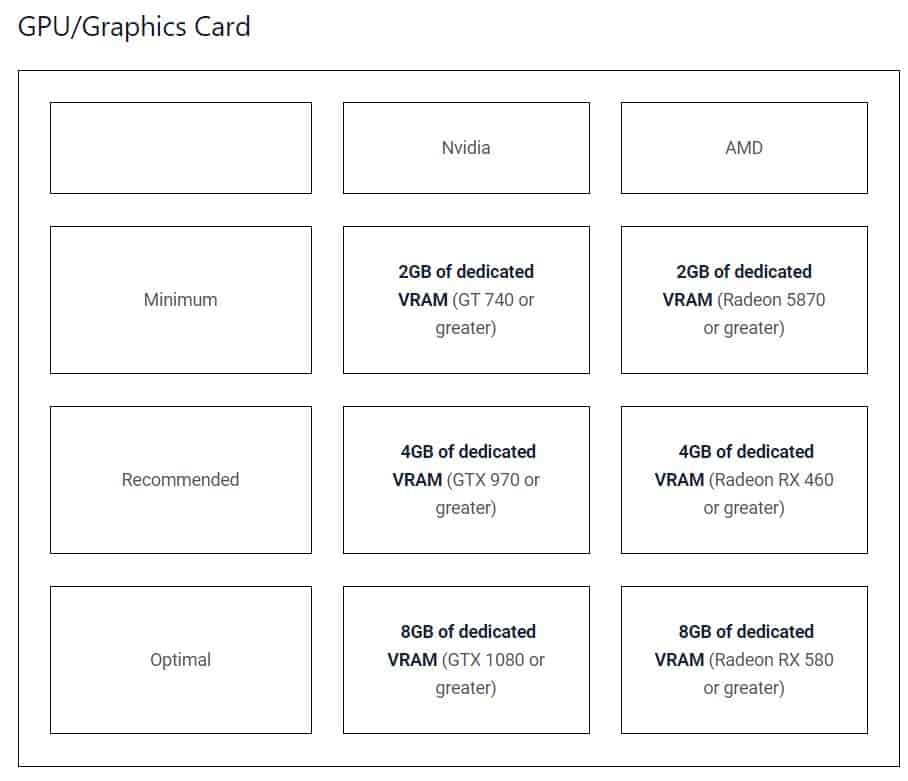
- Minimum: Requirements for application to function, users should expect slow performance, large files may cause crashing
- Recommended: Users should experience no performance issues, though slowness may occur with large files
- Optimal: Users should not experience any performance issues
Topaz Labs does not support Intel HD Graphics 4600 or lower.
Conclusion:
Topaz Sharpen AI has become an integral part of my workflow for image sharpening. If you are cropping in on subjects or performing large print jobs then having sharp images matters and Topaz Sharpen AI should be in your toolkit. And now with the addition of the selective adjustments feature image sharpening just got a whole lot better for wildlife photographers.
Magic however does have its limitations, Topaz Labs claims that Sharpen AI can correct up to 10 pixels of defocus so if you have images where you have minor camera shake and only slightly out of focus images give Sharpen AI a try before you hit the delete key and blow away the next front cover image of National Geographic.
Topaz Labs does offer a free 30-day trial and you can follow this link to go to Topaz Sharpen AI directly. Bonus: If you decide to buy you can use Coupon Code coolwildlife15 to receive an automatic 15% discount off your purchase.
Please note: The previous version of Sharpen AI will still be installed on your computer, so you will see two versions of Sharpen AI on your machine after installing the new version. The choice is yours to remove the old version or leave it on your machine.