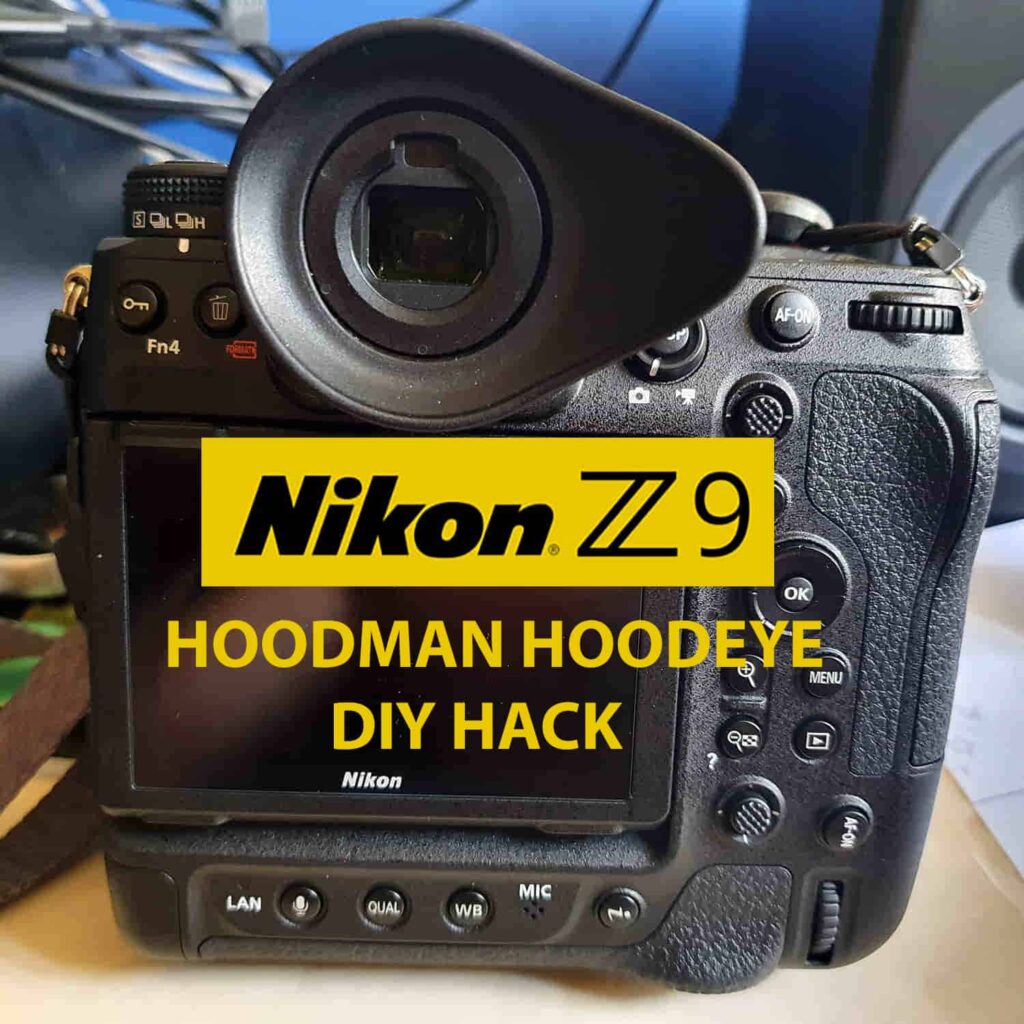
Nikon Z9 Hoodeye Eyecup | Eye Piece Replacement DIY
Nikon Z9 step-by-step guide on how to replace the original Z9 eyepiece with a Hoodman HoodEYE eyecup that was made for the Nikon Z6/Z7. The full instructions below will walk[…]
Read the post.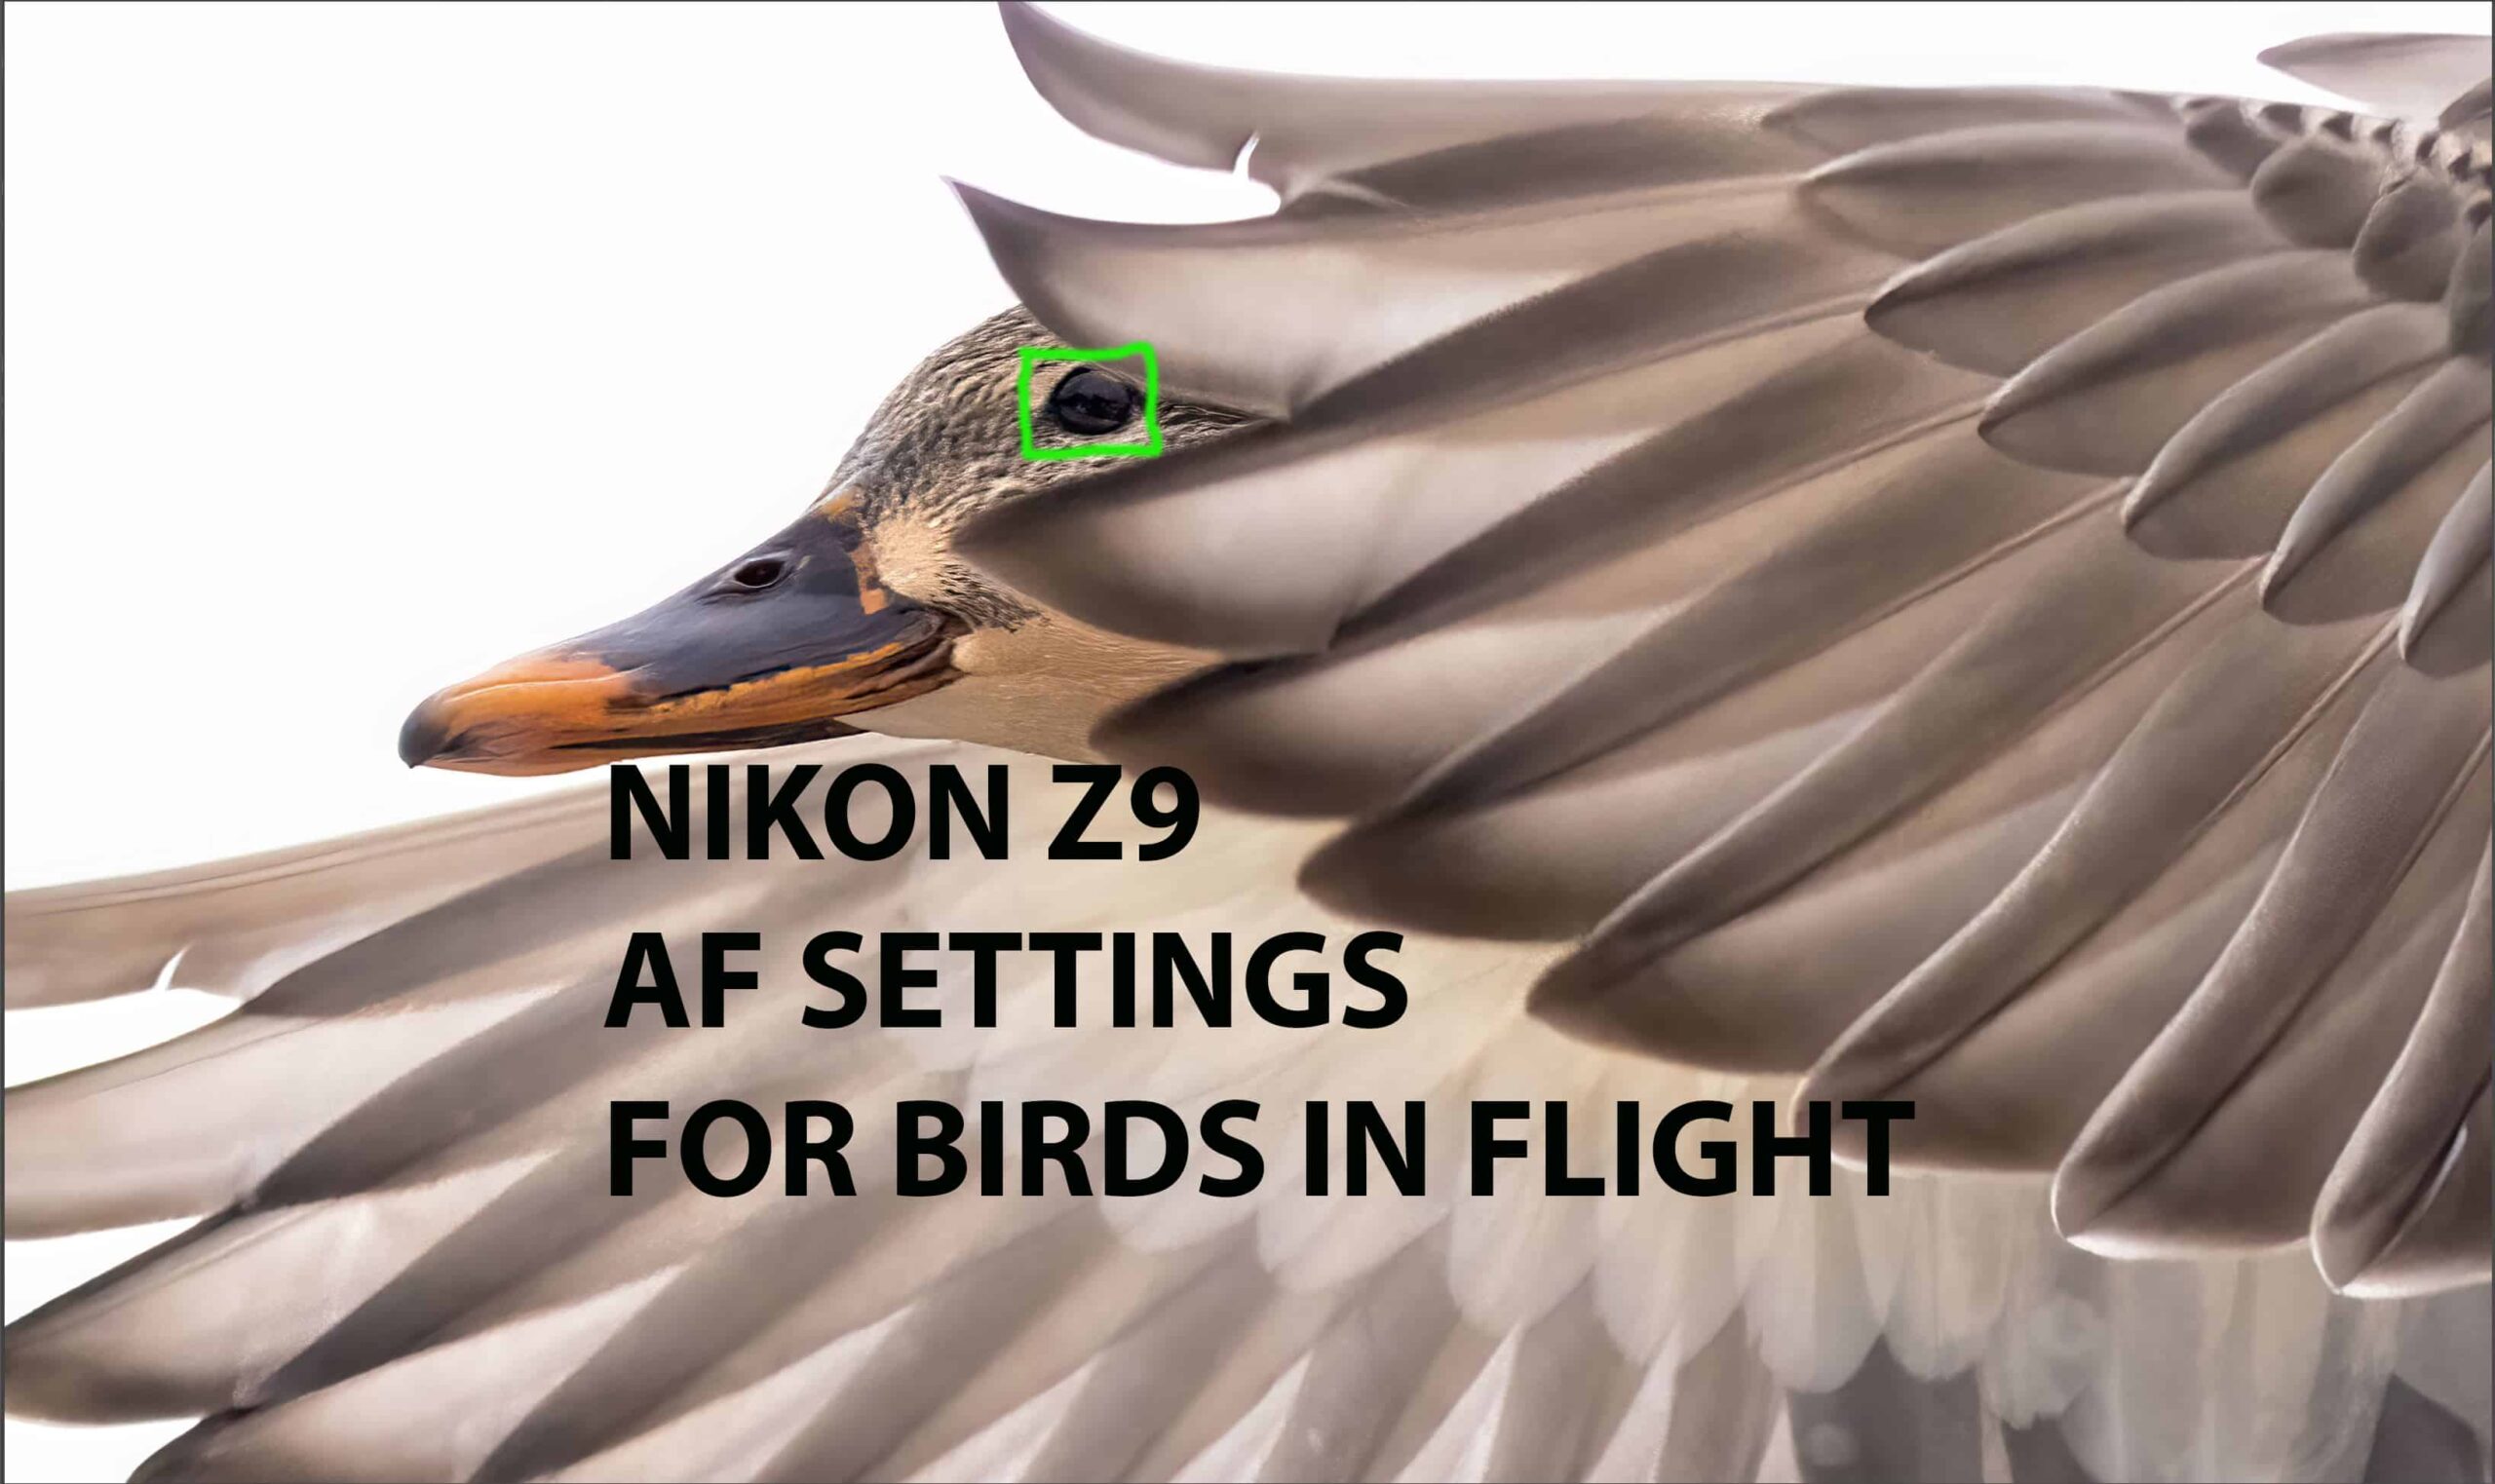
Your guide to field-tested Nikon Z9 autofocus settings for birds in flight. Having been in the field multiple times shooting birds in flight I’ve learned a thing or two. It’s early in my use with the Nikon Z9 but I feel it is worth sharing what I’ve learned so far in hopes that it will help you to dial things in a little quicker and come away with some killer birds in-flight images.
For those of you thinking about a gear purchase, please consider using one of my affiliate links to either B&H or Amazon Canada. I receive a small commission to support my content creation efforts and there is no extra cost to you.
If you’re interested in receiving more content like this, hit the subscribe button at the bottom of this page and you’ll receive an email every time there is a new post. I’ll have a lot more coming your way in the coming weeks.
Thank you for your support.
Your success with the Nikon Z9 will be directly correlated to how you have it set up. That’s why I highly recommend Matt Granger’s Nikon Z Camera Expert Setup Guide. Matt has produced hours and hours of Nikon Z9 content on his YouTube channel. I lost count of how many hours I spent watching his free content in anticipation of receiving my Nikon Z9.
I found his content so helpful that I wanted to support his continued efforts by purchasing his guide. Whether you’re a longtime Nikonian like me or relatively new to the Nikon mirrorless system you will benefit from Matt’s expert guide. There were so many nuggets I was not aware of in Matt’s review of the Z9 system.
I watched all of his Nikon Z9 expert video guide content and I can confidently say that if you follow along with Matt as he dives into the menus and walks you through how to make all of the customizations and settings changes required, you can head out into the field knowing your Z9 is perfectly configured.
While the content is not specific to birds in flight, once you know where to access things and how to customize the camera you can configure your Z9 the way you want it set up for whatever you’re going to be shooting.

Once you’ve had a chance to read this post, the video below will demonstrate just how well the Nikon Z9 tracks a bird in flight. I say read the post first so you know what autofocus setting modes I am recommending and how I have the function buttons set up on my Nikon Z9. That will allow you to set your Z9 the same way if you wish.
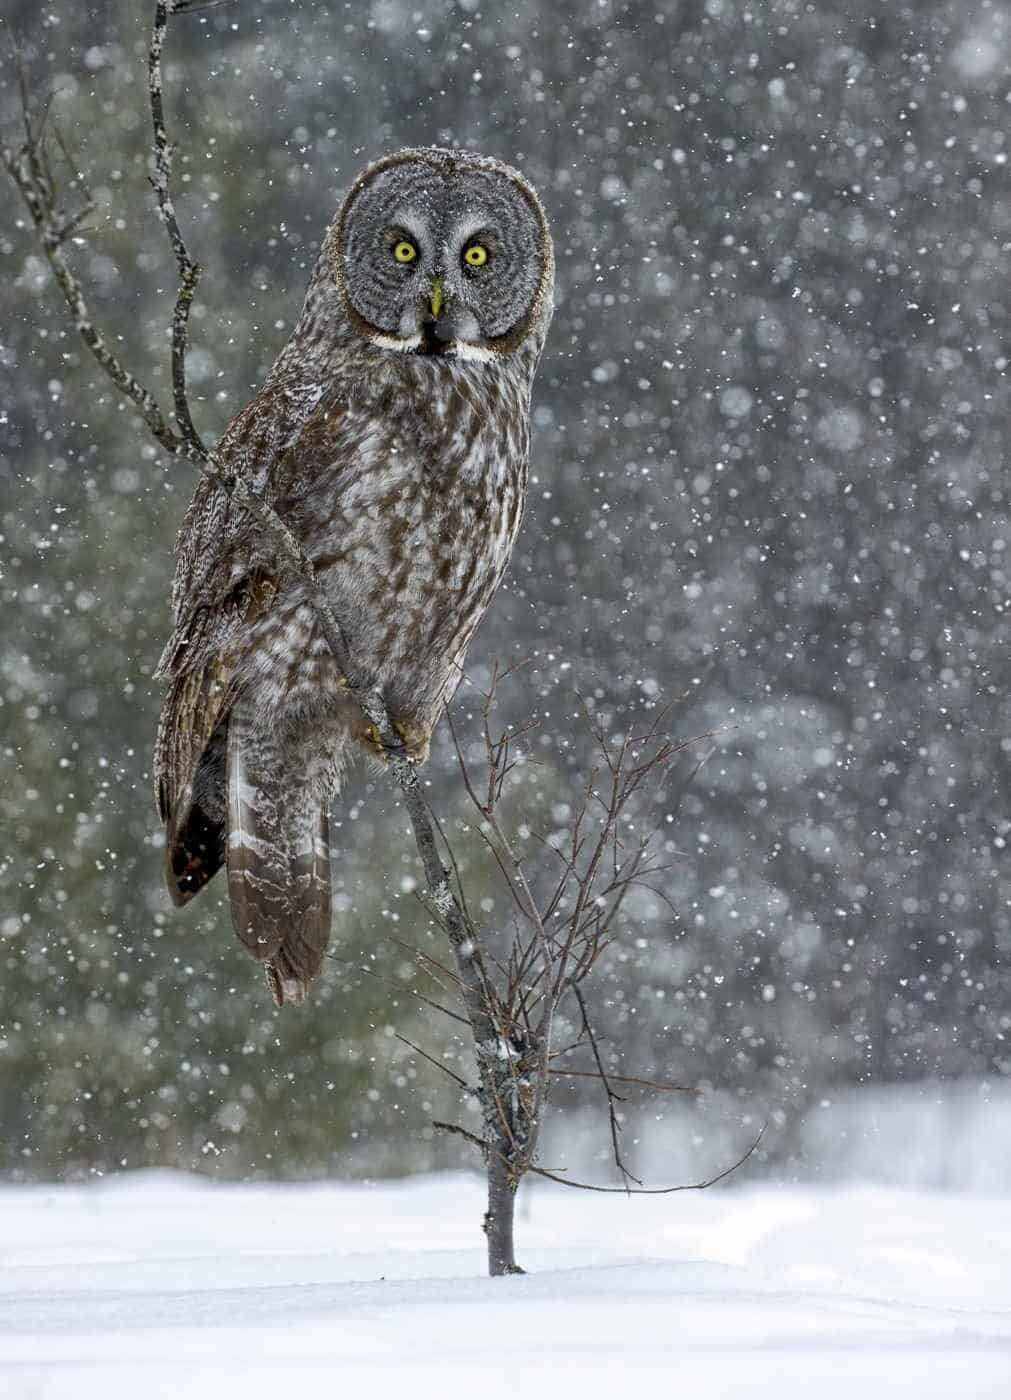
In this demonstration, I will be tracking the Snowy Owl from lift-off and she will be flying towards the camera until she leaves the frame directly in front of my lens. We will take a look together to see how many images are tack-sharp on the owl’s eye through each sequence. The first sequence is in bright sunlight (55 images) and the second sequence is in low light at sunset. (75 images)
As I review the images, I will also be talking about how I select the one image from a series of images that I would want to print or include on my website.
There are three critical pieces to consider if you want to improve your keeper rate for birds in flight with the Nikon Z9.
The very first thing you need to do is to set the menu settings in your Nikon Z9 so that they are optimized for birds in flight. I highly recommend that you take the time to read through the 907 pages of the Nikon Z9 user manual. That exercise definitely helped me to understand the newly added items within each menu of the Z9.
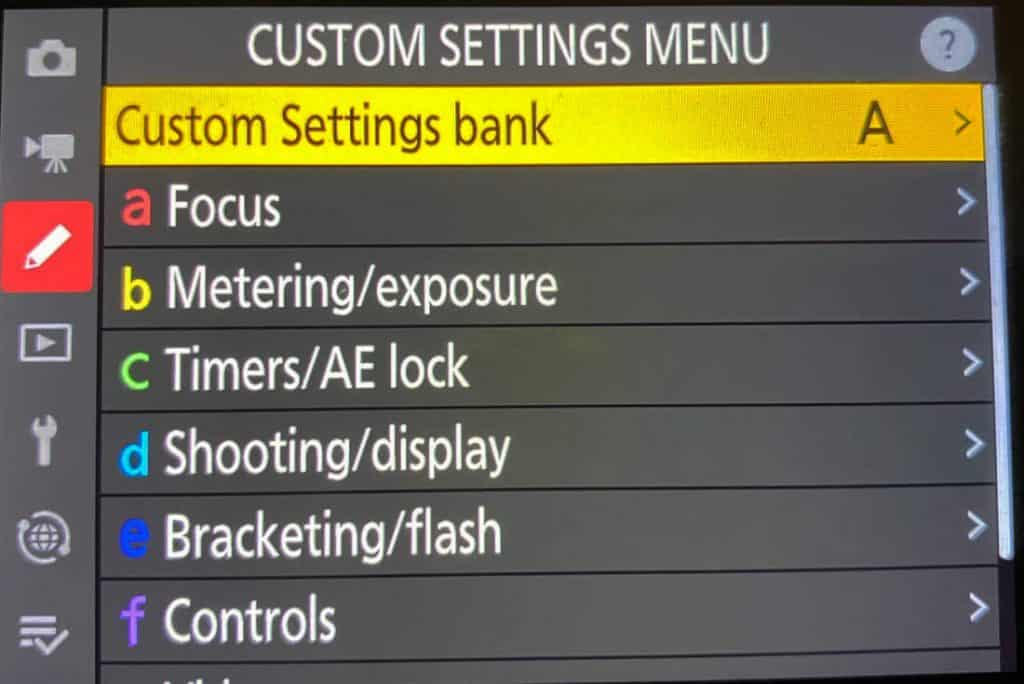
Being realistic, not everyone has the time or patience to read the manual, it’s a little like watching paint dry. If that’s you, head on over to my post entitled, “Nikon Z9 | Menu Settings Guide For Birds In Flight”. This guide will walk you through every menu item step by step so all you need to do is set your settings the same as mine and you’ll be ready to go in no time. I do not profess that the way I have my Nikon Z9 is the right way. These are the settings that I am currently using based on the reading and field testing that I have done. I have no doubt that my settings will change with further use of this camera.
Note: Your birds in flight keeper rate are dependent on how you have the menu items set up on your Nikon Z9 so do spend the time to get your menu items set up properly for BIF shooting.
A few folks on various forums have indicated that they had wished Nikon had included a full printed manual with the camera for reference in the field. For those important, often used, hard to find items I recommend you place them in the My Menu of your camera so you can easily pull them up when required. For those items that are critical to your shooting in the moment you’re going to want to set those to the function buttons. That’s the second critical piece that will contribute to your success with birds in flight. Let’s take a look at that piece next.
There are countless ways to customize the Nikon Z9 based on your shooting preferences. Below is an image depicting how I currently have my function buttons setup. My primary use case is birds in flight and at rest. My first choice for an AF mode for birds in flight is wide area large or small with animal eye detection.
Given my primary use case, I wanted to be able to quickly switch to single point for birds that are static and in busier backgrounds so I could more easily focus on their eyes. Hence why I set Fn1 and Fn3 to single point AF so I can quickly switch over whether shooting horizontally or vertically. Currently, you must keep that function button pressed down to keep single point active.
I would love to have the option to press the Function button once to activate and again to deactivate it so we do not have to hold down the button. I did put in a recommendation to Nikon to consider this feature in a future firmware upgrade.
I set Fn2 to 3D tracking with animal eye detect. That is my second favorite AF mode and it works very well in most situations so I wanted to be able to access it quickly. Fn4 is set to playback images. Years of Nikon conditioning still see me reaching to the top left for the playback button so I figured why fight it. I just can not get used to having it on the lower right side. I set pressing down the joystick to resetting my focus point to the center of the LCD. I’ve always done this with my DSLR’s and it makes it so much quicker to get back to center when needed.
You have the option to program other buttons along with combining buttons with command dials however I have opted not to do that yet. I prefer to use the camera little more in the field and get used to the buttons I have already set. Once those buttons are intuitive and I have a better feel for the functionality that I am constantly seeking I will set buttons for those items as well.

This is the mode you want for birds in flight or moving animals. I leave my camera in AF-C and never change it. AF-C mode adjusts focus as needed as long as the shutter button is pressed halfway or if your using back button focus you have the AF-ON button pressed down. Note: focus-adjustment occurs only if the subject moves closer to or farther from the camera.
If the subject is moving but only shifts a short distance in a horizontal direction, no adjustment is needed because the focusing distance remains the same.
Recommendation: In the custom menu setting a Autofocus set a1 AF-C priority selection to Release. This allows the camera to continue shooting even if the image is out of focus. This increases the odds of getting that split second wing position you wish to capture. The better you get at panning and tracking your subjects the more keepers you’ll get.
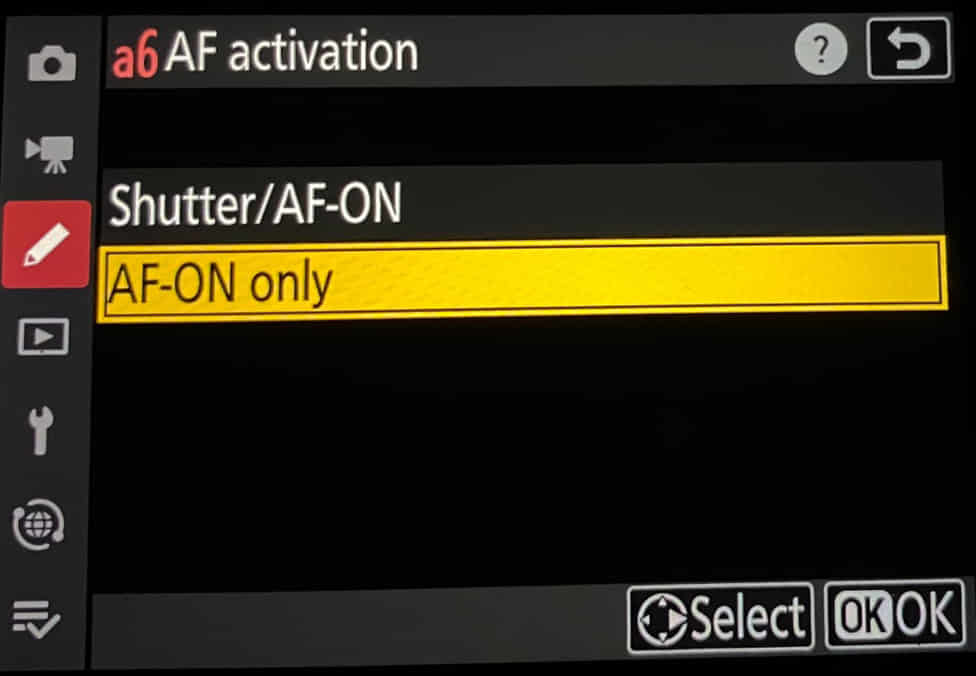
SHOOTING TIP #1: If you are not using back button focus I strongly urge you to give it a try. For a more detailed explanation on why you should consider back button focus head on over to my post entitled, ” Back Button Focus – They Key To Better Focus With Your Camera.”
Setting back button focus on the Nikon Z9 is very simple. Go to a6 in the custom settings menu and select AF-ON only as shown in the image below.
SHOOTING TIP #2: Many wildlife photographers shoot in aperture mode as their go to. Over the years, I have had great success with shooting in manual mode with Auto ISO Sensitivity Control turned On. I set the shutter speed and f/stop and let the camera change the ISO on the fly to provide me with the correct exposure. This works very well for birds in flight especially when the backgrounds are ever changing from dark to light. For a detailed explanation with sample wildlife images and to see how high you can push the ISO on a Nikon Z9 you’ll want to read my post entitled, “Nikon Z9 | High ISO Field Test”
This is where the world of choice really begins. The Nikon Z9 has added some new and exciting AF modes that are fantastic for capturing birds in flight. I’m going to list each one below, however I have highlighted those that are my go to AF-area modes.

The Nikon Z9 has nine subject types including humans, pets, birds, airplanes, trains, cars, motorbikes and bicycles. When in Auto-Area AF, any of these subjects will automatically be detected and focused on, without the need to change settings.
With Eye-Detection AF, the camera can detect and focus on a subject’s eye even when those eyes are smaller or further away.
As a wildlife photographer, I have mine set to animals. I’m not sure if it is any faster to acquire focus than leaving the setting in auto, but since I never intend to shoot anything other than wildlife I made it my default setting.
As an aside, I’ve been asked a lot about my image processing workflow, here’s a quick run down of my steps.
Go to any of the links above to start a free 30-day trial.
PRO TIP: Purchasing the Image Quality Bundle with all 3 products saves you $$$ and using coupon code coolwildlife15 saves you 15%. Click on the image below to go directly to the IQ bundle.

Please take note, the birds I shoot are large in size, owls, raptors, ducks, loons, herons and the like. For those of you who shoot smaller song birds you may find the other focus modes work better than the recommendations that follow.
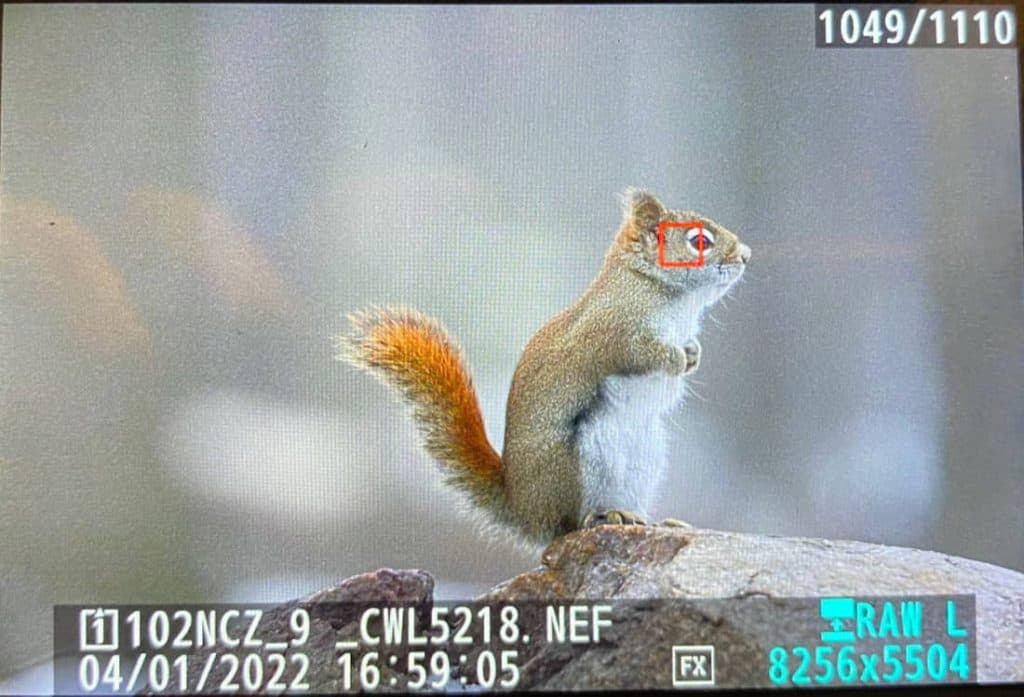
When I am not shooting wildlife on the move this is the AF mode I use most. This is a great option to focus on the eye of a bird that is perched in a tree or a red squirrel in this case. This AF mode allows you to place one single AF point on the eye and maintain that focus point throughout your shooting while half pressing down on the shutter button or AF-ON for back button shooting. You can use the joystick to quickly position that focus point over the eye should you need to move it. Exhibit A, the focus point on this squirrel could be moved one AF point to the right. And yes, of course I did this for demonstration purposes.:))
If you’re coming over from a DSLR you’ll be very familiar with Dynamic area. The biggest change from your DSLR or other Nikon Z mirrorless camera is that you now have three options within Dynamic-area AF.
You will now see Dynamic-area Small, Medium and Large
In the viewfinder of the Nikon Z9 you’re now going to see nine focus points with a square around the middle focus point. The camera focuses on the center point selected by the user but if the selected point loses the subject the camera focuses based on information from the other surrounding points. Once you are locked on to your subject the focus points turn green as shown in the crappy photo below.
This is NOT an AF-area mode that I will use in my wildlife photography and so I have taken them out of the selection menu. The wide area and 3D tracking AF-area modes are just that good that I no longer have a use for Dynamic-area. Ok, it’s early on in my testing so if anyone has a difference of opinion please feel free to leave me a comment.
To remove any of the AF-area modes that you do not intend to use go to a8 Limit AF-area mode selection and uncheck those that you do not intend to use. Now when you access your AF-area modes those that you unchecked will not appear.
So far in my testing wide-area large has provided me with the best keeper rate for birds in flight. Both wide-area small and large engage AF subject detection and it works very, very well. You will see a red box in your EVF at first. Once you press your shutter halfway down, or the AF-ON button if you are using back button focus, as soon as the subject is in focus that red box will turn green. If that subject has an eye, a small green box will highlight the eye.
In your EVF you now have a large box over the subject and a small green box over the subjects eye. Your goal is to keep the subject within the frame of the larger box and the camera will maintain focus on the eye. It’s so good, that even if the subjects begins to leave the larger box the eye detection keeps focus on the eye as long as it can.
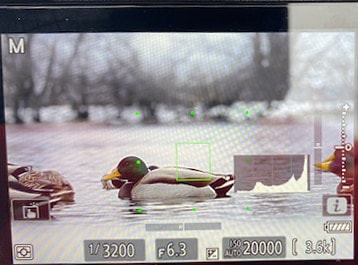
Pro Tip: The image below is an an excellent example of just how sticky the AF subject is. Once I locked on to the female mallard ducks eye that little green box did not let go even when the male mallard got in tight to her. I believe this is aided by having a3 Focus tracking with lock on set to delayed (5) and subject motion set to Erratic.
Setting this to fast (1) will allow the camera to move from subject to subject more quickly. This is not a setting that you should set once and never visit again. There will be times when I want the camera to move from subject to subject and in that case I will set focus tracking with lock on to fast.

Now that you have my recommendation, come back to this video to see just how good the Nikon Z9 autofocus is. I tracked this female mallard duck through sense branch cover and the autofocus was glued to her eye without ever loosing focus to the surrounding branches.
This is my second favorite AF-area mode for birds in flight. You’ll begin with a white rectangular box in your EVF. That box will turn green once you have locked onto a subject. As is the case with wide area AF, 3D tracking also engages AF subject detection. If the autofocus detects an eye that larger box will get smaller and highlight the eye green once locked on. As long as you have kept pressing your shutter halfway down, or the AF-ON button if you are using back button focus, the eye will remain in focus.
That is if you can keep your subject in the frame. It even does a good job when your subject approaches the outer borders of the frame, so it is forgiving.
I found 3D tracking a little more difficult to lock onto a bird in flight than I did with wide area AF. However, once the subject is locked on and the eye is detected it is very sticky.
![]()
The Nikon Z9 auto-area AF automatically detects the subject and selects the focus area. If there are multiple birds in the frame, it will focus on those that are largest and closest to the camera. I’ve never been a fan of Auto-area AF as it gives all control over focus to the camera and I’m a bit of a control freak. However, I did want to give it a try with the new Z9 if nothing else but to report back on how well it did.
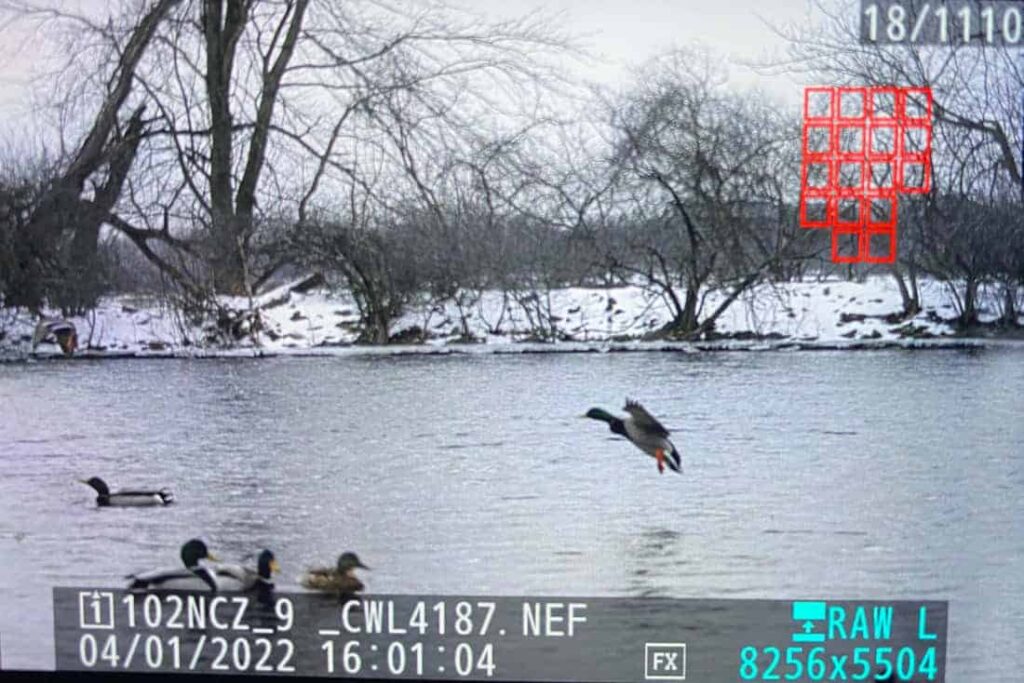
I think it might do alright when there was no background and just a bird against the sky. As you can see from the image below this mode totally missed picking up the duck and took a stroll over to the background. As you may have guessed, I was less than impressed and this is not an AF mode that I will be using for birds in flight. I don’t even see myself using it when the bird is against a plain sky with no background because wide area large is just has that scenario covered.
My recommendation for shooting larger birds in flight would be to first give wide-area large AF with animal subject detection tracking enabled. This is the mode that yielded the best keeper rate for me. I did try wide-area small however for larger birds wide-area large found the bird quicker in my testing.
In addition, 3D tracking with animal subject detection tracking enabled yielded very favorable results as well. If you can get an initial lock on the bird the eye detect will stick like glue provided you can keep the bird in the frame.
I have already made the decision to kick Dynamic-area and Auto-area AF to the curb for birds in flight. The days of trying to track a bird in flight with single point or dynamic-area are over. It’s time to turn a little more control over to the camera and rely on the Z9’s crazy good auto-focus to make a better photographer out of me.
For birds that are not active such as an owl perched in the tree I recommend you stick with our old faithful single point AF. Program it to a function button so you can easily switch to it when a bird in flight finally lands on a nearby perch.
I intentionally did not mention Pinpoint AF as it is stated in the manual as possibly being slower to focus than single point AF.
If you pre-ordered or have received the Nikon Z9 then you’ll want to be thinking about what accessories you need to purchase to make the most of your new camera.
Pro Tip: Do not wait to place your order as many of these products are already on lengthy back orders due to manufacturing, shipping and chip shortages.
Below are a just a few of the accessories you’ll want to be thinking about for the Nikon Z9? If you want additional details on these items and why I chose them, head on over to my post entitled,
Nikon Z9 | 11 Must Have Accessories For The Z9.
Bonus: Nikon Z 100-400mm Replacement Foot B&H Price Check
If you’re interested in receiving more content like this, hit the subscribe button at the bottom of this page and you’ll receive an email every time there is a new post. I’ll have a lot more coming your way in the coming weeks.
Thank you so much for supporting my channel.
If you shoot birds in flight or fast action wildlife you’ll want to check out this video on how to use the Nikon Z9 120 FPS for capturing even more great images.
For those of you interested in shooting video, especially 8K, I have recorded a YouTube video that shows you how to pull a still image from your video. The results may surprise you.
Nikon Z9 step-by-step guide on how to replace the original Z9 eyepiece with a Hoodman HoodEYE eyecup that was made for the Nikon Z6/Z7. The full instructions below will walk[…]
Read the post.
A step by step complete menu settings quick start guide for the Nikon Z9. How to set every menu setting so it is optimized for shooting birds in flight and[…]
Read the post.