

8K Video Enhancer
Topaz Video Enhance AI
Topaz Labs Video Enhance AI is best known for its ability to upscale video from SD/HD to 4K/8K and it does an amazing job. However there’s a hidden gem that no one talks about that got me very excited. That’s the ability to extract a single frame from a video and render a tiff that is of very high quality.
If you prefer to go directly to the Topaz Video Enhance AI page without reading this blog post click here Topaz Video Enhance AI. Apply our Topaz Labs Coupon Code coolwildlife15 to receive an automatic 15% discount on all products.
I only intended to do a four part review on the Topaz Suite of products that I use in my Wildlife Photography editing workflow. In part one I reviewed Topaz Denoise AI v2.0 which as the name implies is used for minimizing noise created by high ISO settings. The second review was for Topaz Sharpen AI which demonstrated not only sharpening but how slightly out of focus images could be brought back in to focus and done selectively to only the parts of the image you wish to have sharpened. Part three reviewed Topaz Gigapixel AI used for upscaling images up to 600% while perfectly preserving image quality. And finally part four reviewed Topaz JPEG to RAW AI for converting JPEG images to a RAW DNG format for editing in Camera RAW.
Topaz Labs are well known for this suite of photographer tools but not as many are aware that Topaz Labs entered in to the video enhancement game with Gigapixel AI for Video a few years back. And most recently, Topaz Labs announced a new and vastly improved version for video enhancement known as Topaz Video Enhance AI.
“THE OMG GAME CHANGING MOMENT”
A MUST READ FOR WILDLIFE PHOTOGRAPHERS
What I just discovered has changed the way I will shoot wildlife moving forward. Topaz Video Enhance AI allows you to convert every frame of your video files to a TIFF image. Not unique you say, others do that, true. Up until now you could pull out a relatively small image file from your video but it really wasn’t all that worthwhile as the quality sucked. That all changes with Topaz Video Enhance AI. I took a 1920×1080 video source and set the preset to 400% at 16 bit (not 8 bit) and the resulting TIFF files were 7680×4320 and 190 MB.
This really was an “OMG” moment for me as it totally changes how I will approach my wildlife photography in 2020. The sample image below of a Northern Hawk Owl is a great example of what I am taking about. This image is a TIFF file extracted from the original 3840 x 2160 video source and set to 200% which resulted in a 7680 x 4320 file at 190 MB. Note, I could have taken that file to 400% and doubled that size if I so desired. I was blown away by the quality of this image and as a result I will be shooting a ton more video in the coming year. Click on the image to enlarge.
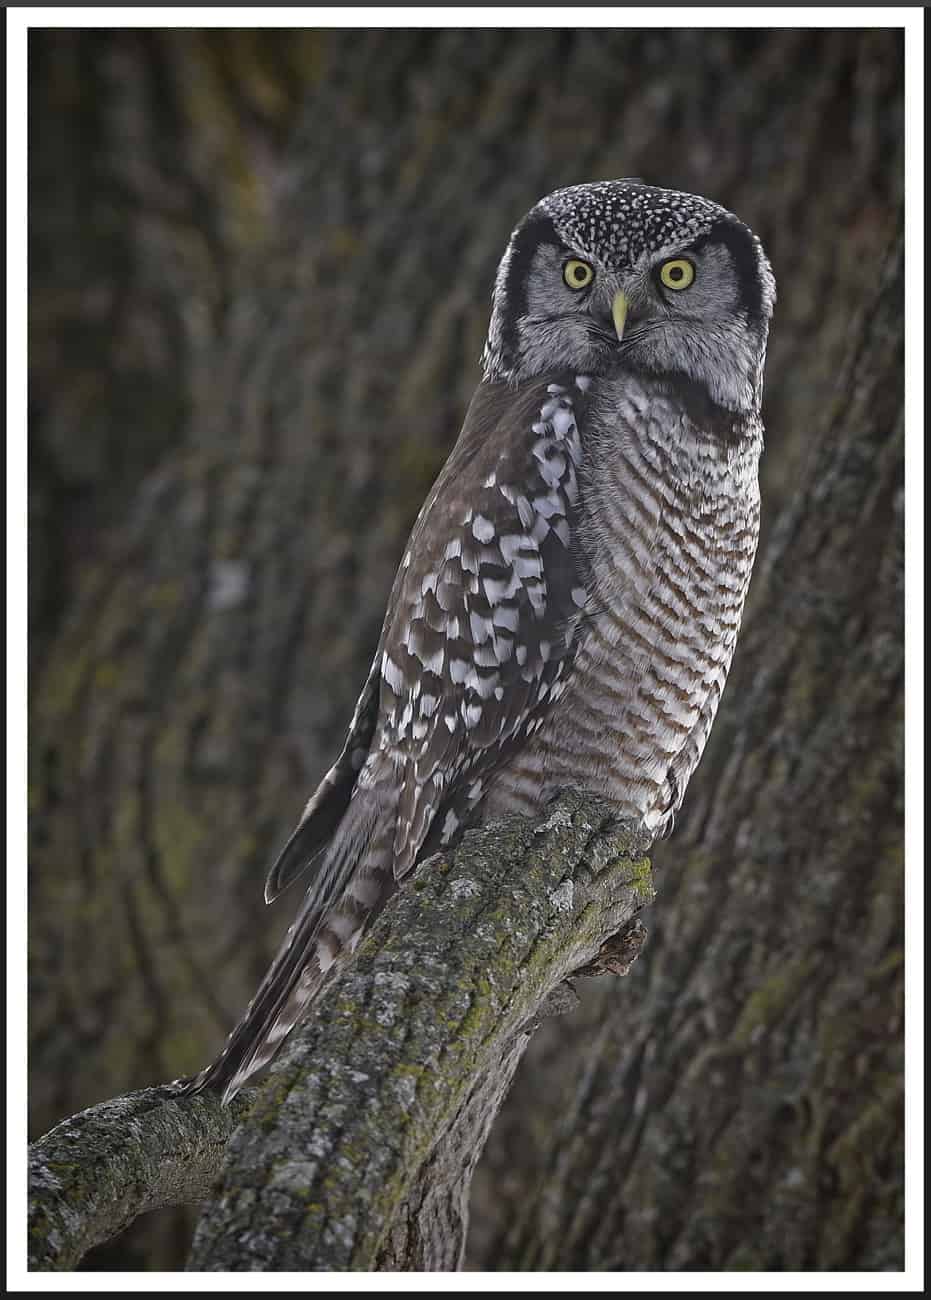
Hawk Owl Topaz Video Enhancer AI TIFF | 3840×2160 source at 200%
TWO MORE REASONS WHY TOPAZ VIDEO ENHANCE AI IS A WINNER:
NO NEED TO CHOOSE: No more trying to decide whether you should shoot video or stills. If you’re like me you’ve wrestled with whether to shoot stills or video at a particular moment in time. And often times when I am shooting video and some great action sequence happens I’m kicking myself because I wished I had captured the still and made the cover of National Geographic.:)) Problem solved, I can now shoot video and pull out the best frame and get a very high quality result. And of course I end up with great video footage as well.
FRAMES PER SECOND: Most wildlife photographers are carrying DSLR’s that shoot between 5 and 12 frames per second (fps). While shooting stills you really need to be focused to capture that split second moment when the owl coughs up a pellet or the sun hits its eyes and creates the perfect catch light. I can’t even begin to tell you how many great shots were missed because I was not fast enough on the shutter or god forbid I was chimping, almost never happens.:)) Using my Nikon D850 as an example, my video selection is usually 24 or 30 fps but I expect some of you are probably carrying cameras capable of 60 and 120 fps. Just think about how many more frames you’d have to chose from as compared to shooting stills.
The video below walks you through step by step how to extract a high quality TIFF image from your video source.
BUT WHAT ABOUT VIDEO ENHANCEMENT?
Topaz Labs states that their video enhancer AI software trained on thousands of videos and combining information from multiple input video frames, Topaz Video Enhance AI has the ability to enlarge your video up to 8K resolution while retaining true details and motion consistency.
Digital cameras have come a long way with respects to video over a relatively short period of time and many of us have a catalog of video ranging from 720/1080 and 4k that we have taken over the years. And with 8k on its way wouldn’t it be great if you could use a VIDEO enhancer tool to breath new life in to some of those amazing video captures you made at lower resolutions? In this next part of the review I put Topaz Video Enhance AI through its paces to see just how well it upscales some of my own wildlife video’s.
As with all Topaz Labs products installation of Topaz Video Enhance AI was very straight forward with no issues. Once installed and you fire it up you will be presented with the three pop up pages below which you can choose to turn off once you’ve read and understand it the first time. There really is not a whole lot to this software, but I recommend you read the three pages, those provide you with all the instruction you need to get started.
This new program will clean up (reduce noise), sharpen, and upscale videos up to 8k. Of course if the input video is very poor (low resolution, smeared etc.) you will not get amazing video enhancement on the back end. However if the input video is fairly decent you will see amazing improvements in the output.
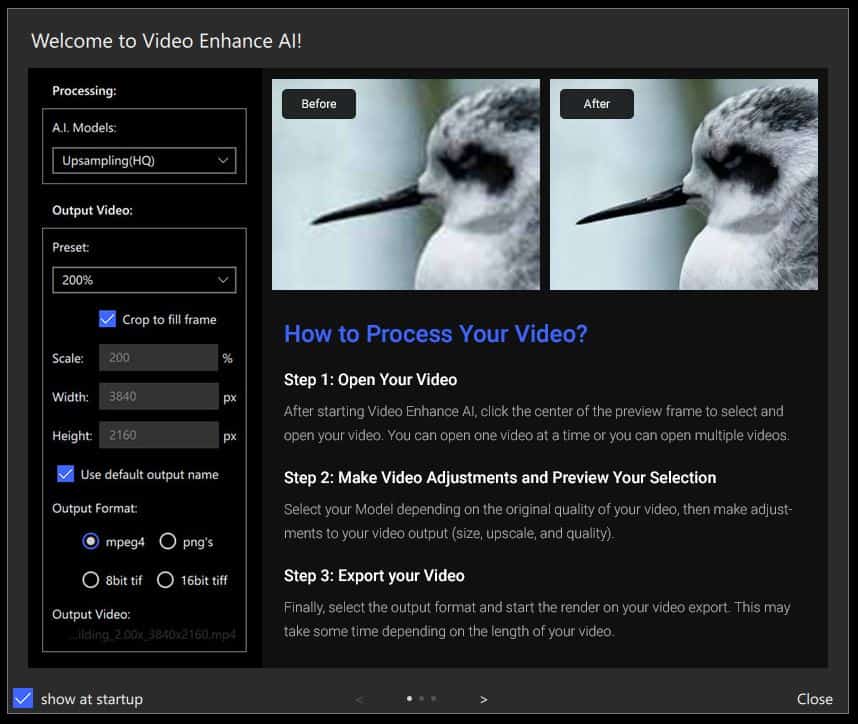
Topaz Video Enhance AI Splash Page 1
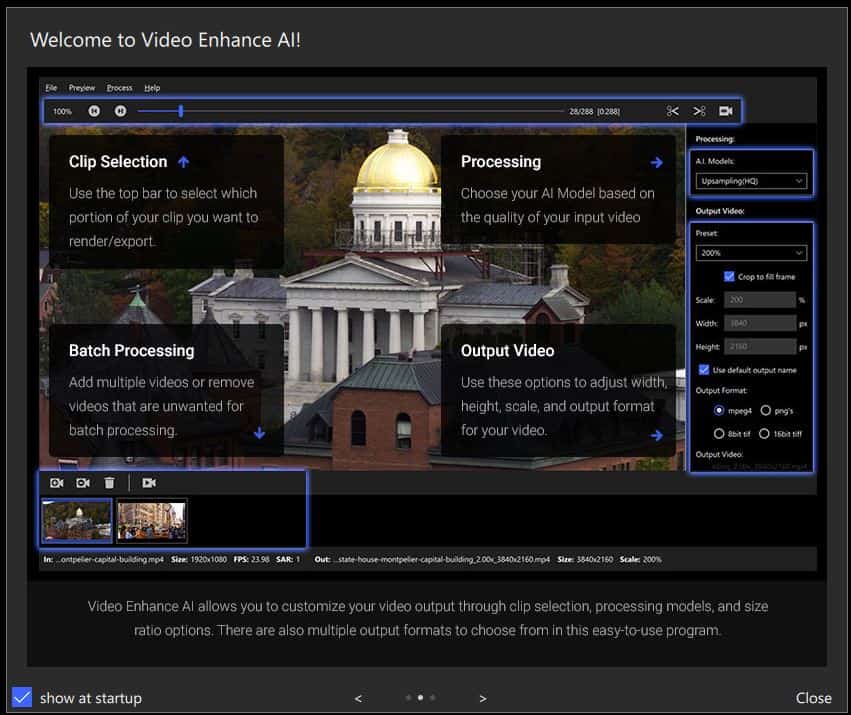
Topaz Video Enhance AI Splash Page 2
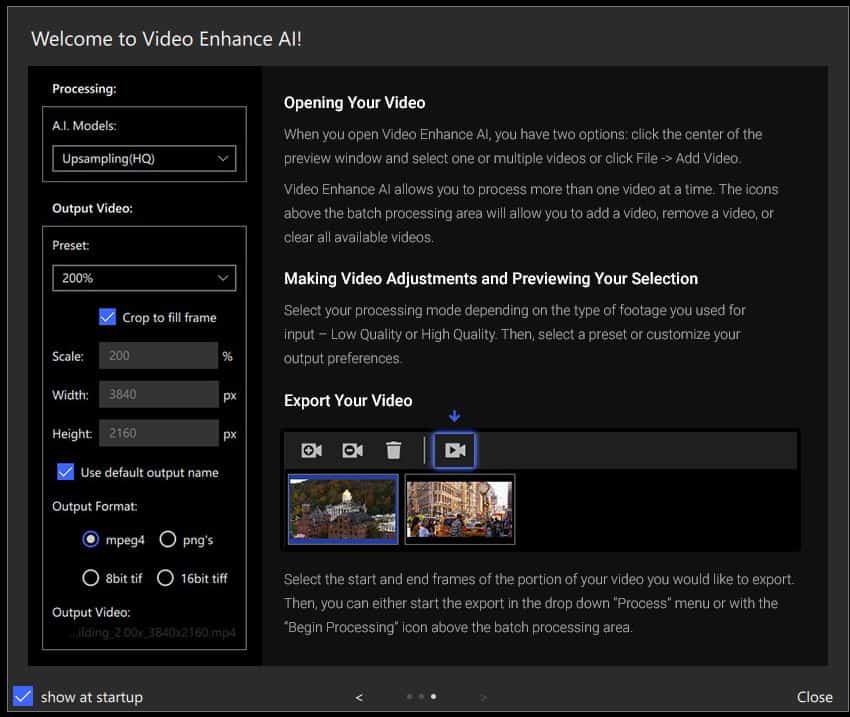
Topaz Video Enhance AI Splash Page 3
Getting Setup For Your First Video Enhancement
I have provided a step by step video below on how to use Topaz Video Enhance AI from start to finish to enhance your video’s. If you prefer to read the text version the steps are below for your review.
There are a only few steps you need to take in order to get the best result from your video enhancement.
- Topaz Video Enhance AI allows you to choose the quality level of your source from three options: Low quality (720×480), High Quality (HD/1080p), HQ-CGI. HQ-CGI boosts anti-aliasing in CGI scenes. You’ll need to view the properties of your source file to determine the quality of your input source. To put in in simple terms, think of upscaling 720 content to 1080p and high quality input to 4k or 8k.
- Choose your output file name
- Select your our desired level of upscaling (200 percent or 400 percent )
- Hit the radio button for the file format you want to output in. For the purpose of video upscaling that will be mpeg4
- Select your starting and ending frames. You’ll see a pair of scissors as shown top right in splash page 2 above which allows you to set a beginning point and ending point so you only need to convert what you want in the final product.
- Hit the start button and viola the frame by frame processing begins.
- Once completed you will see a new video file in your source folder.
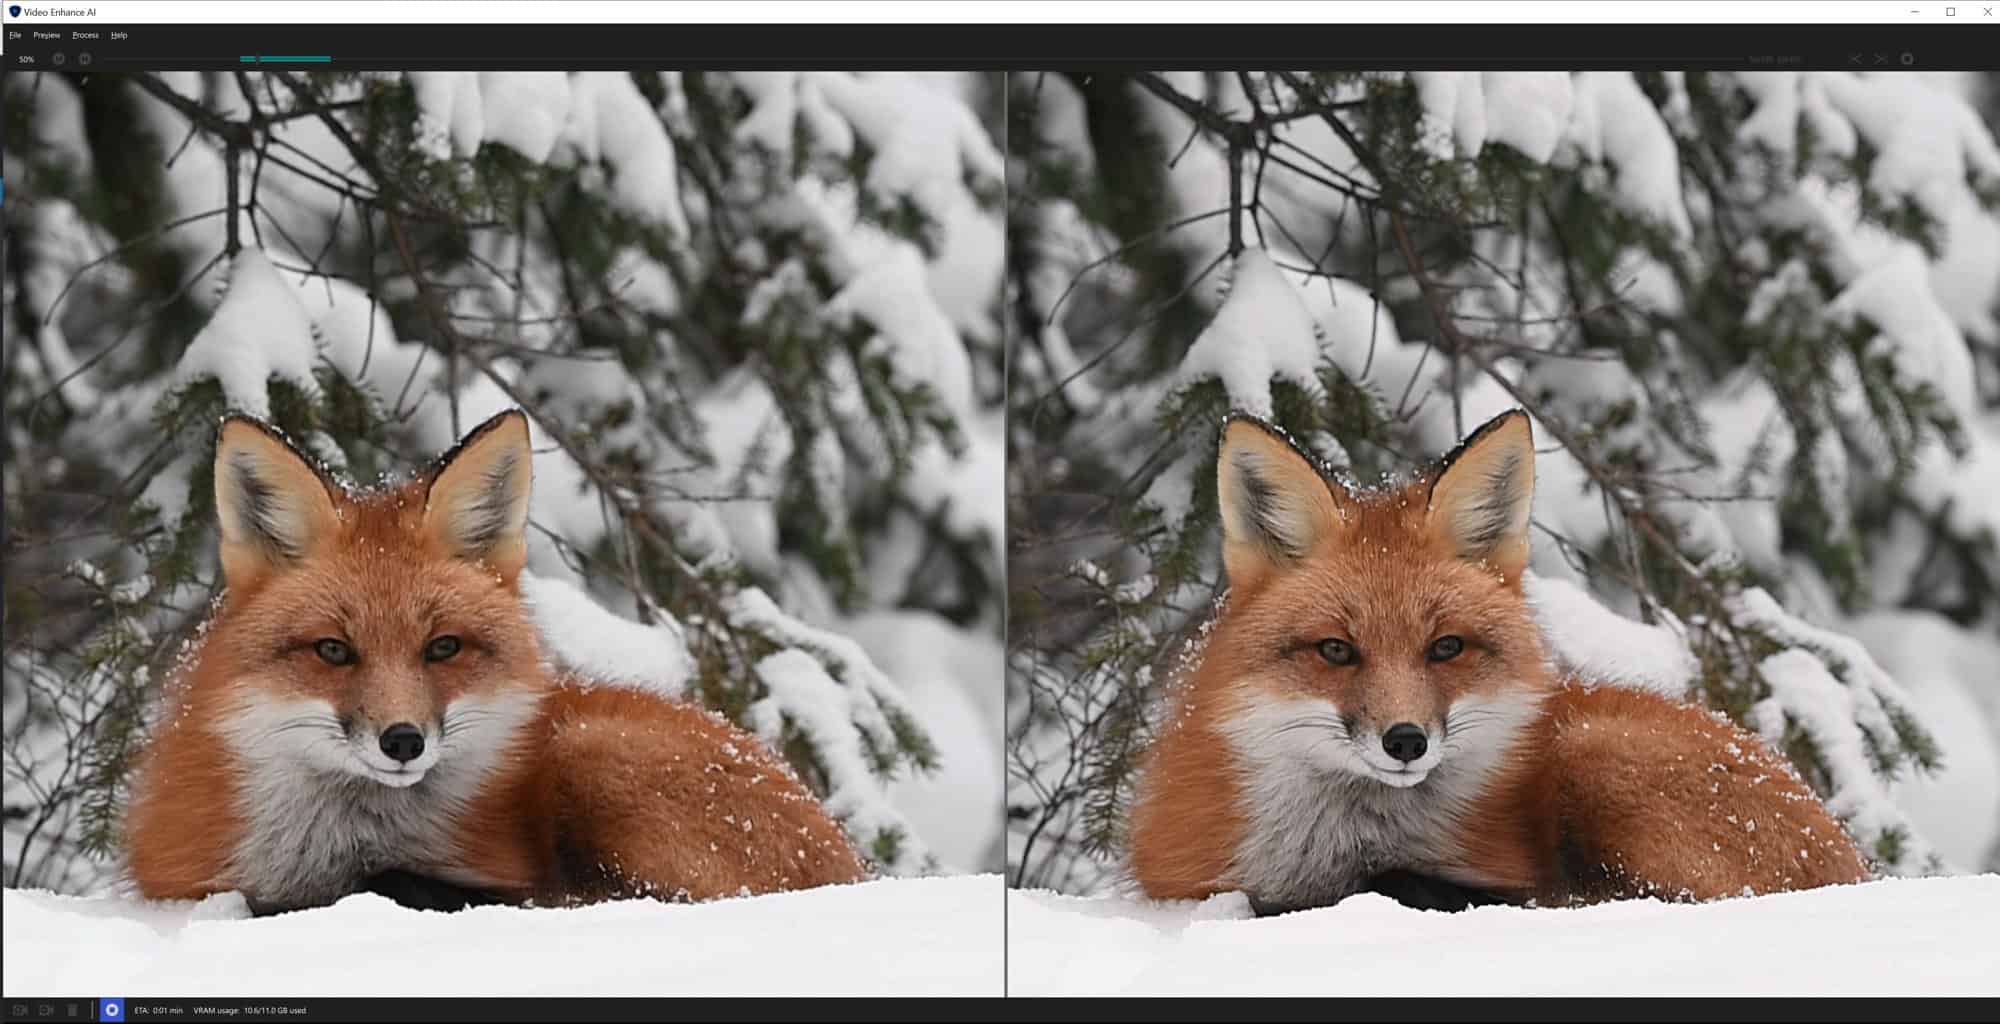
The speed of rendering is dependent on the length of the video you are upscaling and the power behind your PC. In either case this is one of those start the process and go do something else moments as this process takes a while. However if curiosity gets the better of you and you stick around the first time, what you will see is a screen like the one shown below with your original source being shown on the left and your conversion view on the right with each frame being converted one by one. It’s a little like watching fish swim in an aquarium, I kind of liked it, but I’m easily entertained.
As you can see from this sample there is a noticeable difference between the 1080p on the left and the 8K on the right. Click on the image to enlarge to really see the difference. I especially notice the additional detail in the fur and the eyes in these two side by side images. The resulting video enhancement footage is very impressive to say the least.
Topaz Video Enhance AI Upscale 1080P to 8K
CONCLUSION:
If you’re a wildlife photographer, and you enjoy capturing video, you really should consider having Topaz Video Enhance AI in your toolkit for two very good reasons. The first being the ability to selectively pull very high quality still images from your video footage. Secondly, through video enhancement you can give all those years of 720/1080/4k video stock a fresh new look, up to 8K. Remember to use Topaz Coupon Code coolwildlife15 to get a 15% discount on all of your Topaz plugins.
System Requirements: 1. Need nVidia GPU >4GB VRAM to run fast (CPU can run but quite slow). 2. Windows 10 platform, Mac OS 10.12 or higher