

Topaz Labs’ Studio 2 software lets you make small tweaks to color and contrast or major visual edits to your image via masking and texturing. Today, few photos go online without a bit of editing done first. You can edit images from within social media platforms like Facebook, Twitter, or Instagram using built-in filters. In the realm of pro photography, you might want to take a more sophisticated approach to editing than relying on these basic social image filters.
For that level of editing, there’s Topaz Labs’ Studio 2. If you’re willing to put in a bit of time with the software, you can use Studio 2 to enhance your photography so each image is some of your best and most creative work yet.
If you’d prefer to go directly to the Topaz Labs Studio 2 page and skip the review, click that link. You can even get a 15 percent discount by using the coupon code coolwildlife15 when checking out on the Topaz Labs’ website.
This is part two of three reviews for the tools within the Topaz Creator Bundle. Last week, I discussed Topaz Mask AI, and next week, I’ll go in-depth on the Topaz Adjust AI tool. If you want to learn about the Topaz Utility Bundle, I previously reviewed all the tools in there as well.
The Topaz Creator Bundle comes heavily recommended on my part to fellow photographers, as it lets you make creative, sometimes sweeping adjustments to your images in post-processing. For wildlife photographers who are purists or entering photo contests this software will be over the top. For landscape, florals, insects, etc. Topaz Studio 2 can produce some truly creative results that I think a lot of you will really like.
Today, you’ll learn about Studio 2’s wealth of features so you can decide where it may fit in your post-processing workflow.
Why Use Image Editing?
Every time you take a picture on your camera, it undergoes some processing, even if you never open Photoshop, Studio 2, or your image editor of choice.
If you shoot your photos in JPEG, the resulting file is color-corrected, undergoes some noise reduction and sharpening, maybe some contrast, and then comes back to you as a JPEG file. You can always switch from JPEG to RAW using Topaz Labs’ JPEG to RAW AI, which is part of the Topaz Utility Bundle.
The point I’m making here is that image editing is not voluntary in the world of photography today. Your camera will do at least some processing unless you shoot in RAW. With either file you’re going to want to perform some level of image editing so your photos pop even more.
Here are a few convincing reasons to use an image editing software like Topaz Labs’ Studio 2.

Take Your Photos from Ordinary to Extraordinary
You waited for hours to get that shot of wolves running across the snow with the glow of sunset. At the time, you felt confident that you nailed it, but when you get home and look your images they seem a bit flat. Maybe a bit of color correction or enhancing could boost the volume of your photo so it makes a better impression.
Build a Professional Looking Portfolio
The difference between a good photographer and a great one is that a great photographer puts in time behind the lens and on the computer (or tablet, etc.) making their photos the best they can be.
When you have a portfolio of jaw-dropping images that are sharp, clear, concise, and beautiful, you can use that portfolio in a variety of ways. Maybe you sell prints of your work or start a photography tour business.
Find Your Own Creative Style
As you play around with tools such as Topaz Studio 2 and explore all the features, you’ll develop a familiarity for the software. This familiarity may allow you to find your own creative style with your editing. Perhaps you become known for your vivid, electrifying colors or the way you create a motion blur that’s lifelike but not distracting. When you combine this creative style with your portfolio, now you’re really going places.
To Save an Otherwise Great Image
We’ve all been there at one time or another. You take what is otherwise an amazing picture, but something bugs you about it. You wish you could tinker with the exposure somewhat, increase the white balance, or even edit out the tree branch in the corner of that A+ shot of Great Horned Owlets on the nest.
The little blemish on your photo bothers you so bad that you almost want to discard the whole thing, even though essentially, you know it’s a fantastic shot. With a few minutes in an image editor, you can remove the distracting element and finally appreciate the quality of your photo.
When Should You Use an Image Editor?
Some photographers may process all their shots through an image editor like Topaz Labs’ Studio 2. Others might prefer a combination of “lightly processed RAW” photos and minor touched-up images. Whichever is your choice, having a good, go-to image editor is a must for every photographers workflow.
Your Photo Has Dull Colors
What you see with your eyes doesn’t always come out quite the same way on your monitor. In some instances, such as a snowy backdrop, a monochromatic approach should suit you. If you found a more colorful vista like a bustling garden or a lively jungle, then you want every last shade of blue and green to be distinguishable.
A simple cleanup with your image editor can bring out those colors just as you remember them.
The Photo Isn’t Blurry, But It Needs Sharpening
In wildlife photography especially, the viewer appreciates being able to see every last hair on that grizzly bear or all the details of an eagle’s feathered wings mid-flight. If some of those fine details got lost and could be clearer, using a sharpening tool can display the gorgeous nuances you captured with your camera.
You Want to Switch to Monochrome
Let’s be honest: most of those black and white filters that come with your smartphone or social media app are okay at best. For pro photography that looks professional even when edited, you want a monochrome tool that doesn’t remove any of the texture and tone when you get rid of the color.
Your Photo Has Too Much Noise
In the great outdoors, the sunlight is your lighting. Thus, in darker conditions or on days when the sun isn’t behaving, your photos might end up looking grainy or noisy. I reviewed Topaz Labs’ Denoise AI as part of the Topaz Utility Bundle a while back, and that’s one such tool you can use for cleaning up noise.
An image editor like Topaz Studio 2 can also remove noise through AI for cleaner photos you’ll be happy to show off.
You Want to Mask Part of the Image
Image masking is a godsend to today’s photographer. You can use translucent image masking for translucent elements in your photos, transparency masking for cleaning up the background from a translucent image, and complex layer masking for taking a foreground element and removing it from the background.
I covered the types of image masking in my Topaz Mask AI review if you missed that.
Image masking lets you reuse foreground elements in a brand new way, giving your photos twice the life.
The Features of Topaz Labs Studio 2
If you’re chomping at the bit to learn more about Topaz Studio 2 and its features, you’re going to want to keep reading. Here’s an in-depth explanation of everything within this software.
Opacity Tweaking
Not all your adjustments necessarily have be overt and bold. A simplified approach to your photography like opacity tweaking, when combined with a few effects, lets you transform your photo into a compelling one with rich color throughout.
Masking and Adjustment Tools
Included in Topaz Studio 2 is a small army of tools you’ll surely rely on often. The first of these is the Luminance Tool.
Luminance Tool
With the Luminance Tool, you can create a mask based on how bright your image is. If the lighter elements are separated from the background clearly enough, the tool generates your mask in moments. Even if you want to adjust shadows or highlights, the Luminance Tool is handy for that as well.

Color Tool
The Color Tool is next. Instead of creating a mask based on foreground and background brightness, the Color Tool uses color separation for your mask.
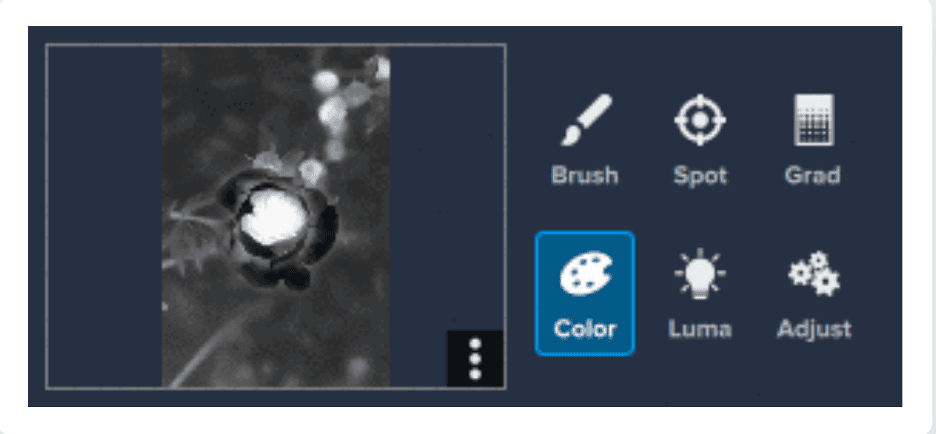
With your image open in Studio 2, use the eyedropper tool. This will highlight portions of your image based on color. You can make small edits to these parts so your reds look redder and your greens greener!
Gradient Tool
Using the context-aware Gradient Tool, you can create filters with a more neutral density, but without having to do any of the figurative heavy lifting yourself.

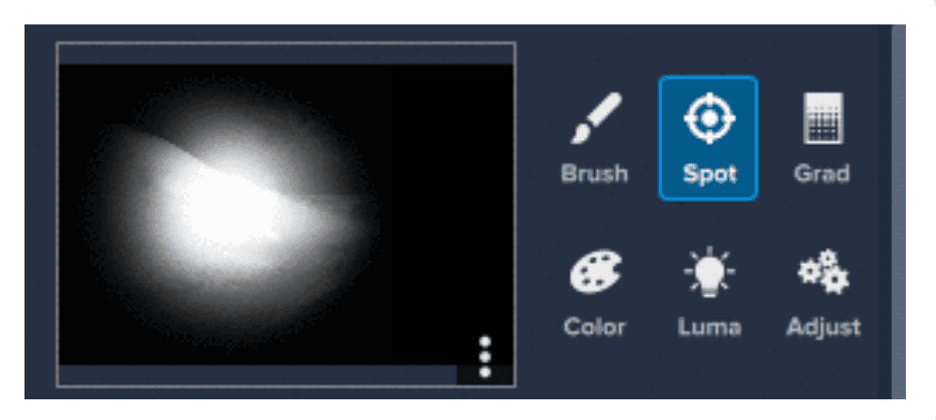
Spot Tool
The Spot Tool lets you add emphasis to certain parts of your image, such as making a foreground subject more apparent or even bringing out certain elements of the background. With color and edge awareness, you can use this tool freely without the need for much mask refinement.
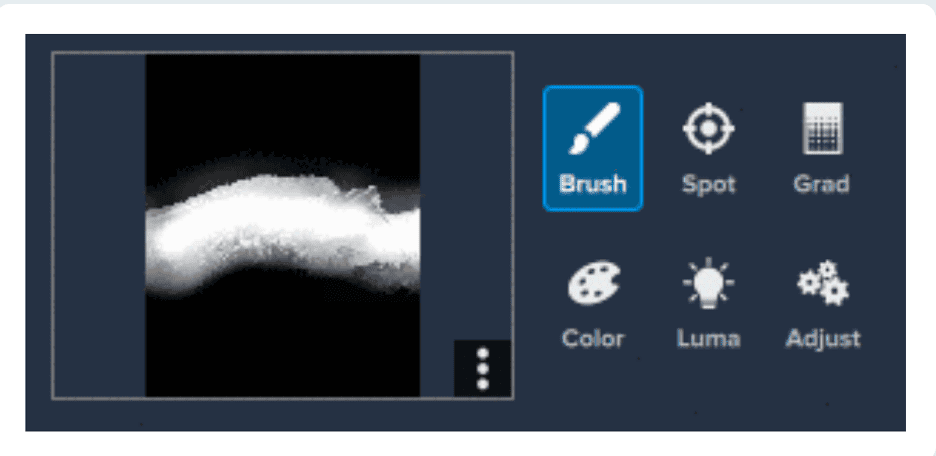
Brush Tool
The last tool in Topaz Studio 2 software is the Brush Tool. If you want to make adjustments to a portion of your image, you select this brush and get painting. Since it’s edge-aware, you can go outside the lines freely without interrupting other elements of the image.
Glow
Studio 2’s Glow feature is one that deserves a lot of praise. The lighting effects are quite obvious, yet they create a beautiful, stunning, sun-kissed quality to your photos. If you couldn’t necessarily do the same when photographing your subject because the conditions were dark or cloudy, the Glow feature more than makes up for it.
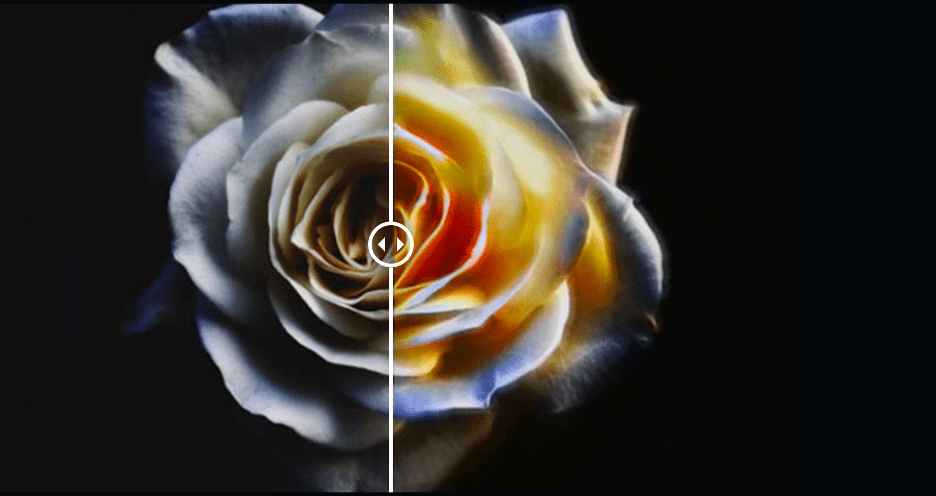
You can even introduce effects in neon and electric hues if you want your photography to have a certain radiance to it. With more than 30 filters to choose from, you can be as heavy-handed or paltry with the lighting effects as what fits your photography.
Impressions
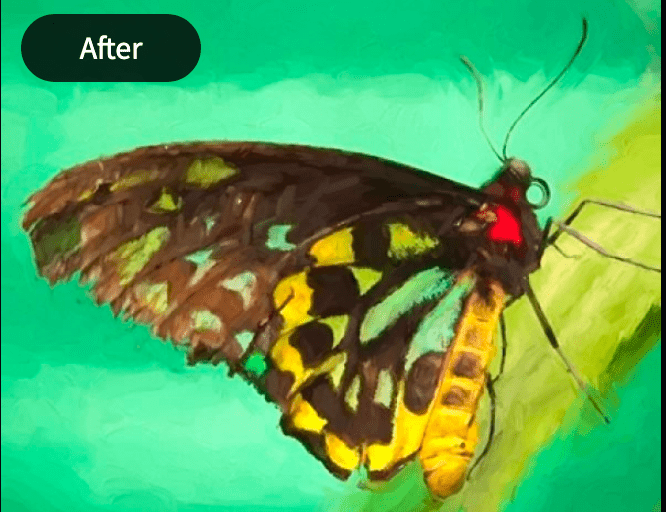
Topaz Impressions produce an effect that’s as though someone took a paintbrush to your photography and recreated it brushstroke by brushstroke. This form of processing does utilize real brushstrokes–well, real digital ones, that is–intelligently so the result is utterly classy and charming.
I talked before about how image editors let you create your own personal style. Maybe you take your photos and apply the Impressions filter so they look like a great artist painted them. That’s certainly one option you have!
Texturing
Do you want a soft, dreamy water-like texture or a rough one like fur? Perhaps you like a feathered texture or a sepia tone for a vintage effect. No matter what kind of texture suits you best, I’m confident you can find it in Topaz Labs’ Studio 2.
You get more than 200 different textures to work with. You can use these individually or combine them with other textures for nearly endless combinations. You can easily get lost in the texturing feature for hours playing around with all the options for any of your photos. You’ll want to try this for yourself, as you’ll certainly find a creative way to reinvigorate your images!
Filters
In a professional context, filters are a convenient, awesome way to quickly shape up an image. You can create more contrast, make an image monochrome, or bring out blues and greens just by switching through a few filters.
Of course, this is Studio 2 we’re talking about here, so you get far more than just a few filters. Topaz Labs calls its pre-built filter groups Looks, of which there are more than 200 to play around with.
Each requires one click, so you’ll probably be clicking around quite a lot to see what your options are. You can’t combine Looks like you can with textures because they come pre-built, but there’s more than enough here to satisfy any taste and style.
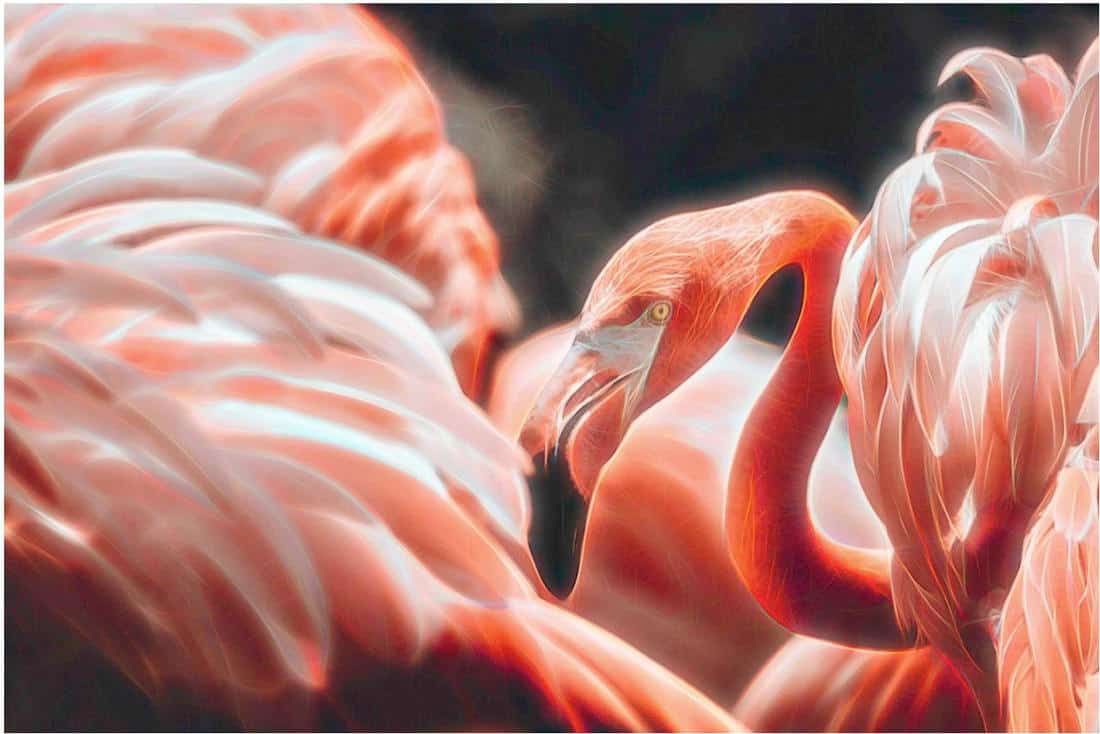
Monochrome
As I talked about before, you can slap a black and white filter on a picture using your smartphone, but you tend to lose some of the details when you do. Topaz Studio 2 took into account everything that makes a photo as rich and luscious in monochrome as it does in color, maintaining your photo’s original texture and tone while introducing stunning mid-gray tones.
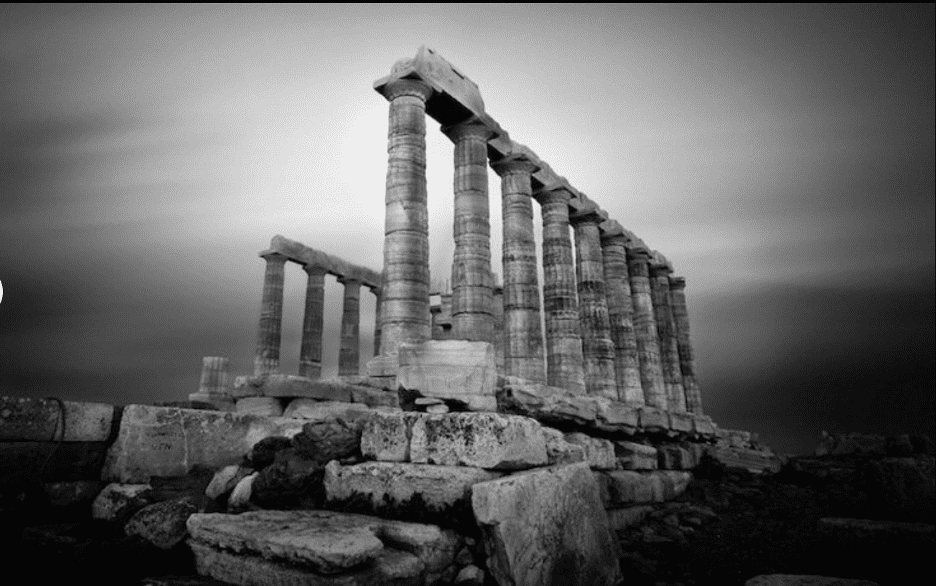
Here’s a great example of the image quality that the black and white filter produces.
Sharpening
With many photo editors, when you play around with sharpening, you often end up with an unintended consequence: more edge contrasting. This can introduce halos and artifacts you don’t want in your image.
With Topaz Detail, you can sharpen and sharpen alone, no edge contrasting involved. Topaz Labs says this adds a sense of three-dimensionality to your images that didn’t exist prior.
AI Clear is another sharpening feature that doubles as a denoiser. Some Topaz Labs users call it one of the best features the brand has ever come up with.
Precision Contrasting
When you decide you want it, Studio 2 delivers a level of contrast that is somewhat unique. Rather than use a slider that either way underdoes it or majorly overdoes it on the contrast, Precision Contrast relies on micro-contrast for a tone and crispness that makes your photos look utterly lifelike.
Topaz Studio 2 For Wildlife Photography
Disclaimer: Any of the creative options discussed below would not be acceptable for entry into wildlife photo contests
I was of the opinion when I started reviewing the Creator Bundle that I would only use Mask AI and Adjust AI. I thought of Topaz Studio 2 as a stylistic/impressionist tool which is totally not how I want to edit my wildlife images. And while Topaz Studio 2 certainly has those very stylistic options it also has tools that I found quite useful for my wildlife photography. The image below of a wolf pack is one that has won many awards and I love it in its original form which is the first image below. But I wondered if I could make it look even better with some creative editing.
Original Image

Topaz Studio 2 Bloom
I used the Bloom tool in Studio 2 to soften the original image as I had always wished that the trailing wolves were a little more out of focus. This would serve to draw the viewers eye more to the lead wolf. Bloom does a great job of softening the trailing wolves but it also softened the lead wolf which I did not want.
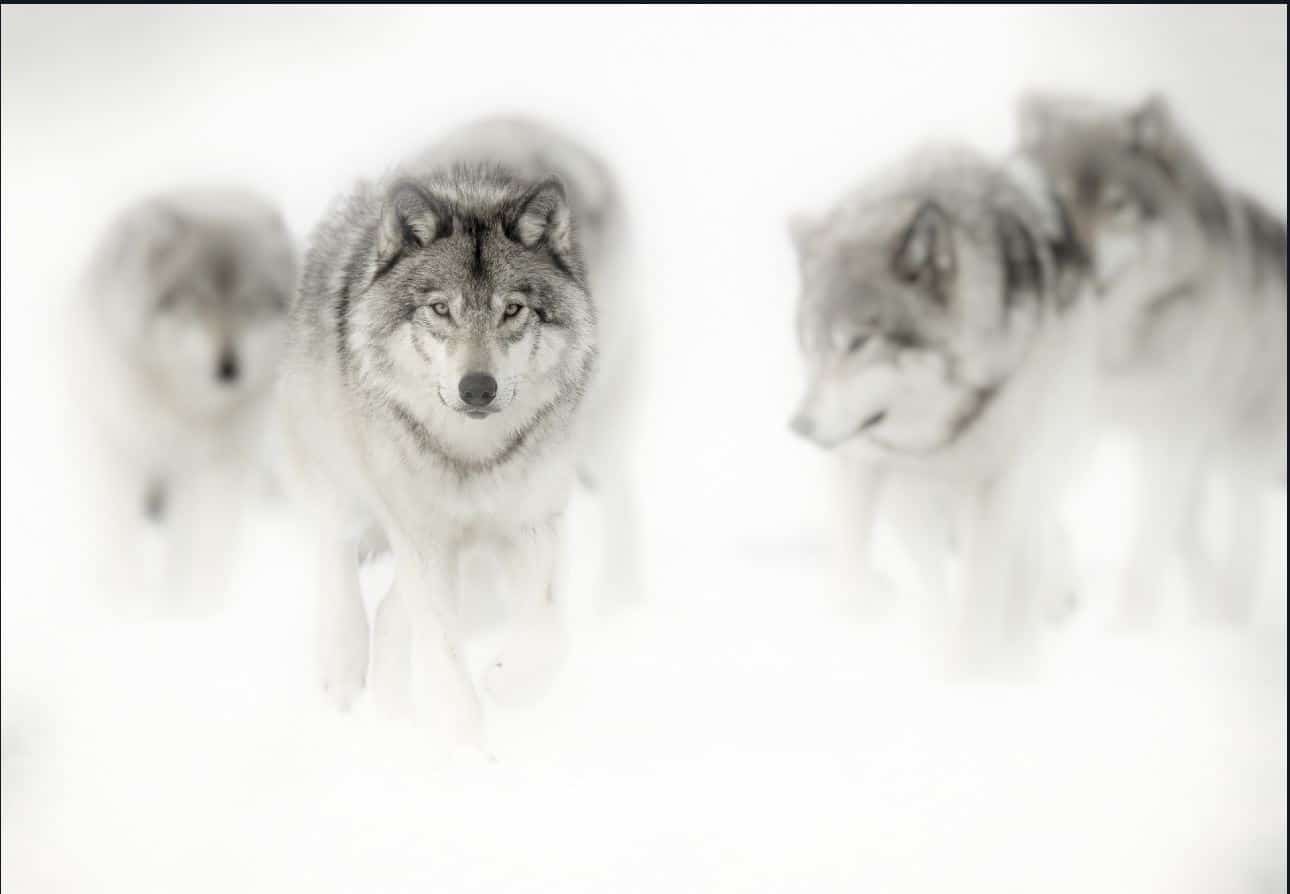
Topaz Studio 2 Focal Blur
Next I tried the Focal Blur tool which allowed me to soften the trailing wolves within the pack while keeping the lead wolf’s face in focus which I much preferred over the bloom too rendering. I intentionally left it a little softer on the legs of the lead wolf but could have easily used the radial to bring just the legs into focus if I had wished to do so.
When I compare the original image to the one created with the Focal Blur tool I prefer the one with the out of focus pack. I’d love to get your comments on which one you prefer.

Recommended Photographer Bundle
For photographers who wish to add a level of creativity to their editing process I recommend you explore the Topaz Creator Bundle. I am constantly masking subjects and adjusting contrast, detail and colour within my RAW images. With the Topaz Creator Bundle you get three best in class products to add in to your workflow.
If you’re interested in using Topaz Studio 2 for your photos going forward, you really should consider the whole Topaz Labs Creator Bundle. It includes three powerful and useful tools for editing and finessing your most amazing photos yet. Purchasing these tools as a bundle also saves you some cash as opposed to buying each product separately.
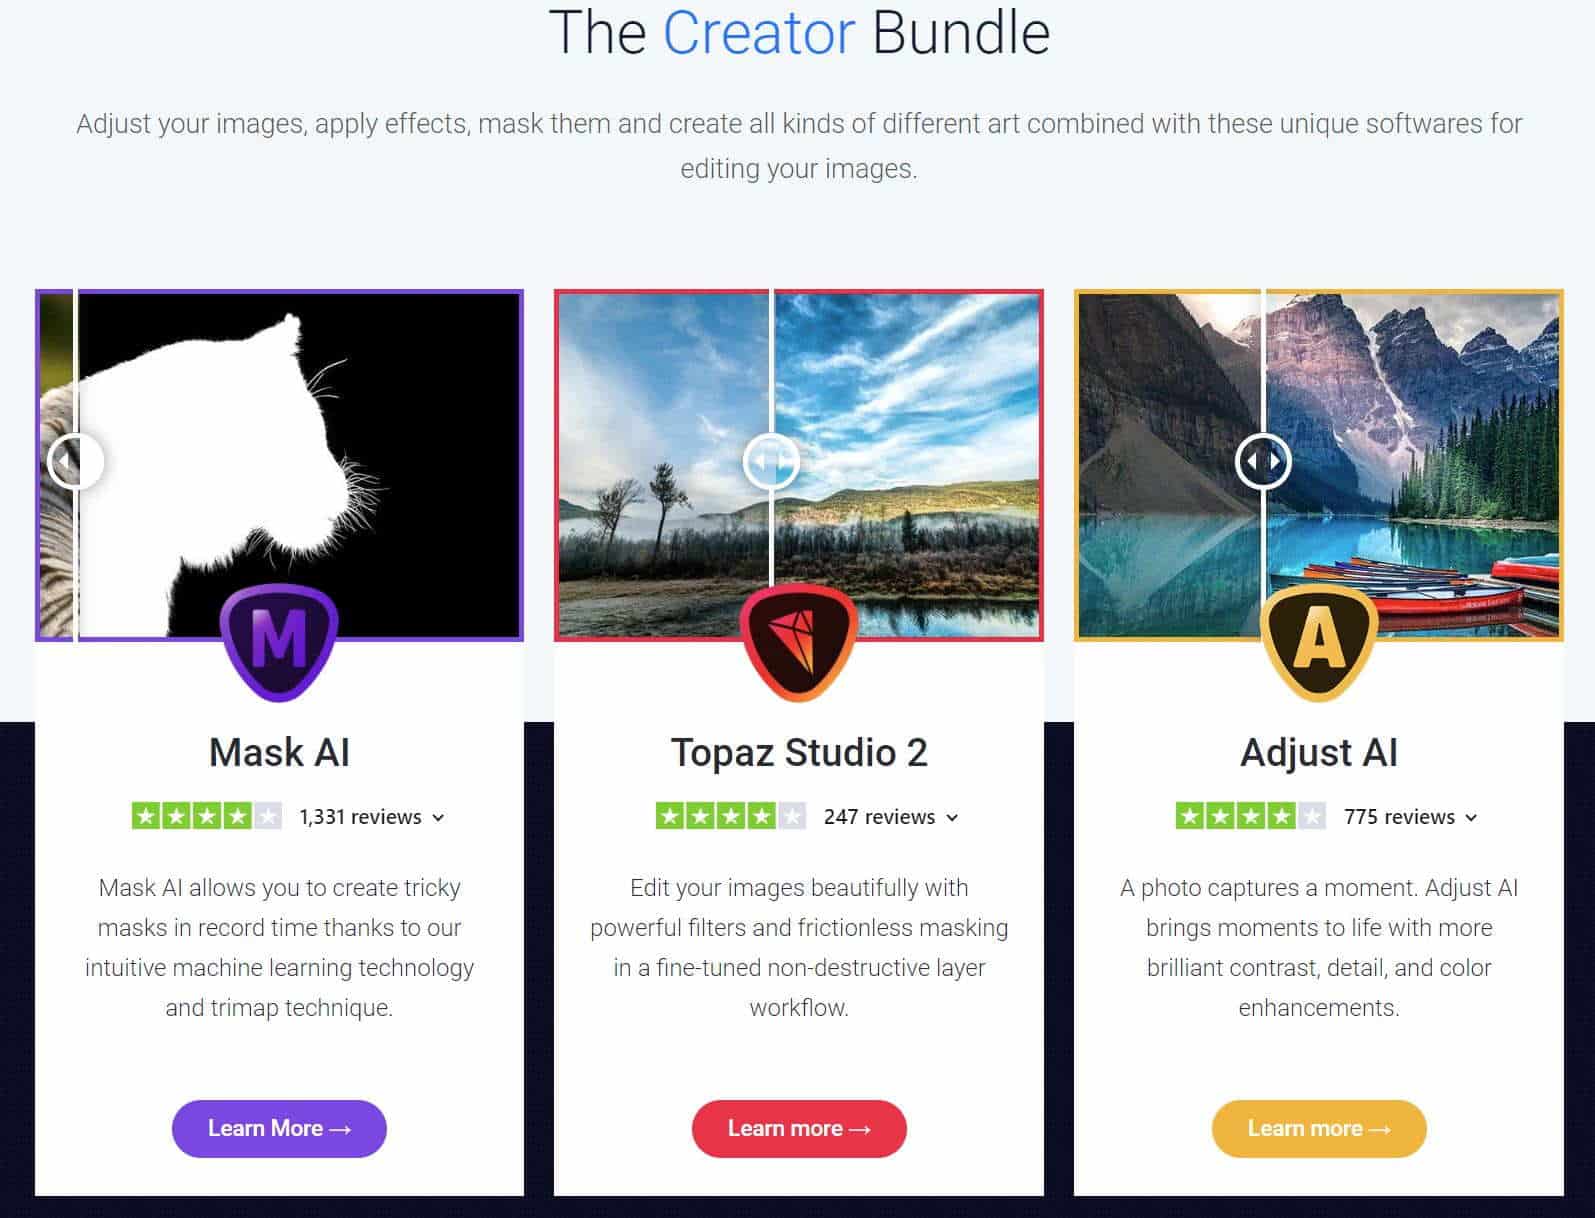
To recap, included within the Topaz Creator Bundle are:
Topaz Mask AI: A masking tool that makes separating foreground and background images easy, fast, and intuitive thanks to AI.
Topaz Studio 2: The tool I’ve talked about in this whole guide, you get a dazzling array of one-click effects, more than 200 in all. When you combine them, the creativity and possibilities are endless.
Topaz Adjust AI: Introduce more color, detail, and contrast to your images with Adjust AI, a great complementary tool within the Topaz Creator Bundle.
If you want to get a feel for Studio 2 or the rest of the Topaz Creator Bundle tools, you can try any of them for up to 30 days absolutely free. None of the features within Topaz 2 are off-limits, so you can see just how far you can take your photography with the image editor. I would highly recommend trying the free trial!
Conclusion
An image editor is a crucial tool in any photographer’s arsenal, but not just any editing software will do. Topaz Labs’ Studio 2 boasts a lot of great features that I think many of you will find bring a whole new level of creativity yo your photography.
The denoise and sharpening are AI-powered for a gratifying, simple user experience and reliably good results each time. You can introduce lighting effects, make your photos look like watercolors, or instantly take colored images and convert them to monochrome without losing details and tone.
My favorite features are the filters and textures, of which you have more than 200 each to play around with. You can set so many moods through your photos using these two options. There’s lot of inspiration to be had here.
Don’t forget that you get intelligent masking features in Studio 2 as well. It really has pretty much everything you need for compelling photos in one tidy image editor.
To reiterate, you can download Topaz Labs’ Studio 2 for a 30-day free trial. Just make sure you don’t lose that time exploring all the filter and texture combinations, because it is tempting! Also, if you’re inclined to add Studio 2 to your collection of photo editing tools, be sure to get 15 percent off this purchase or other Topaz Labs products by entering coolwildlife15, my exclusive coupon code, at checkout.