A step by step Topaz Labs Denoise AI workflow guide detailing the entire denoising process including AI modes and settings for best results.
For those of you wishing to trial or purchase Topaz Denoise AI or any other Topaz Labs products, please consider using my affiliate link. It helps to support my content creation efforts and there is no extra cost to you.
Topaz Labs has now changed its policy regarding discount codes. You will no longer find active discount codes through a Google search. Only Topaz Labs or affiliates running active campaigns will be provided with temporary discount codes going forward.
I invite you to contact me at bmaynard@coolwildlife.com. I will often have a discount code available for one of my campaigns or one from a Topaz campaign and I will happily share it with you.
In an earlier post, I showed you how to use Topaz Labs Sharpen AI in my step-by-step workflow guide. I talked about how sometimes the learning curve of grasping a new photo editing software can be so steep that it seems insurmountable. That’s why today, I want to introduce to you my workflow guide for another Topaz product, Denoise AI.
I started 2020 with my review of Topaz Denoise AI, so it only makes sense to come full circle at the end of the year with this workflow guide.
This week’s Denoise AI workflow guide is especially exciting considering how often noise sneaks into our photography. It’s the bane of my existence as a wildlife photographer who prefers to shoot early in the morning or at dusk when the golden light is upon us. And although denoising is a standard feature in your average photo editing software, not all denoisers are created equally.
I think Denoise AI from Topaz Labs is one of the better denoisers out there. The great part about Topaz software is that even if you’re a relative beginner (or a complete beginner) when it comes to photo editing, you can still figure out the program fairly easily. That was true of Sharpen AI, which is incredibly beginner-friendly and very intuitive. Even drawing masks is simple, which can be rare!
If you’re not very familiar with Topaz’s Denoise AI and you want to learn the ropes or if you’re on the fence about buying this software, I wrote this helpful workflow guide for you. Ahead, I’ll share my real, raw, unedited wildlife photography so you can see the it bloom in Denoise AI.
Quick Start Guide To Topaz Denoise AI
- How do you use Topaz Denoise AI?
- Open Topaz Denoise AI Standalone or through Photoshop
- Drag or open the image you wish to edit
- Click the AI Mode Auto button for an AI-selected mode
- Click on view and then comparison view to choose your preferred mode
- Choose the masking tool, then zoom in (I prefer a 200-percent zoom)
- Click the box to add overlays
- If you wish, shrink or increase your brush size by radius
- To denoise specific areas, draw a mask in those parts of your image
- Use the remove noise, enhance sharpness, recover detail and color noise reduction sliders to preference, then apply mask
What Is Topaz Denoise AI?
Before we put the cart before the horse here, I do indeed want to make sure that everyone reading this is familiar with Topaz Labs Denoise AI. Topaz Labs is a photo editing software company with programs largely driven by AI.
The other products include Topaz Sharpen AI, Topaz Gigapixel AI, Topaz JPEG to RAW AI, which are all part of the Topaz Utility Bundle. Then there are those that make up the Topaz Creator Bundle which are Topaz Mask AI, Topaz Studio 2, and Topaz Adjust AI. And finally sitting outside of both bundles is Topaz Video Enhance AI. Each of those links will direct you to my complete reviews on each product.
I said it before in my Sharpen AI workflow post and I’ll say it again here. If you’re not sure if you should buy Denoise AI on its own or as part of the Utility Bundle, get the bundle. You’ll save a lot of money and end up with three other awesome programs in the process!
Plus, if you happened to read my Sharpen AI workflow guide, between that guide and this one, you’ll know how to use two of the four programs right out of the gate.
Getting Started with Topaz Denoise AI
If you’re still not quite sure if Topaz Denoise AI is right for you, that’s okay. You don’t have to have made up your mind yet. You can head over to the Topaz Labs’ Download Page , there you will find a free trial of Denoise AI. The trial lasts for a 30 days and affords you all the great features of the paid version.
Before you click or sign up for anything, let me walk you through the downloading and installation process.
Download Topaz Denoise AI
Whether you wish to buy Denoise AI or just use it on a trial basis, you can get your download link courtesy of the Topaz Labs website.
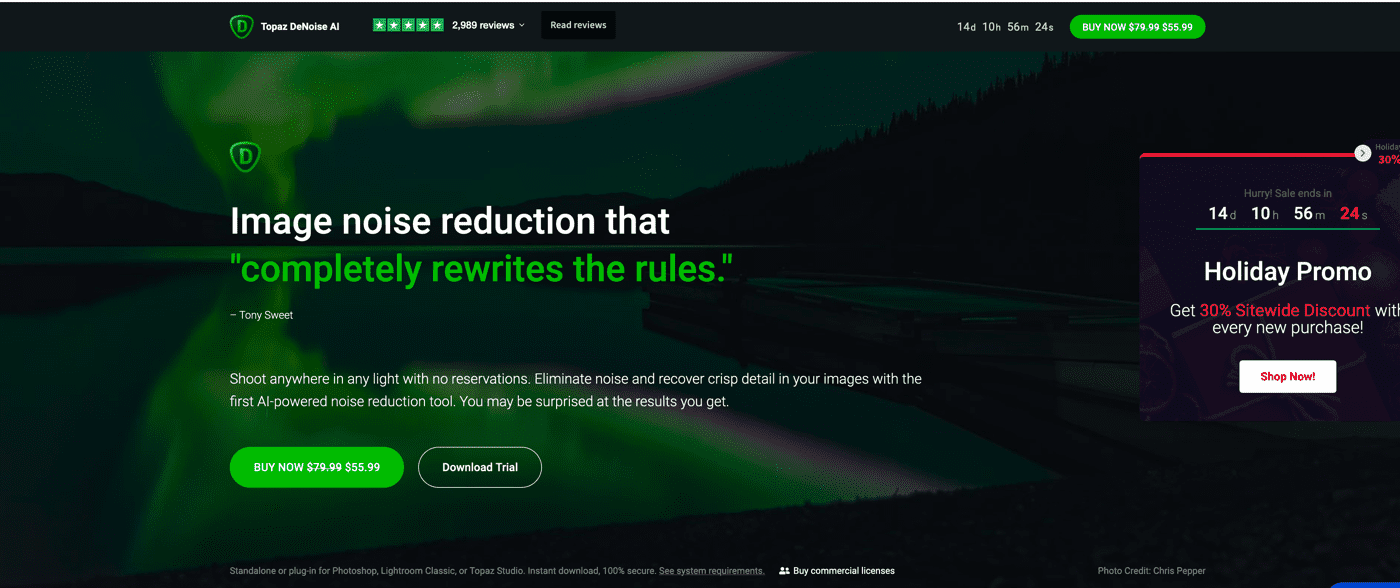
As the image above shows you, Denoise AI normally costs $79.99 on its own. By bundling it with the other Topaz Labs software as part of the Topaz Utility Bundle, you’re paying only $360. Do keep an eye on the Topaz website, as the Utility Bundle is on sale a lot. At that point, the price drops to $249.99, which is an even better bargain.
Besides clicking one of the two buttons on the Topaz Labs website, you can also select Downloads from the website’s drop-down menu, then choose Denoise AI. You’re then asked if you’re a Mac or Windows user.
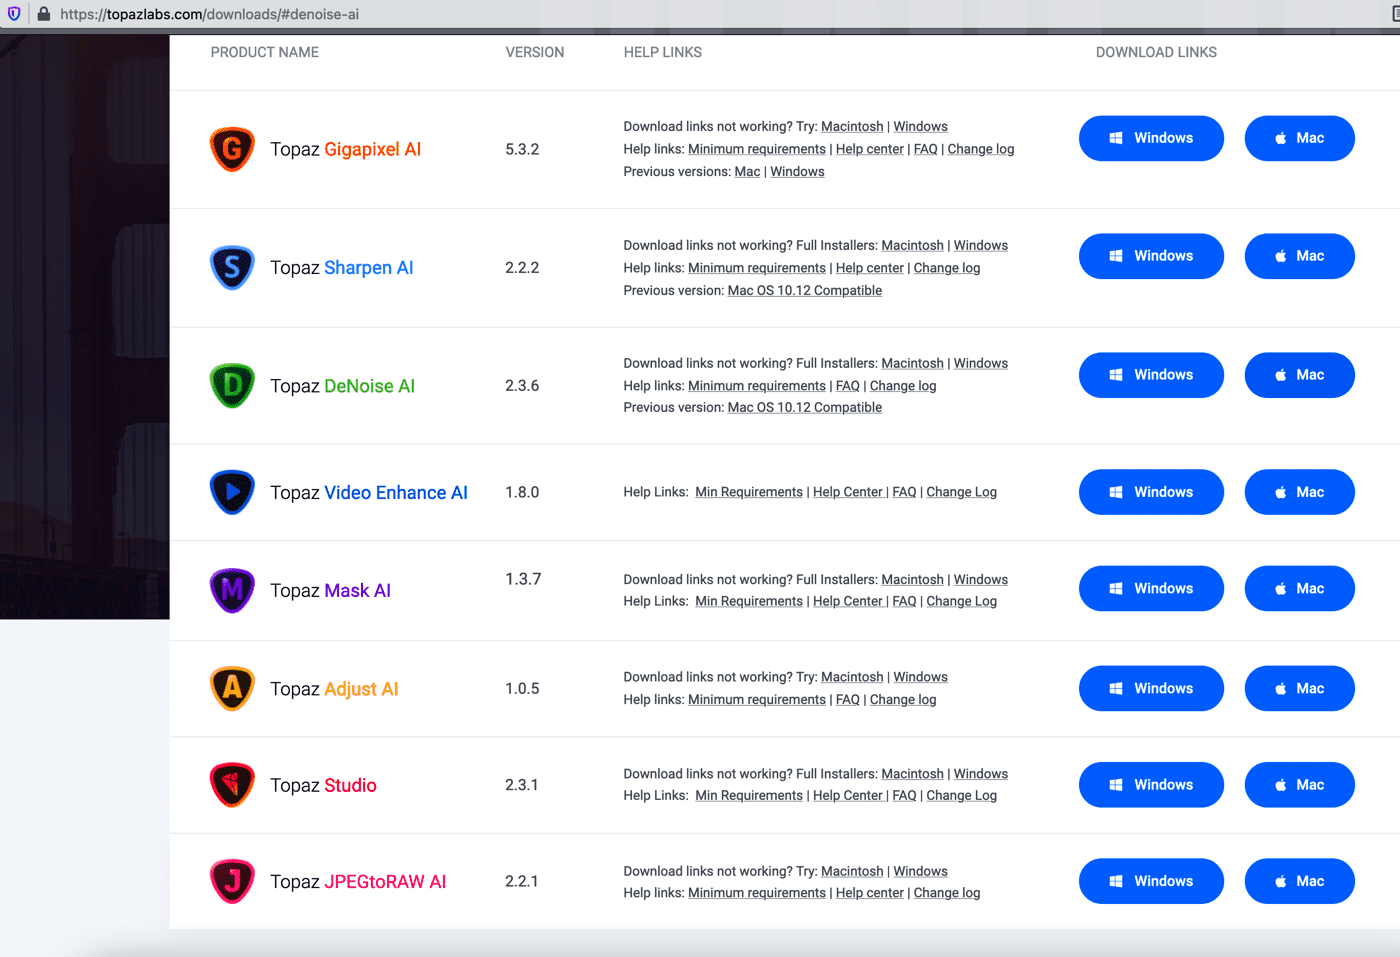
When you go to download Denoise AI, Topaz Labs will require you to input an email address. Your computer will then begin downloading the software while you get an auto-email from Topaz with your username and password details. If you already have an account with Topaz Labs like I do, then you won’t have to create a new username or password.
Open the Installer
With your file downloaded, go to your downloads folder and open the file to begin the installation. The Setup Wizard will appear, which you should proceed with running.
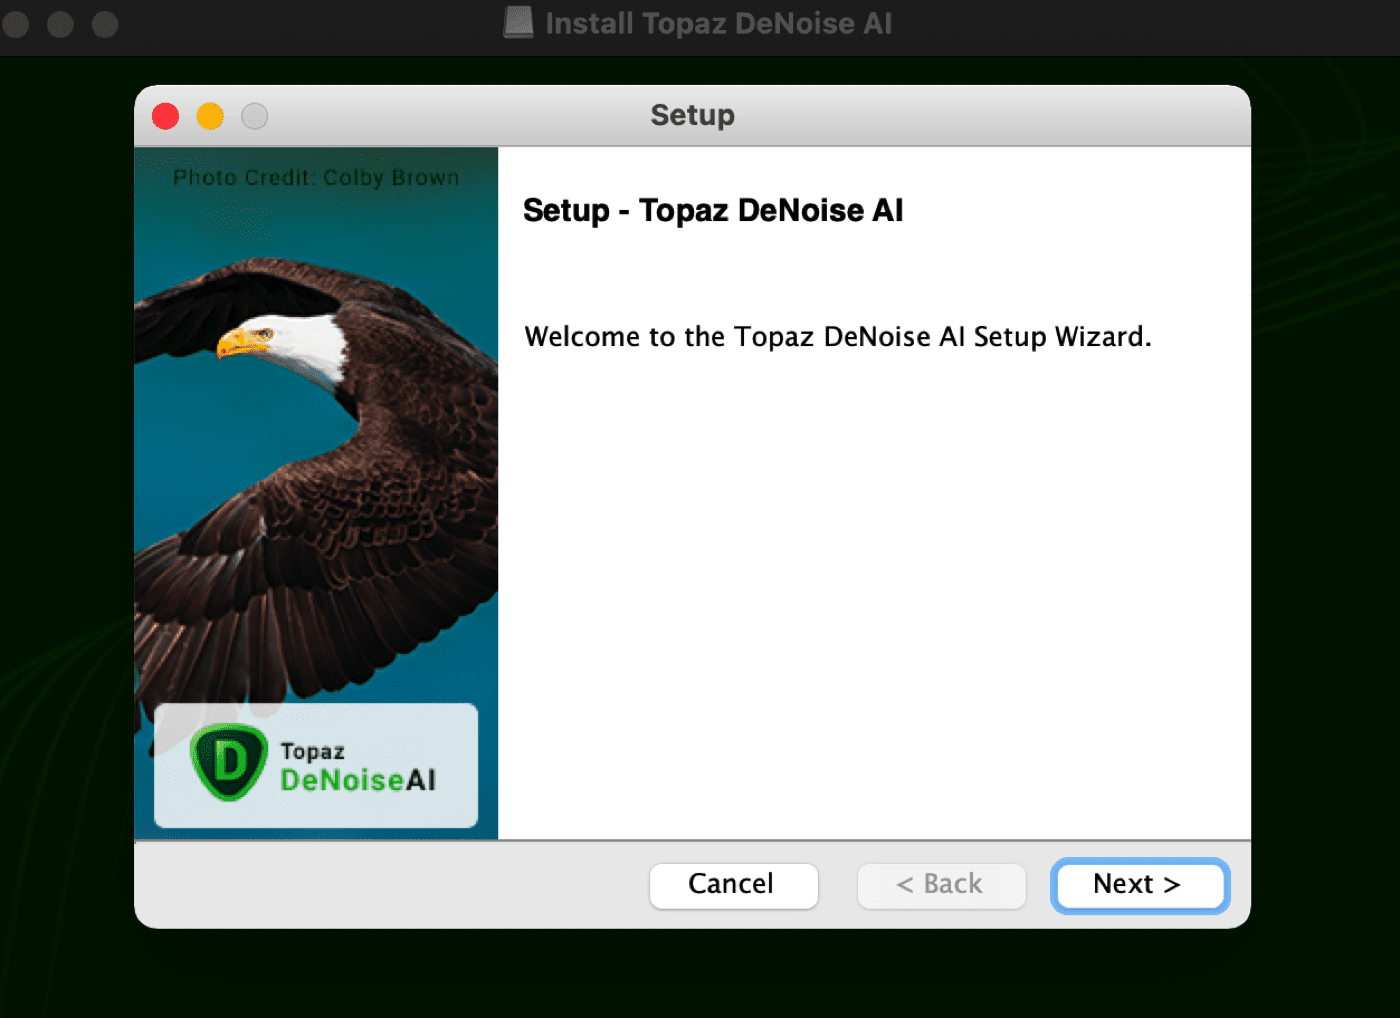
Approve the Topaz License Agreement
Next, you’ll be asked to view Topaz Lab’s end user license agreement. If you saw my workflow post on Sharpen AI, I do recommend you go through and read this whole license agreement, even if it is a bit lengthy.
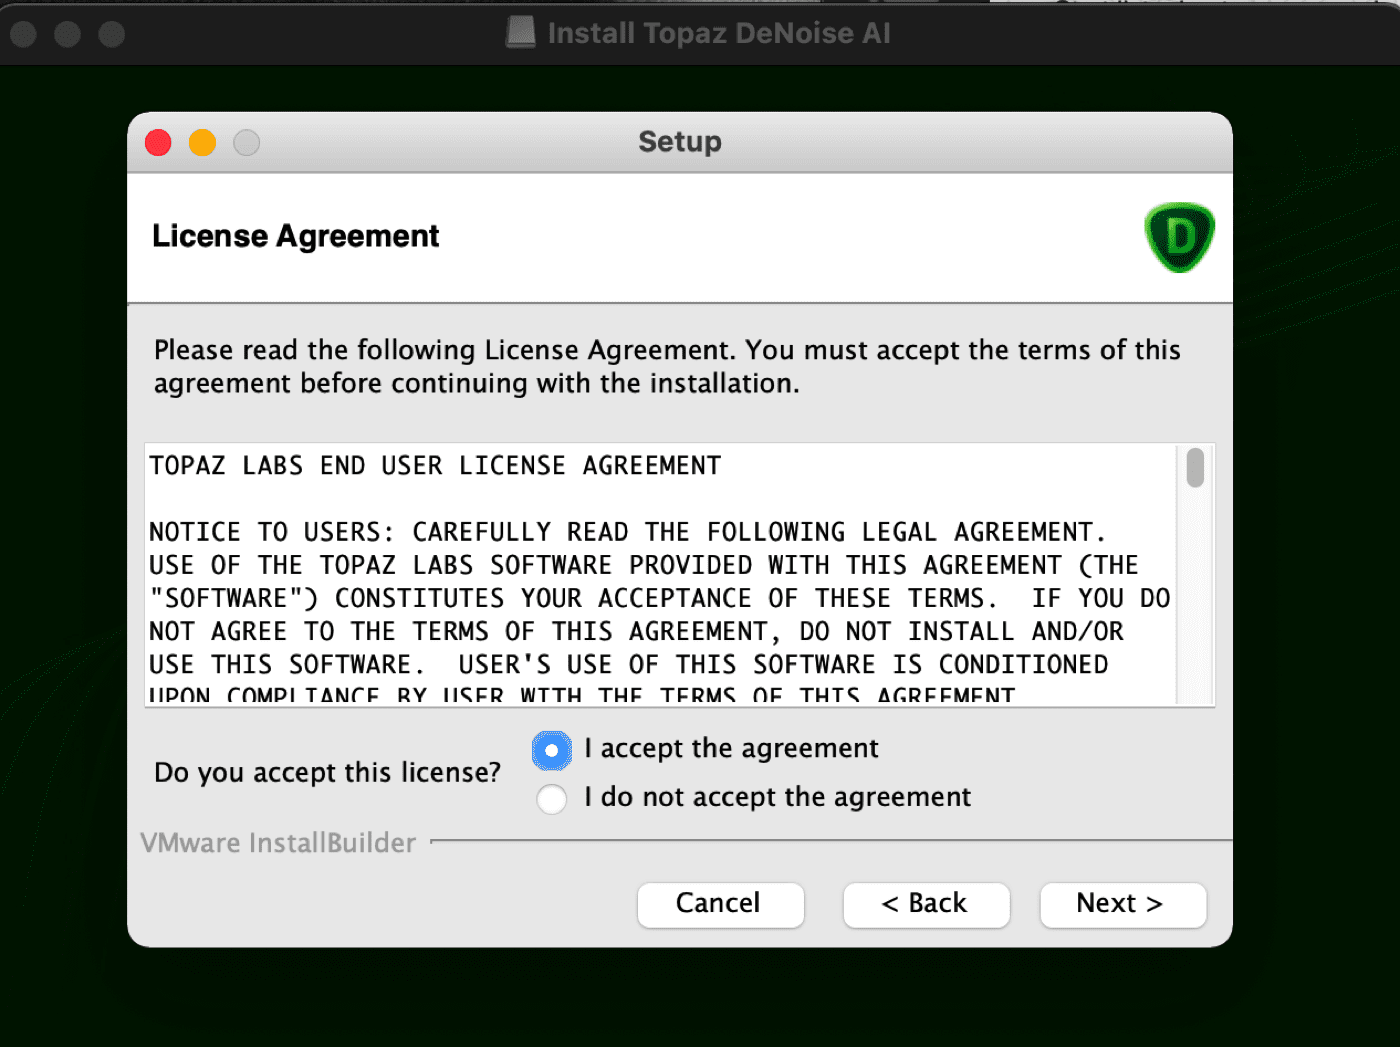
When you’re done, select “I accept the agreement,” then click next.
Select a Resources Directory for Files
Next, you’re asked to select the directory where the Denoise AI resources will go. There’s a default resource directory chosen for you already. If you wish to change it, you can. Should you prefer to keep the default directory, then leave it as is and click next.
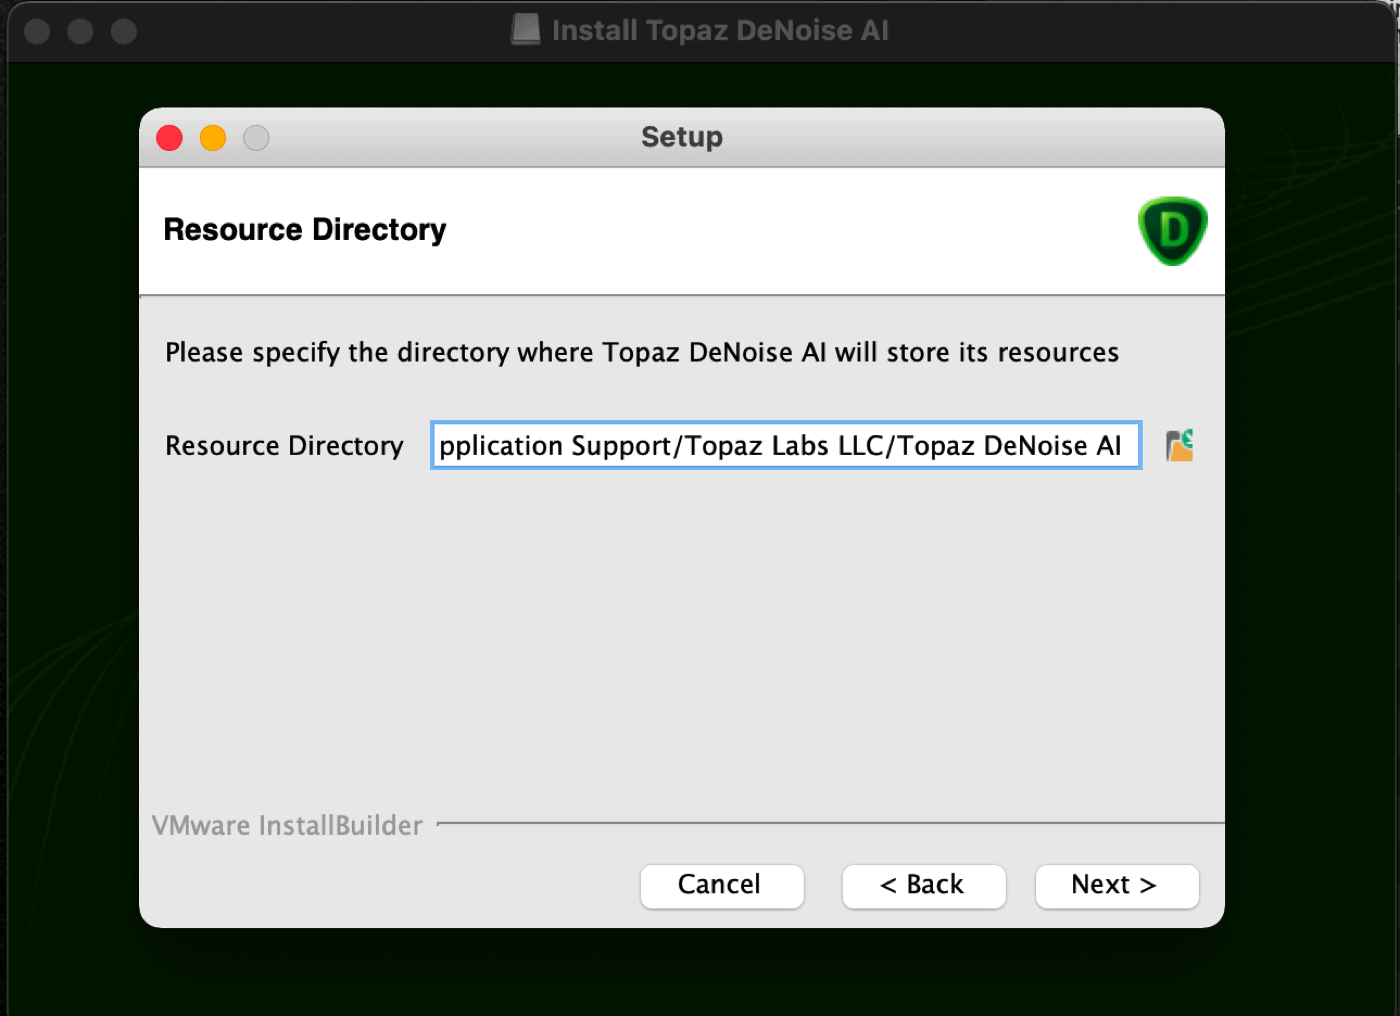
Let the Installation Wizard Run
Once you do that, all the fun begins. The components of Denoise AI will be downloaded to your computer. You can watch this as it happens with the remaining download time displayed or you can get something else done while the installer runs in the background.
When it’s done, click Finish.
Make a Topaz Labs Account
If you don’t already have a Topaz Labs account, now is a really good time to make one, as you can’t log into the software without it. You can use the same email address as you did to download the free trial to create your account.
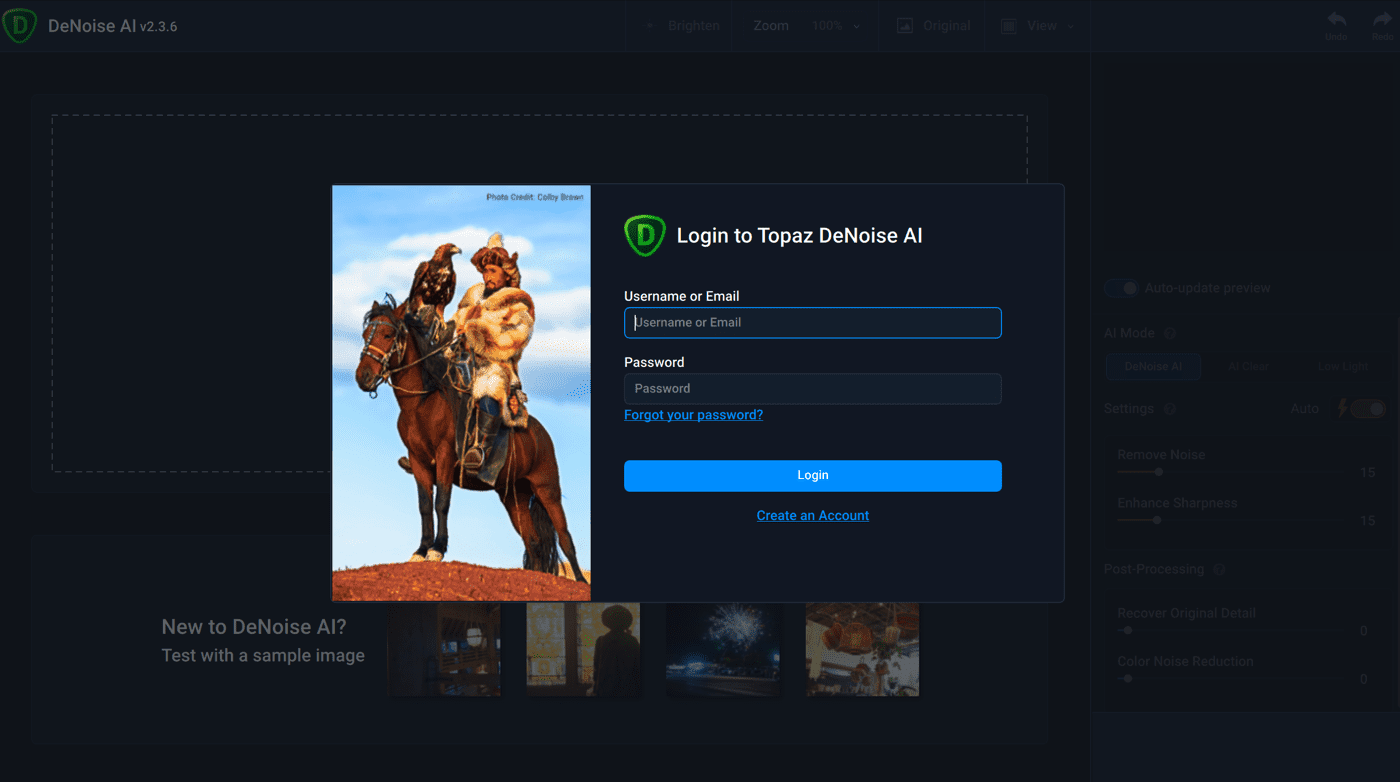
Log into Topaz Labs
With your username and password all set up, the last stage to getting started in Topaz Labs’ Denoise AI is to log in. You’re then asked to either use the trial version of the software or pay for Denoise AI. If you select the trial option, your trial is good for 30 days. If you buy the software, it’s yours.
Adding Images
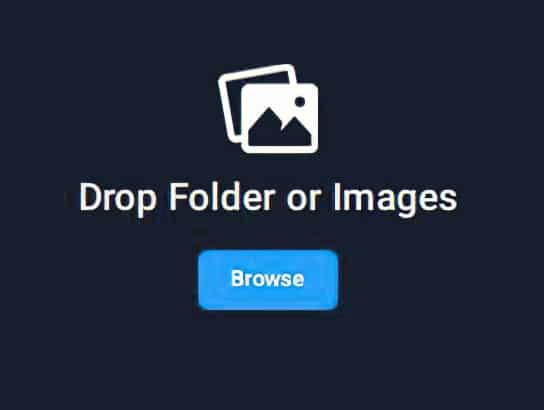
The first thing you’ll need to do is select an image that you wish to denoise. Adding an image to Denoise AI is easy, as the software lets you choose where to upload an image from, such as your desktop or a folder on your computer. There are three ways to add your images for processing. You can go to file and choose open images or open recent, drag and drop an image on to the screen or click browse for the main page.
Our Starting RAW Image
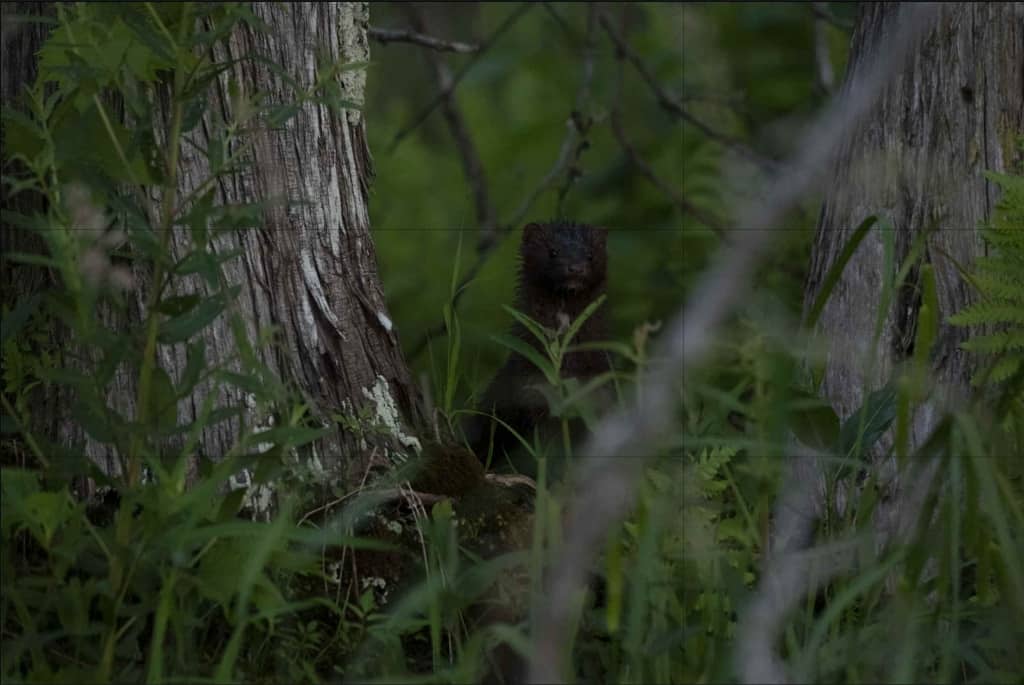
Below is a horribly underexposed, branch filled noisy as can be image. It’s an image most would look at and hit the delete key. That’s why it’s perfect for our step by step guide for the denoise process. This image of a mink was taken in very low light, hand holding a Nikon Z7 at ISO 4000 from my kayak. I hadn’t my first coffee yet, that’s my excuse for what you see below.
Basic Editing Applied
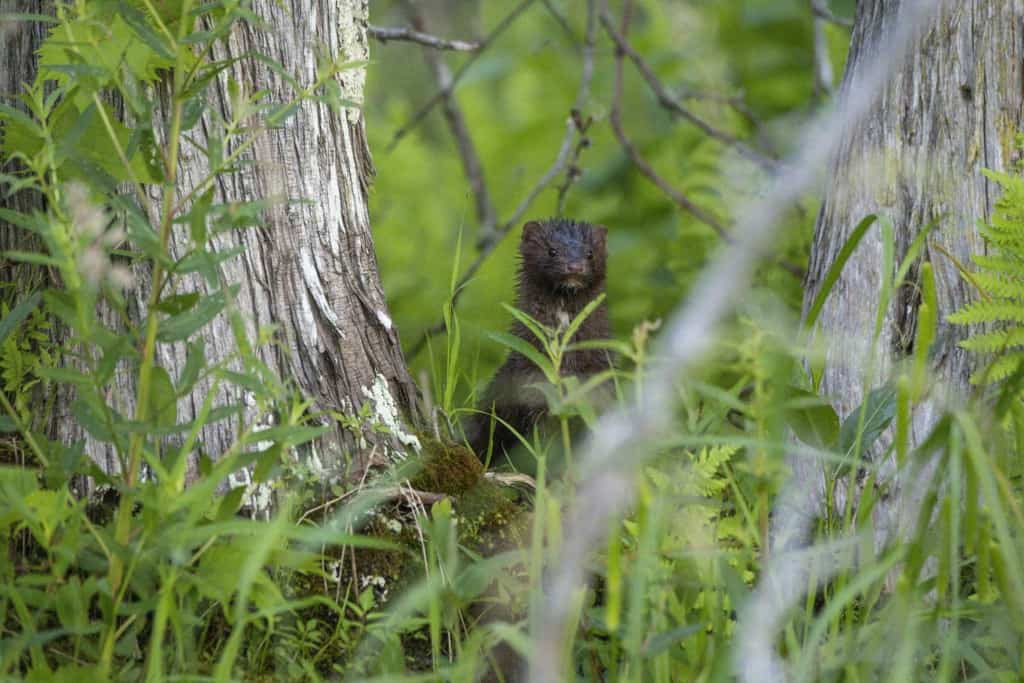
The first step in my editing process before I begin the denoising process is to perform basic editing in Adobe camera raw. The image below is what it looks like after I have tweaked exposure, blacks, whites, highlights, shadows and contrast.
Zoom In To View Noise
The next thing I do is zoom in on subject within the image to determine whether or not the image requires noise reduction. Extensive noise is pretty much a given when shooting a Nikon Z7 at ISO 4000 but I did want you to see the level of noise on our starting image at 100%. I pay particular attention to the backgrounds and this greenery really does a great job of highlighting the noise in this image so it’s perfect for this walk through.

Our Final Image
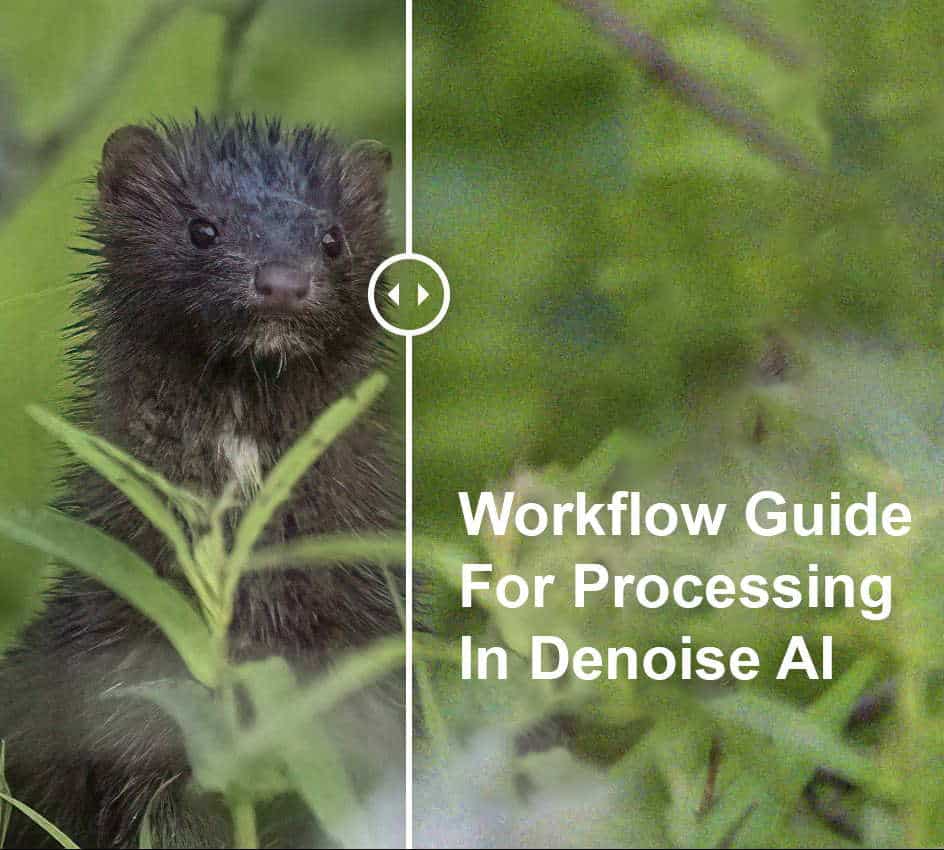
[twenty20 img1=”11436″ img2=”11430″ offset=”0.5″]
Left click on the slider and scroll it across the image to see the original image and the image after Denoise AI was applied.
Brightness
Adds brightness to the dark parts of the image. Do note that the new view does not represent the proper exposure for your image, it is there to help you with viewing the noise.
Zoom
Once your photo is in the software, you can adjust the zoom which you will see in the top right of your screen. The default view is 100 percent, however I take it up to 200% so I can view all of the fine details, especially around the eye and feather/fur detail. Your goal is to denoise your image but not so much that it removes the detail in the subject and that is best viewed at 200%.
Views
Single View: As you may have guessed this view provides you with one full screen image. I only use this view at the very beginning just to get a high level sense on the extent of the noise in an image.
Split View: This view is the one I use when I start getting into the settings and applying noise reduction. It allows you to move a slider across the image to see a before and after view. You’ll really notice the difference in this view.
Side-by-Side View: As the name implies, this view will give you the original image on the left and the preview on the right. It’s a handy view when you are adjusting the settings sliders.
Comparison View: There’s a great new time saving feature in Denoise AI that not many people are aware of and I think you’re going to love it. This new comparison view allows you to view the original image along with a view for each of the other three AI modes in one view. The software has to render all four images so it takes a little more time but it saves you having to go into each AI mode separately. More on that in the AI modes section below but know this view is the one I use to see which AI mode appears to be working best on any specific image.
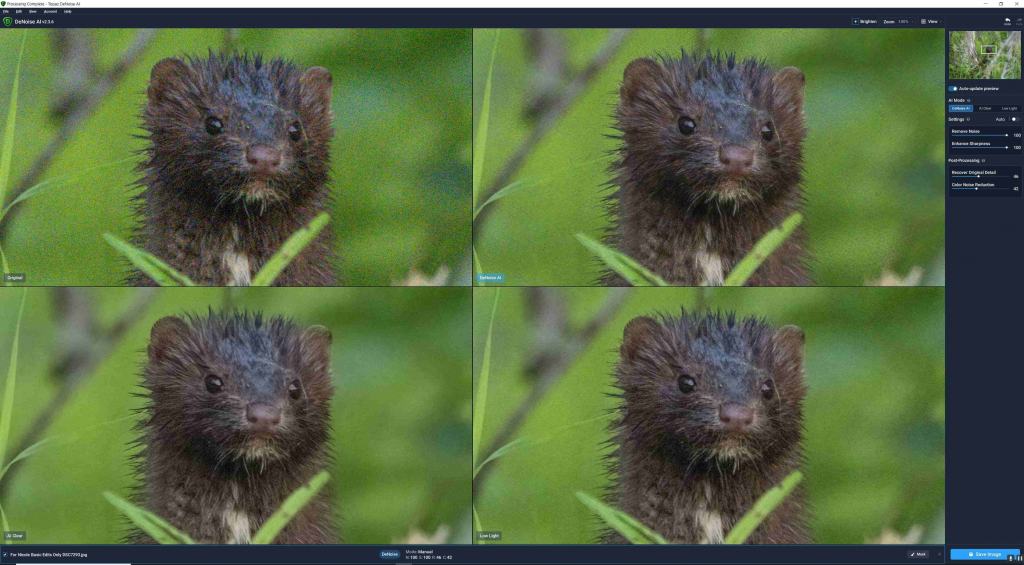
Auto-update Preview
The first selection button you’ll notice on the right hand panel underneath the small preview image is auto-update preview. I leave this turned on and what it does is update the larger image on your screen in real time as you make your adjustments. The downside is that it will take time to cycle those adjustments each time. If you have a fast computer this is no big deal but on slower systems you may wish to turn it off until you make a few adjustments and then turn it on.
Three Denoising AI Modes
Those who read my Sharpen AI workflow guide will find that Denoise AI is not all that different in terms of looks and how the software works. Beneath the auto-update preview button is the three AI modes built into this software. These are Denoise AI, AI Clear, and Low light. Depending on what kind of settings you apply, you can edit the level of noise in your image in some really interesting ways.
Here’s more information about each of these innovative AI denoising modes.
- Denoise AI: This is the main denoising feature of the three and the one this software is named after. Denoise AI will tidy up the noise in your image, but never at the expense of the original details.
- AI Clear: The second mode in Denoise AI is called AI Clear. This lets you select from three levels of noise removal: low, medium, and high. You can also enhance the sharpness of your image in two ways, low or high.
- Low Light: Last but certainly not least is Low Light. As the name of this AI mode suggests, Low Light is for those photos in which light was sparse but noise was not. Not only does this AI mode clean up the noise, but it can restore more natural light to your image as well.
If you don’t necessarily feel like tinkering with the slider bars yourself, or if you simply don’t have time to, that’s okay. All three denoising modes in Denoise AI, considering they are AI-driven, have an auto switch in the settings. This will be turned on by default, but you can switch it off anytime you’d like.
The auto switch will quickly scan your image and then automatically apply changes that Denoise AI feels will best correct your image. If you like the photo as is, then you can save it. If you’d rather the auto settings not be applied, then like I said, turn off the switch and your photo will revert back to its original appearance.
You can also continue editing your auto-adjusted photo from there, choosing to do further denoising or sharpening until the photo looks the way you think is best.
Settings
How do you do basic editing within Topaz Denoise AI? Via easy-to-use slider bars. To the right of each slider is a numerical value from zero to 100. If you want to completely erase the effects, you can pull the slider all the way to zero. Should you want to crank up the settings, then slide the bar to the right so it’s at 100.
More than likely, you won’t ever use either extreme of these settings, but they’re available should you need to. At the bottom center of the software, you’ll see which mode you’re in as well as the numerical value of each AI mode.
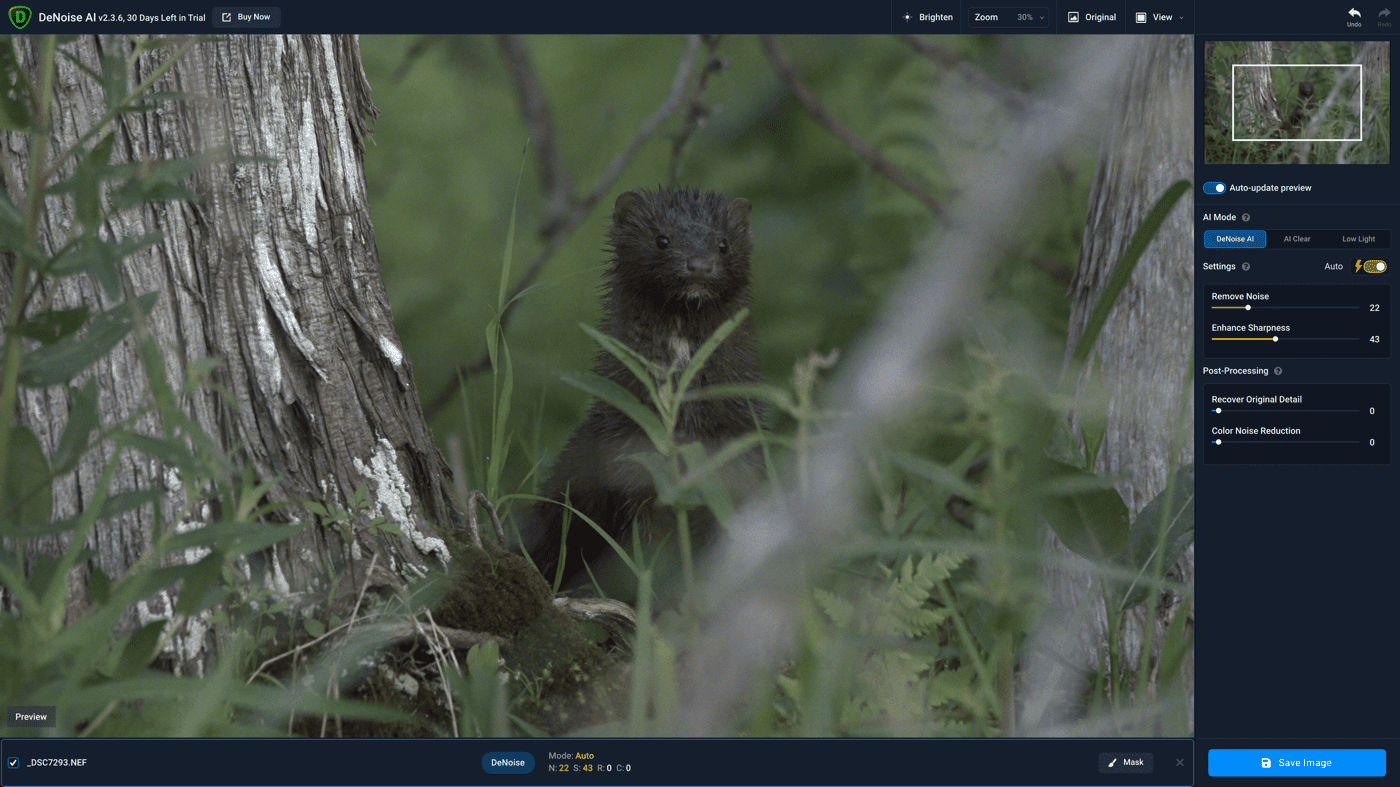
For example, in Denoise AI mode, if you look at the bottom middle of the screen you’ll see the setting values that are being applied to your image. The N stands for remove noise, the S for sharpness, the R for recover original detail, and the C for color noise reduction. This little area of info also tells me that I’m using auto settings, which is handy.
That said, it’s not too hard to tell if the auto settings are on since the button and its accompanying lightning bolt will be yellow. The slider bar will also turn yellow. When auto settings are off, the slider bar is blue.
Post-Processing
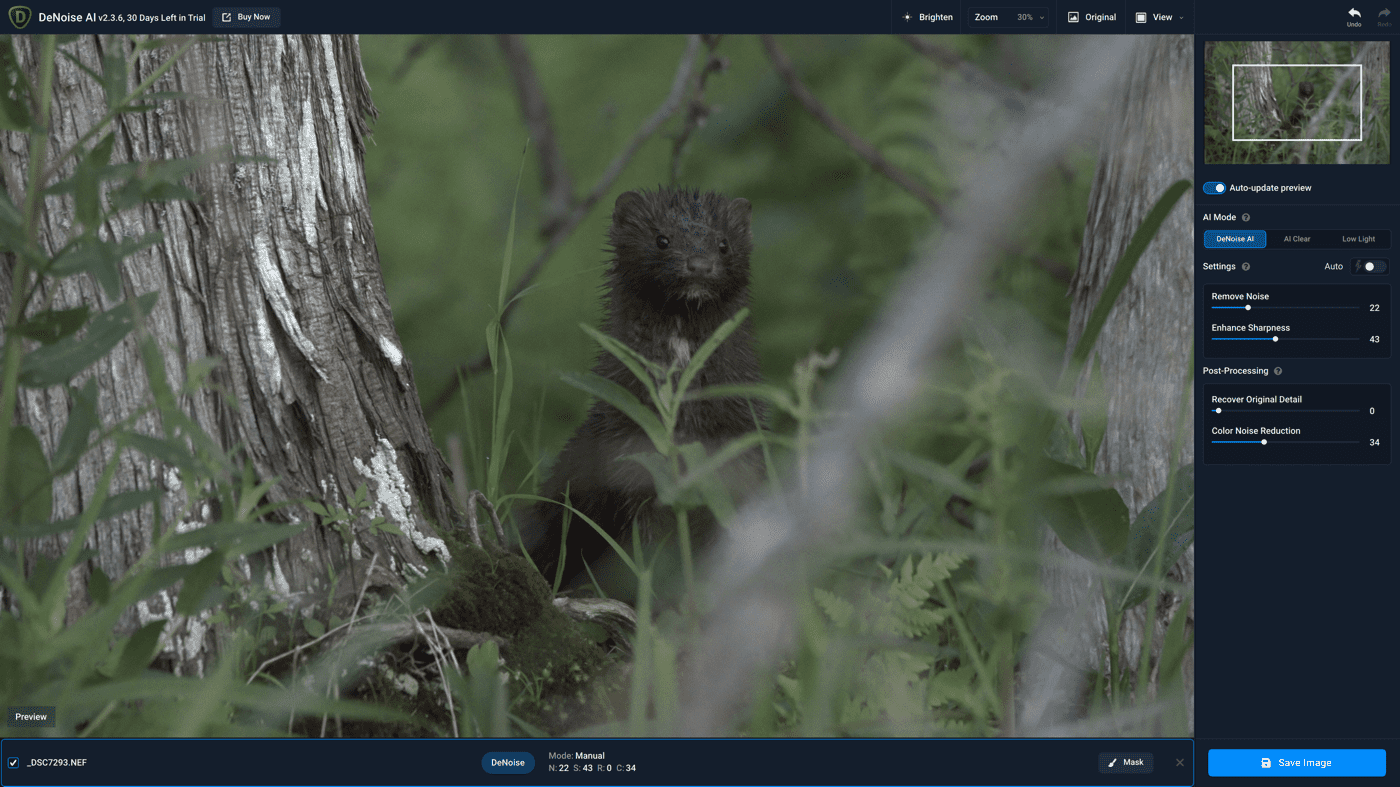
Outside of the auto features are the two post-processing features. These are recover original detail and color noise reduction. Working in AI Clear, here’s what the recover original detail setting looks when cranked all the way up.
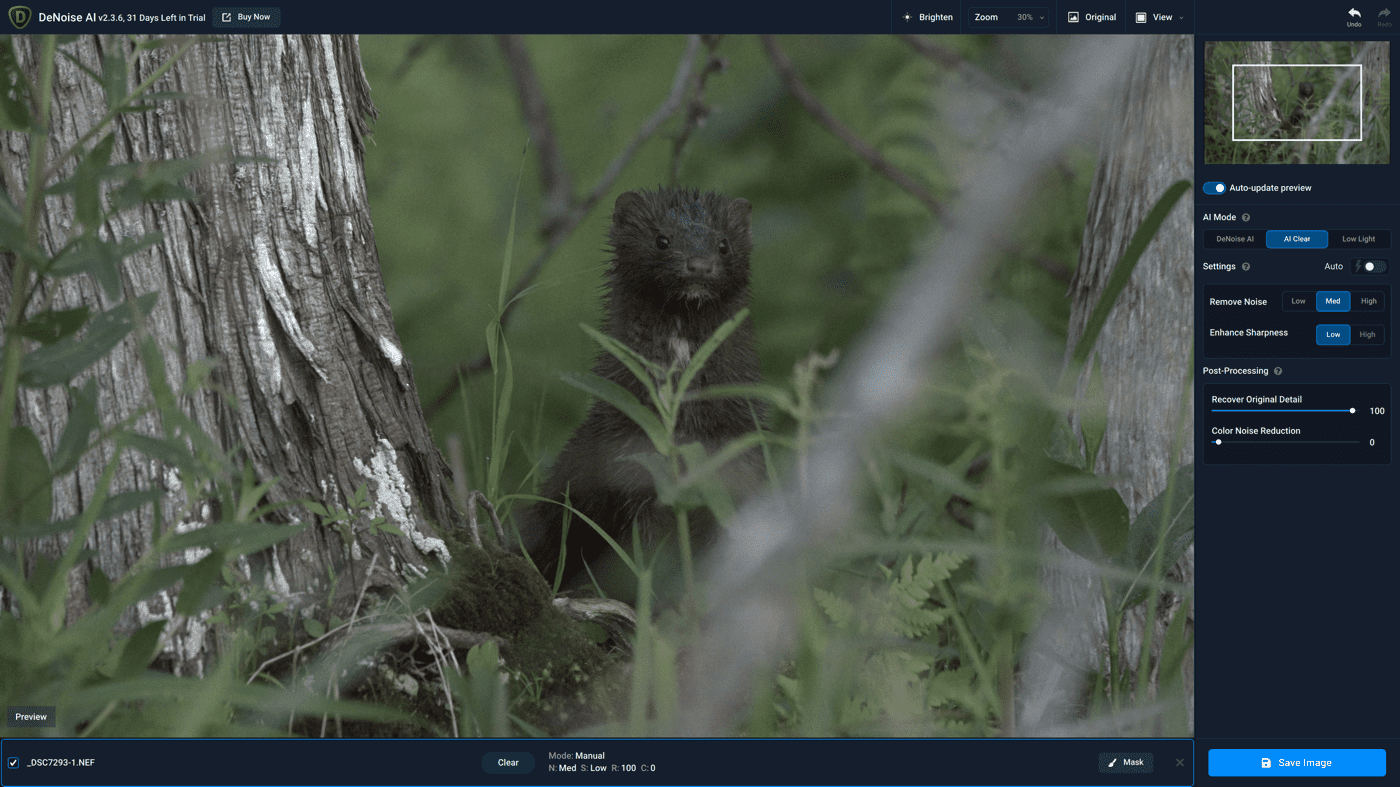
I left the denoising here on a lower setting on purpose so the details that were part of the picture could really come out. Look at the tree and the plant leaves on the left of this photo when in post, as I think there’s just as much detail in this as in the noisy original photo, just with less noise, of course.
Take a look at how color noise reduction works, as this is another great feature. You’ll see this also referred to as Chroma noise and it is uneven color transitions in an image. It often appears as colors in areas that do not match the adjacent pixels. Chroma noise is emphasized and is more noticeable in the regions that are very bright or very dark. It was very prevalent when I zoomed in on the face of the mink. Similar to luminance noise, underexposure and high ISO causes color noise.
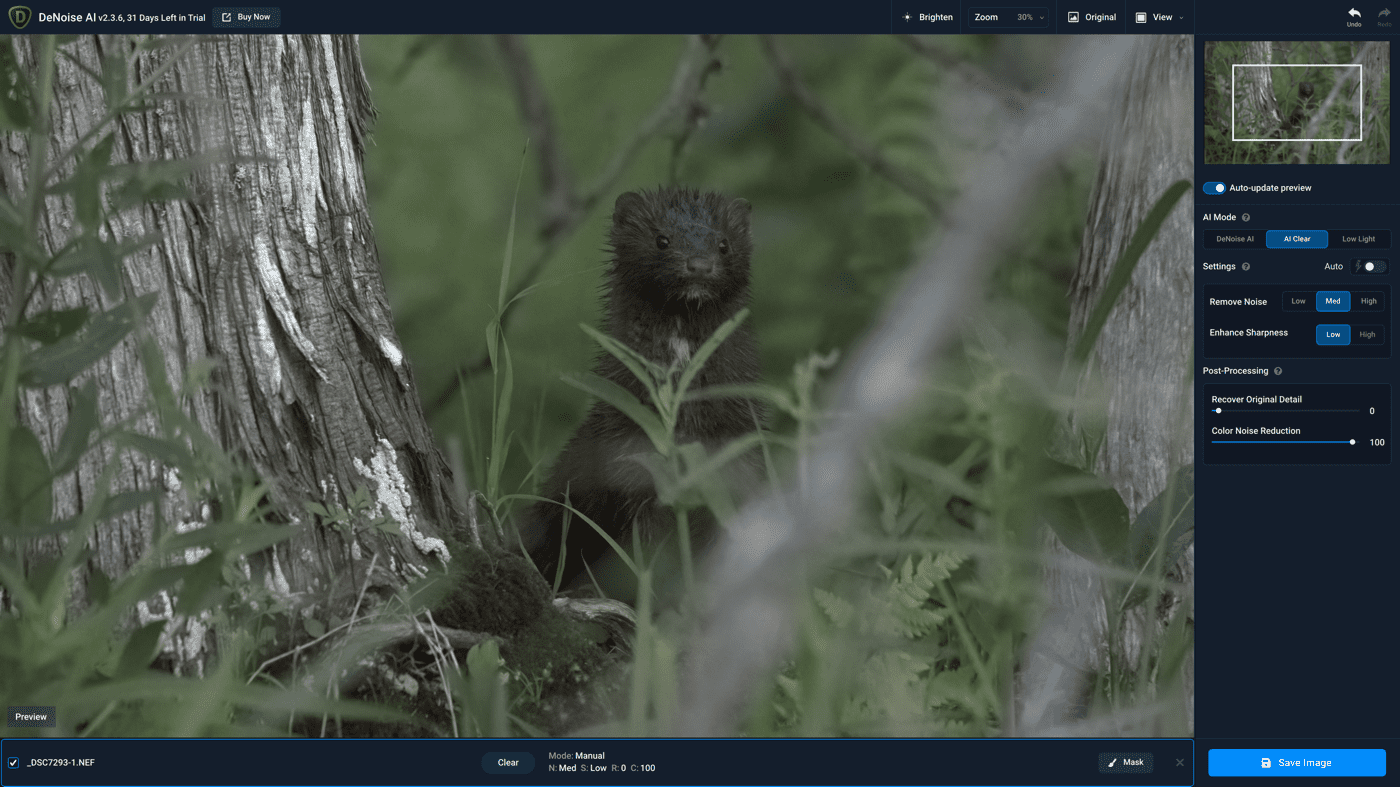
I’m quite impressed with the depth of color you get in this post-processing setting, especially considering how all the noise is gone. This is undoubtedly one of Denoise AI’s stronger features, so make sure you’re using it when it suits you.
Selective Denoising Step by Step
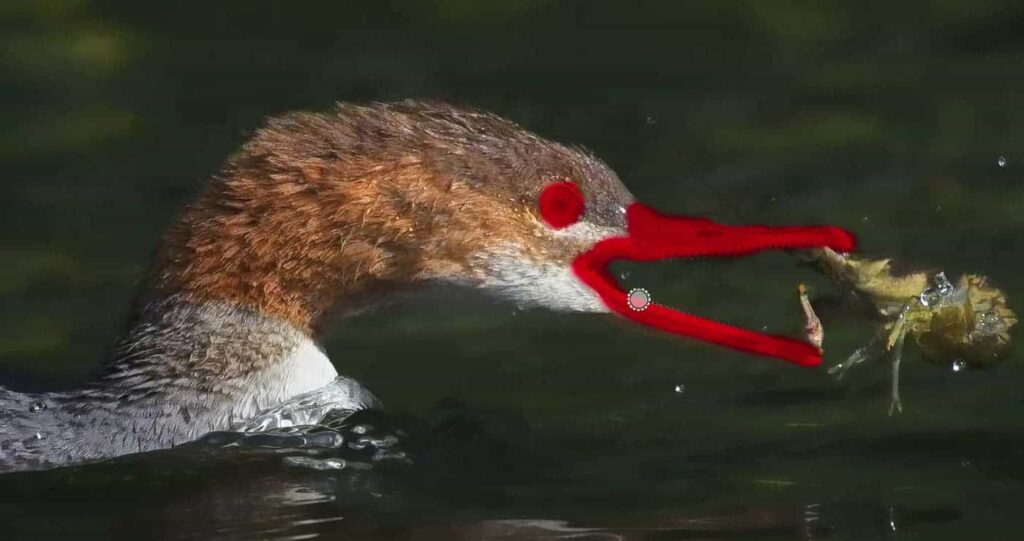
With your image loaded into Denoise AI, select the mask button found down on the bottom right corner of your screen, that brings up the mask menu along the bottom of your screen. I’m going to describe each masking option to you however I wanted you to know what we are going to be doing with selective denoising. You are going to be brushing a mask onto areas of the image that you feel require noise suppression.
Before we begin the masking process I need to give you a detailed explanation of the selective denoising controls that you will be using. This will help you to define your mask in such a way that you render the noise suppression where you want it and at the strength you wish to have it applied.
Understanding Selective Denoise Controls
Let’s start on the left side and work our way through each option.

- Sub/Add – Just as the name implies, if you wish to brush away a portion of a mask choose sub (subtract) or if you wish to add to a mask select Add.
- Edge Aware – Smart brush here we come. This option allows the brush tool to recognize the edge of what you are selecting and not flow outside of that border, In this case it would detect the difference between the minks fur and the surrounding green background. I turn this functionality on for every mask I create as I am usually outlining an animal or bird.
- Radius – This option adjusts the size of your brush making it smaller or larger.
- Softness – Increasing the value of softness allows the brush to create a smoother edge to your mask which is great for a birds feathers. For harder edges you’ll want to lower the value. Experiment with this tool to see which value provides you with the best mask for your image.
- Opacity – As you change the opacity value higher you’ll notice that the red of the masking gets more solid. That’s because it is going to apply more denoising than had you chosen a smaller value. You can apply your mask and then move the opacity slider left or right to change the intensity of the denoising.
- Overlay – Moving to the far right of your screen you’ll notice the overlay option. If you check the box you’ll see the red overlay of your mask everywhere you applied it and it will remain on always. Uncheck the box and the red masking goes away. I toggle back and forth as I am selective denoising as it is impossible to see the effect of your denoising while the red mask is on the image. However without the red mask you have no idea where you have placed the mask hence the need to toggle back and forth.
- Options – Once selected a drop down will be presented with four options:
- Fill – Masks the entire image. I rarely use this function unless my subject fills most of the frame and I want to deselect small portions of the mask before applying my denoising.
- Invert – Takes the mask you just applied and reverts to making the mask the unmasked portion of the image and vice versa.
- Clear – Clears the mask entirely so you can start again.
- Delete – Removes the mask as clear does and places a split view slider on the image. I must admit this option confuses me as I see denoising across the entire image when I move the slider and I no longer have the option to apply a mask. My lack of understanding makes it such that I do not use the delete option as clear does what I need if I make a mistake applying my mask.
Note: You only have one option for viewing your image while masking and that is single view all other view modes will be grayed out.
Apply Your Mask Selectively
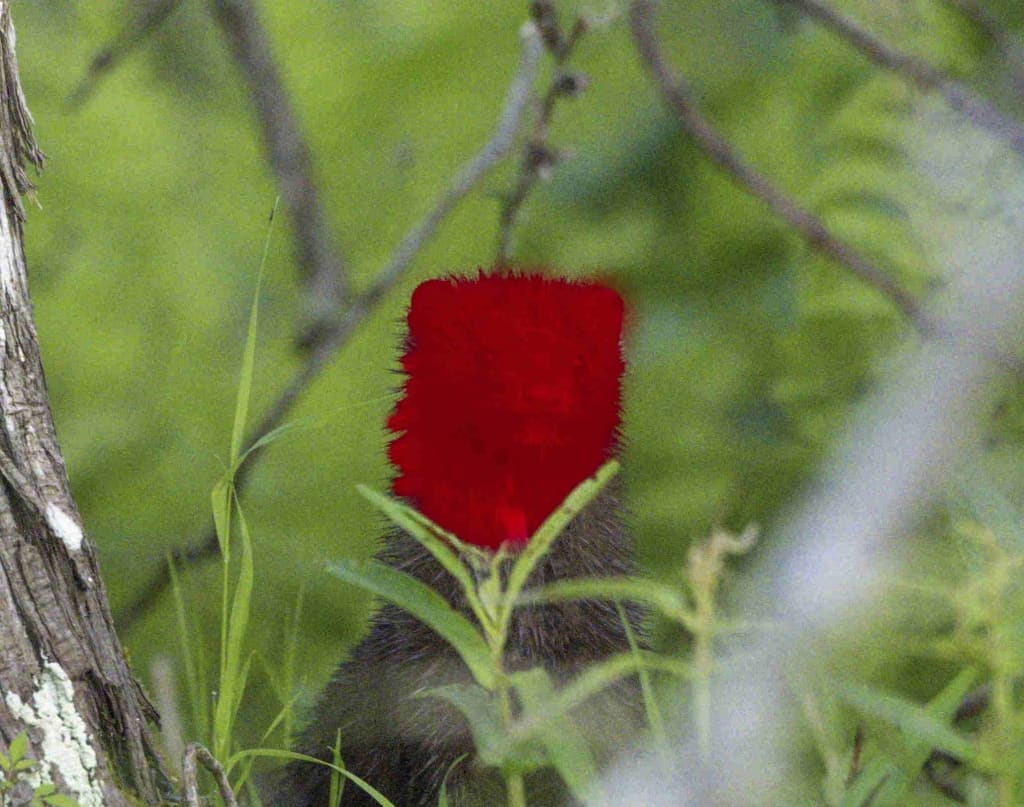
In my typical workflow with my wildlife images I apply denoise masks very selectively. In this image of the mink I chose only to denoise the face and neck. Let’s walk through the steps to perform this action one more time. And yes, if I were editing this image I would also be suppressing the noise in the background.
- Drag or open your image
- Click on the AI Mode Auto button to see the mode the AI selects
- Click on view and comparison view. Select the mode you think looks best
- Click on the Mask button
- Set the zoom to 200%
- Check the box for overlay and add
- Select Edge Aware, Change the size of your brush with radius to the appropriate size of the area you wish to mask
- Start with softness set to 50 and opacity set to 50
- Paint in a mask where you want noise suppression applied
- Adjust the setting sliders according to what is required to suppress the noise and keep the detail
- Once you are satisfied with your denoised image click on apply mask
To draw a mask, you simply click your left mouse button or touchpad, hold it down and brush over the areas of the image where you want the denoising to be applied. You must hold down the mouse button each time you wish to brush and have the mask applied.
Conclusion
Topaz Labs’ Denoise AI is one of the cleaner, easier-to-use denoising software options out there. Unlike most photo editors which just feature a denoiser amongst a laundry list of other tools, Topaz Labs has finessed the art of denoising in Denoise AI. According to them, this is the second denoiser software the company has made, and it really shows.
I believe that even those who are new to editing photos should find that Denoise AI is intuitive and simple to figure out. The features are color-coded, AI auto settings take out all the guesswork, the sliders have numerical values for precision editing, and drawing masks isn’t about putting in hour after painstaking hour since it’s nice and easy in this software.
Even if you’re not ready to buy Topaz Denoise AI yet, using the free trial for a month will let you get familiar with all the ins and outs of removing noise from your photos. If you do decide to buy the software, I recommend, as I always do, the Topaz Utility Bundle.
I hope this workflow guide will help you make the most of Topaz Labs’ Denoise AI.
Topaz Labs does offer a free 30-day trial and you can follow this link to go to Topaz Denoise AI Trial Download directly.
