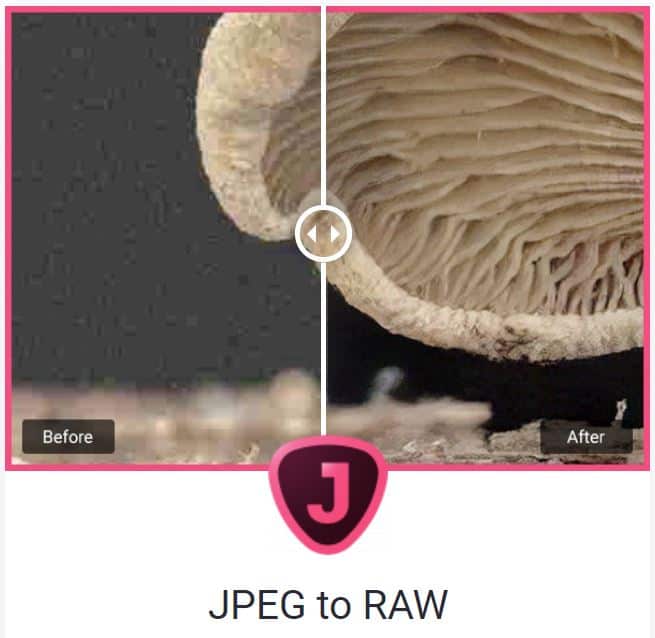
Topaz Labs JPEG to RAW AI was created to allow photographers who shoot in JPEG the ability to edit their images with all of the full functionality that is afforded in Camera Raw for RAW files. This effectively means a JPEG can now be edited as a RAW file would be with absolutely no restrictions on which attributes can be edited.
Here’s a link for those who prefer to go directly to the Topaz JPEG to RAW AI page without reading the review. You can apply Topaz Labs Coupon Code coolwildlife15 to receive an automatic 15% discount on all products.
This is part four of our four part review on the Topaz Labs suite of products that make up the Topaz Utility Bundle. This bundle is the kit that I recommend for all photographers who wish to take their game to the next level. In part one I reviewed Topaz Denoise AI v2.0 which as the name implies is used for minimizing noise created by high ISO settings. The second review was for Topaz Sharpen AI which demonstrated not only sharpening but how slightly out of focus images could be brought back in to focus. Part three of our review focused on Topaz Gigapixel AI and I demonstrated how an image could be enlarged by up to 600% while still preserving and even better the original image quality.
For this final installment I will be taking a look at Topaz JPEG to RAW AI to see whether or not a JPEG really can be edited like a RAW file and what the resulting image looks like.
Why Shoot In JPEG?
There is much debate among photographers regarding whether it is best to shoot in JPEG or RAW. I only shoot in RAW because I want all of the file data that I can get my hands on and I want the flexibility to edit every aspect of my images. I do not want my camera making any of those decisions for me. The way I see it, a RAW file will always produce a superior output cause it has more data to work with than a JPEG file even if it is converted to RAW.
That being said, many photographers prefer to shoot JPEG over RAW and there are valid reasons why they might choose to do so:
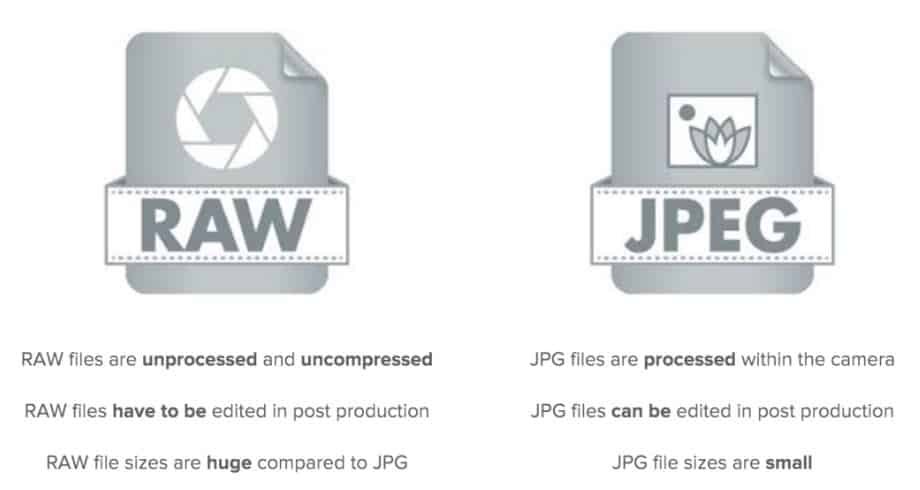
1/ Processing In Camera: With a JPEG format the camera processes the image in camera and there’s no question that the output is much nicer looking straight out of the camera than the RAW image.
2/ File Size: A JPEG is significantly smaller than a RAW file and as such does not take up as much room on physical media which allows you to purchase smaller memory cards and hard drives for image storage.
3/Convenience: JPEG images are ready to be used right out the camera and are supported by a wide range of devices. Sending to social media platforms, printing and viewing is a breeze by comparison to RAW.
4/ Longer Bursts: Another advantage of JPEG files being smaller is that they write to the memory card faster which means you can get more images in a burst allowing you to capture more of the action.
5/ Time: There is no additional time required to process a JPEG however you still have the ability to process the image further if you choose to do so.
When Would You Use JPEG to RAW AI?:
If you chose to shoot JPEG for all of the reasons cited above why on earth would anyone intentionally want to convert their JPEG image to a RAW format file? Or for that matter why would a RAW shooter like me ever have a need to convert a JPEG file. I can think of a few scenario’s where JPEG to RAW AI might have a useful application:
Scenario #1: Many of us started out in photography with 5-8 MP cameras or less and all we shot were JPEG’s. We did so because shooting in RAW and having to edit those files later was a daunting and intimidating task. I have thousands of JPEG images that were shot with my earlier vintage camera’s and there are some real gems in those collections. Just imagine the smile on my face if I could bring those images back to life.
Scenario #2: Those who intentionally shoot in JPEG present day may wish to have the broader capabilities afforded to them by using a RAW editor.
Scenario #3: Shooting with your phone. Occasionally you come across the perfect shot and all you have with you is your phone. Now you can take the shot, then take your compressed JPEG image and convert it in Topaz JPEG to RAW AI.
Bold Claim: The Topaz Labs claim is pretty bold stating that its AI machine-learning enabled software can spin the following magic for users:
- Recover shadow / highlight detail and expand dynamic range
- Expand bit depth from 8-bit to 16-bit, color space from sRGB to ProPhoto
- Remove JPEG compression artifacts
- Fix some common issues caused by small sensors or low camera quality, like noise / chromatic aberration
- Convert the actual file format to DNG (or TIFF)
This list does address most of the short comings of the JPEG format so let’s peel back the covers to see what the JPEG to RAW AI converter is capable of.
To begin this discussion you need to be aware that when you open a native JPEG image it will not open in Camera Raw. As such you are locked in to the elements that were processed in camera and that restricts your ability to edit the image. This issue is exactly the gap that JPEG to RAW AI fills for photographers and there are very few steps in this process which makes the conversion very simple.
Step 1: Open Topaz JPEG to RAW AI. You will be presented with the user interface shown below. You have the option to allow the software to make the suggested settings to the sliders. However I prefer to open the image in manual mode and adjust the sliders myself so I can see the rendering in real time to get the best result.
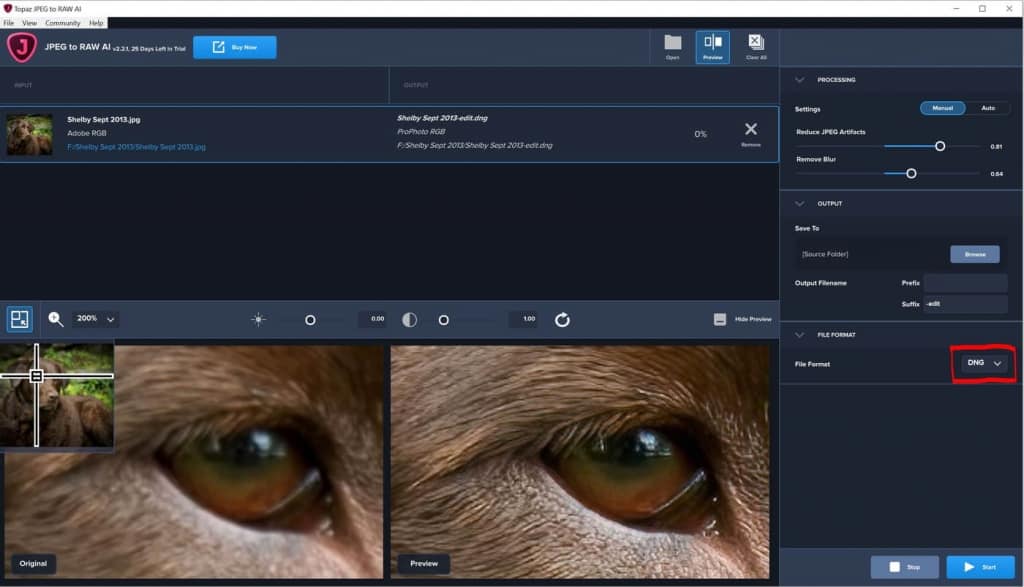
Step 2: There are two adjustable sliders, one to Reduce JPEG Artifacts and a second to Remove Blur. View your image in the 100%/200% frame until you achieve a pleasing result.
Step 3: Choose the folder you wish to save your image to and save it as a .DNG format. You have the option to save the image as a TIF/TIFF however you want to save it as a .DNG (Adobe Digital Negative Raw Image file) if you want to be able to move to Step 4. You can now close Topaz JPEG to RAW AI.
Based on the resulting images it certainly appears that the Topaz Labs claim of expanding dynamic range, bit depth and removing JPEG artifacts has been delivered. The clarity and detail at 200% in the eye and the fur around the eye of my Chocolate Labrador Shelby is significantly enhanced. The texture and clarity being rendered in her nose is nothing short of amazing to me. You can click on each image to enlarge them for further inspection. (You’ll need to use your back button to get back to this page)
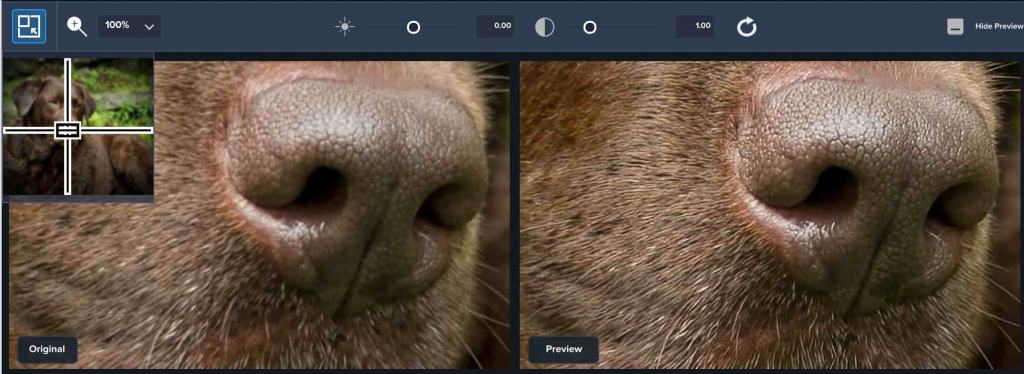
As amazing as the resulting image was from the JPEG to RAW conversion there is one more very exciting step in this process.
Camera Raw Conversion:
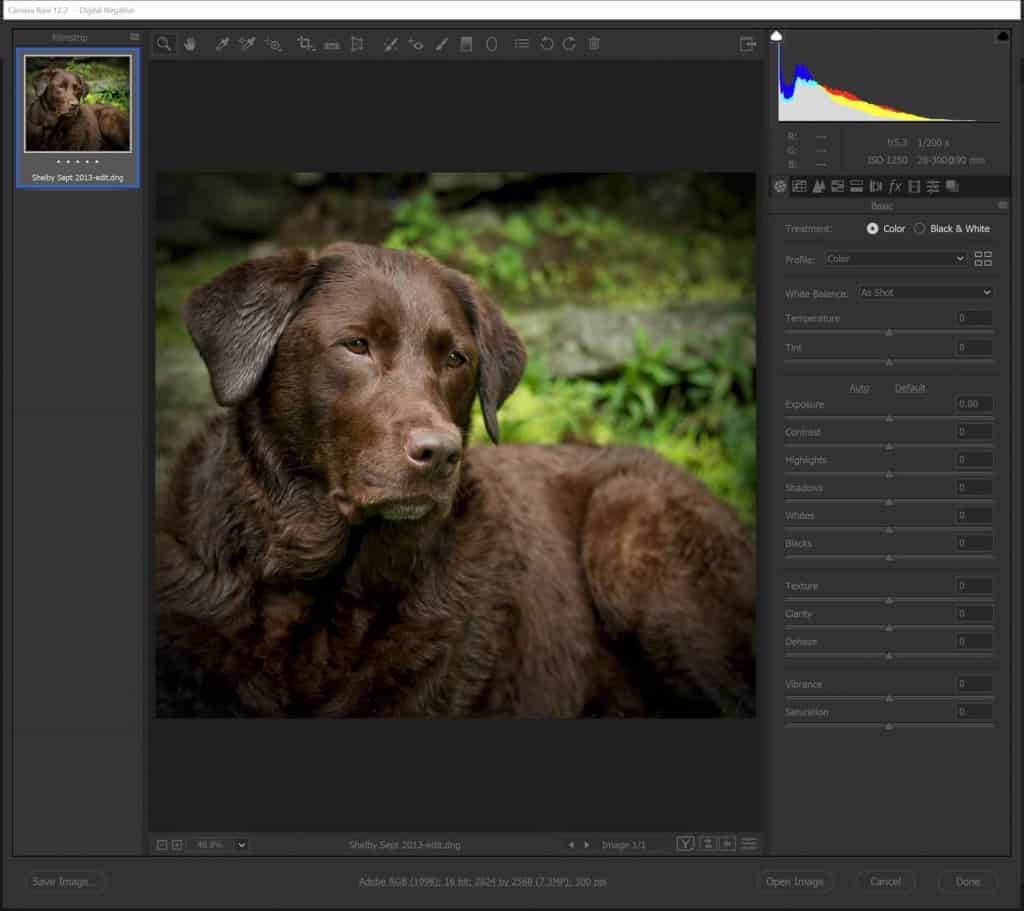
Step 4: Open the DNG file in Camera Raw. (I know it doesn’t sound very exciting now but wait for it)
By converting your JPEG to a DNG file format you now have the exact same editing options as you would had you shot in RAW. To fully appreciate what gain that affords you I need to explain the advantages of shooting in RAW and opening that file in Camera Raw.
1/ Image Quality: Provides the highest level of quality possible due to having greater control in the editing process.
2/ Flexibility: Allows greater flexibility to correct over/under exposed images.
3/ White Balance: More options to adjust white balance. With JPEG’s the white balance is set for you by the camera so you can not adjust it during the edit process.
4/ Brightness: Greater levels of brightness as you can edit beyond the 256 levels of brightness captured in an 8bit JPEG.
5/ Image Detail: Enhanced detail in your images. This will be particularly important when you begin to work with plugins like Topaz Denoise AI and Topaz Sharpen AI. The more image data these tools have to work with the better the output.
Brilliance At Work
Now that you’ve got that DNG file from your JPEG to RAW conversion you can open it in Camera Raw as shown below. You will now have full control over all editing sliders just as you would had you shot the image in RAW. The resulting image after I made my adjustments in Camera Raw and went through my usual workflow including sharpening and noise removal was leaps and bounds beyond the original JPEG image.
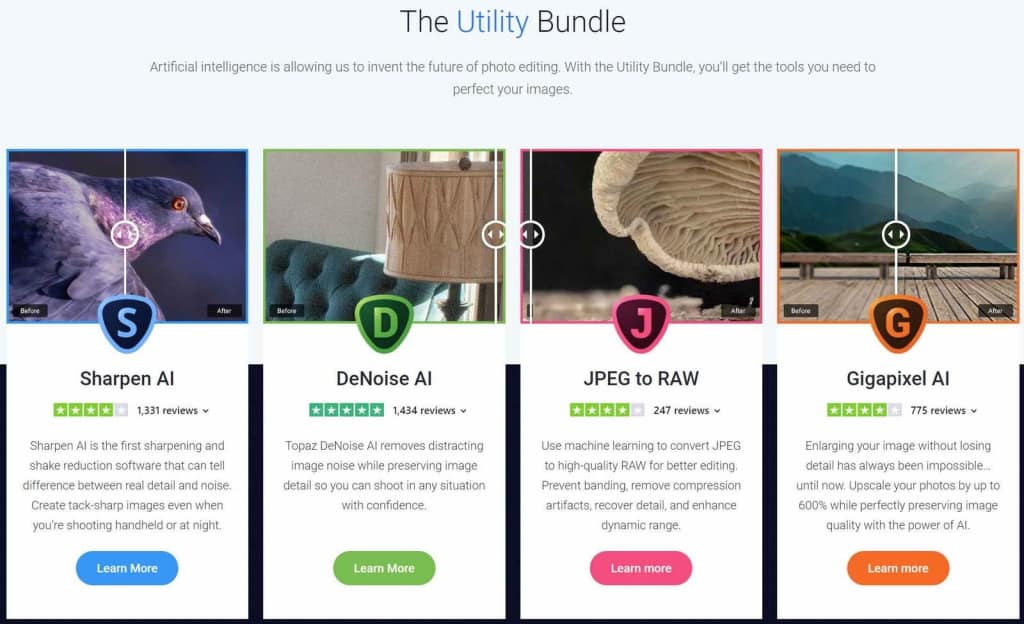
Topaz JPEG to RAW AI is included in the Topaz Utility Bundle which I recommend every photographer has as part of their editing kit. You could purchase each of these products; Topaz JPEG to RAW AI, Topaz Denoise AI v2.0, Topaz Sharpen AI and Topaz Gigapixel AI separately but you’ll save money by purchasing them through Topaz’s Utility Bundle. Trust me, you’ll want them all eventually so you might as well pay a little extra upfront to save a lot on the back end.
Conclusion:
If you shoot in JPEG format or have an archive full of JPEG files from years gone by like I do then JPEG to RAW AI is definitely worth having in your kit. Based on my results there is no question that it will allow you to render the best quality photo that you can extract from a JPEG. The ability to prevent banding, remove compression artifacts, recover detail, and enhance dynamic range are all good reasons to use JPEG to RAW AI. Especially for those special images that you don’t mind spending a little extra time on to make them the best that they can be.
If you shoot RAW, keep shooting RAW is the best advice I can offer. As good as JPEG to RAW AI is you will always be better served by going in to Camera Raw with as much of the original detail and dynamic range as possible. While I did not scientifically do a comparison, I have to believe that the converted DNG will still not be as good as an original RAW format. That may be my bias as a long time RAW shooter so I am open to someone proving me wrong.))
Topaz Labs does offer a free 30-day trial on every product and you can follow this link to go to the Topaz Labs website directly to download whatever product you want to try.
If you decide to buy you can use Coupon Code coolwildlife15 to receive an automatic 15% discount off your purchase of any of the Topaz Labs products.
