Black Rapid Double Camera Strap Review
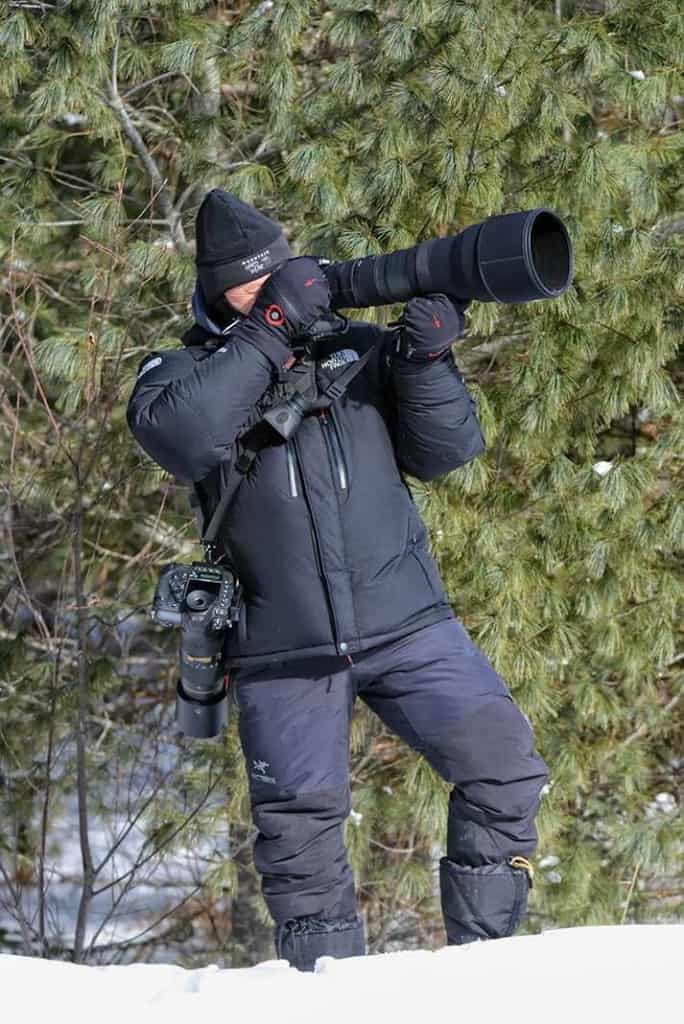
As a wildlife photographer I have two camera’s with me 85% of the time. Usually a long prime lens like the Nikon 600mm mounted on a Jobu gimblal head and[…]
Read the post.
If all this sounds all too familiar read on because I’m about to introduce you to the Cadbury secret of DSLR sensor cleaning.
It’s called the sensor gel stick by Eyelead and it works on virtually any interchangeable lens digital camera – from a compact mirrorless to a full-frame DSLR. And it is as easy as 1-2-3 to use as follows:
1/ Set your camera to “Mirror Lock-Up” mode (with the battery fully charged) to expose the sensor.
2/ Remove the gel stick from its protective case and walk the whole sensor with the gelled side of the stick.
3/ Work a grid pattern across the entire sensor until you’ve covered 100% of it then use the provided sticky adhesive paper (included inside the metal case) to remove the dust from the gel. Once cleaned, the sensor gel stick can be reused over and over again. Repeat this process as many times as necessary to clean your sensor.
4/ Once completed turn off the camera, mount your lens, set it to the smallest aperture like f/32, then take a picture of a white surface. When you analyze the image, there should be no spots left. I use the VisibleDust Sensor Loupe to look inside at the sensor saving the step of taking a picture and easily identifying where the dust spots are so I cheat and only apply the sensor gel stick where the dust is physically located on the sensor.
I will tell you that I was skeptical when I was first saw the sensor gel stick from Eyelead however when I found out this is the product Leica uses in their labs along with many other service centers as part of their professional cleaning I was sold.
And once you’re convinced and you wish to learn how to use the Eyelead sensor gel stick I highly recommend you watch the following video, this is the one that gave me the confidence to try it myself. [youtube]http://photographylife.com/product/sensor-gel-stick[/youtube]
I’ve used the Eyelead gel stick now on three of my cameras and in all three cases it worked beautifully. On my D3s I had to take two or three passes at a few tough spots but in the end it left my sensor dust free. I’m sure there may still be a need at some point for a really tough bit of baked on dust to require the old wet swab so I am keeping them around just in case.
My new DSLR sensor cleaning protocol consists of the blower brush first followed by the sensor gel stick and that’s it – Easy Peasy – Lemon Squeezy. 
As a wildlife photographer I have two camera’s with me 85% of the time. Usually a long prime lens like the Nikon 600mm mounted on a Jobu gimblal head and[…]
Read the post.If you own an iPad, iPhone or iPod Touch and you have a need to control your Nikon or Canon DSLR remotely the CamRanger may just be exactly what you’re looking[…]
Read the post.