Best Photoshop Course for Wildlife Photographers
Ray Hennessy’s Photoshop Course for Wildlife Photographers teaches you how to transform your RAW images with professional editing techniques. Developed from over 25 years of experience as a wildlife photographer and certified Adobe Photoshop Instructor.
If you’re a wildlife photographer looking to elevate your edits to a professional level, then the course offered by Ray Hennessy is the definitive training you need. In this post I will review the course so you can conclude for yourself that this is the best Photoshop course for wildlife photographers and why you should invest in it now.
Black Friday Sale
Ray just launched this new Photoshop course for Wildlife Photographers on November 20th, 2025 so it’s the latest and greatest using the newest version of Photoshop.
For a limited time Ray’s course is on sale for Black Friday, regularly priced at $497 USD discounted to $347 USD, that’s $150 off.
Meet Your Instructor
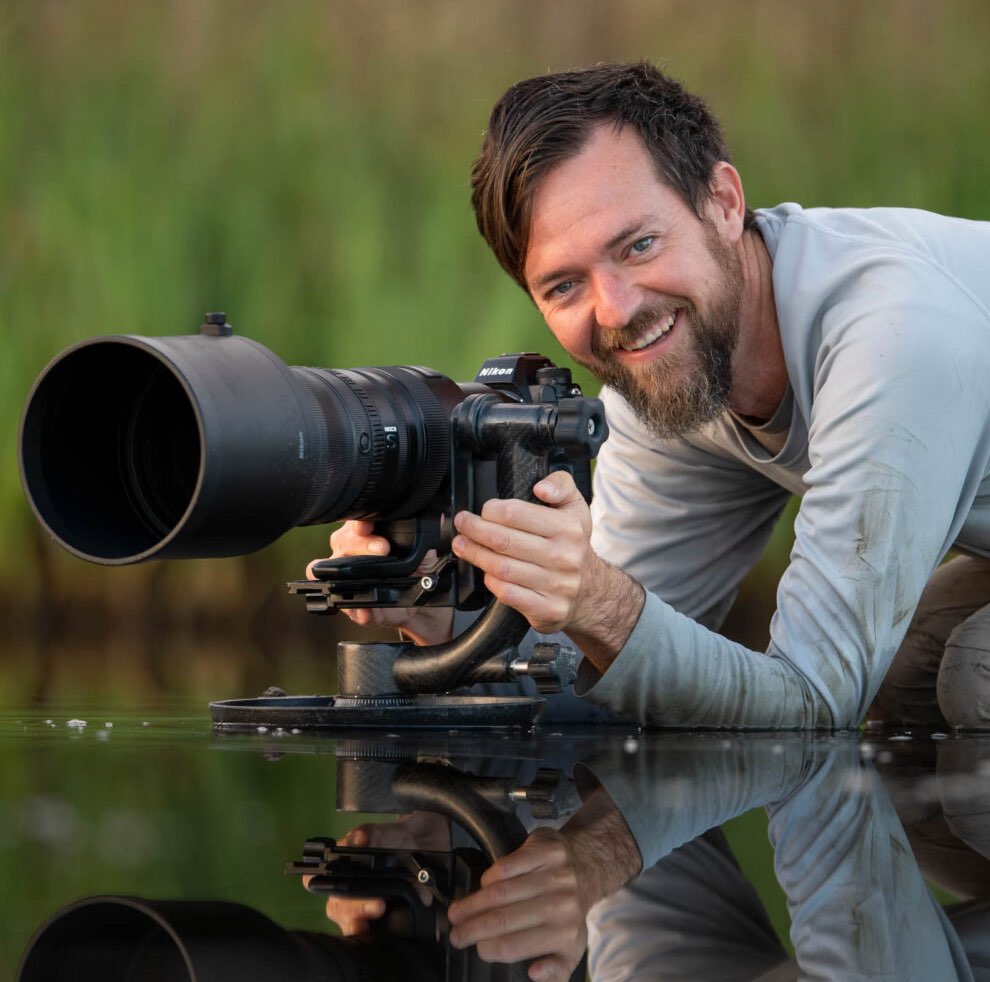
Ray Hennessy brings over 25 years of professional experience with Adobe Photoshop, and has been a certified instructor since Photoshop v5.5 launched in 1999. His background speaks to deep expertise, particularly in the context of wildlife photography editing.
- He developed a non‑destructive workflow that he uses on every image he prints or shares publicly.
- Because he’s worked in the field for decades, you benefit from real‑world solutions tailored to wildlife images — not generic Photoshop tutorials.
- That credibility matters: you’re learning from someone who actually does this work — not someone teaching Photoshop in an abstract studio with no wildlife context.
What Participants Will Learn
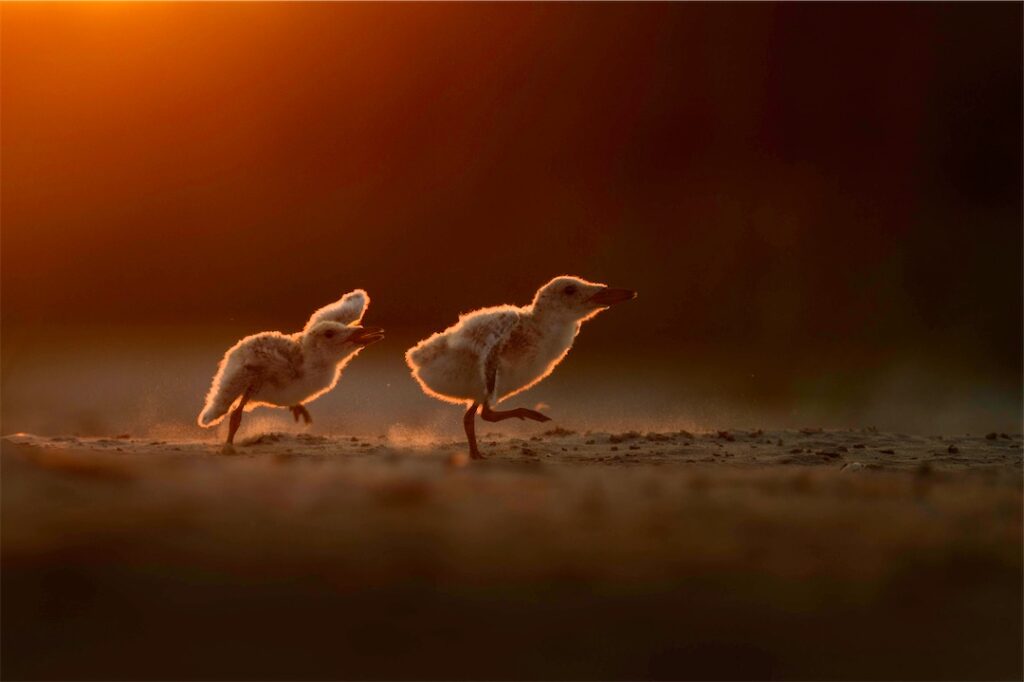
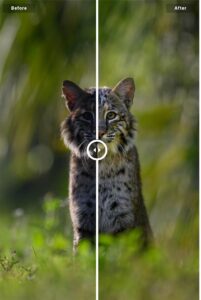
By the time you’re done taking Ray’s Photoshop course for wildlife photographers you’ll be producing images just like the before and after shots shown below.

This is not a superficial course. It’s a full-blown masterclass: 12 hours of video content across 65 modules.
- Develop a confident RAW‑processing workflow: exposure, white balance, contrast, curves, colour adjustments, sharpening, noise reduction.
- Work with the Photoshop tools that actually matter for wildlife photography: accurate selections, dependable masking, targeted brushwork, smart cleanup, gentle gradients.
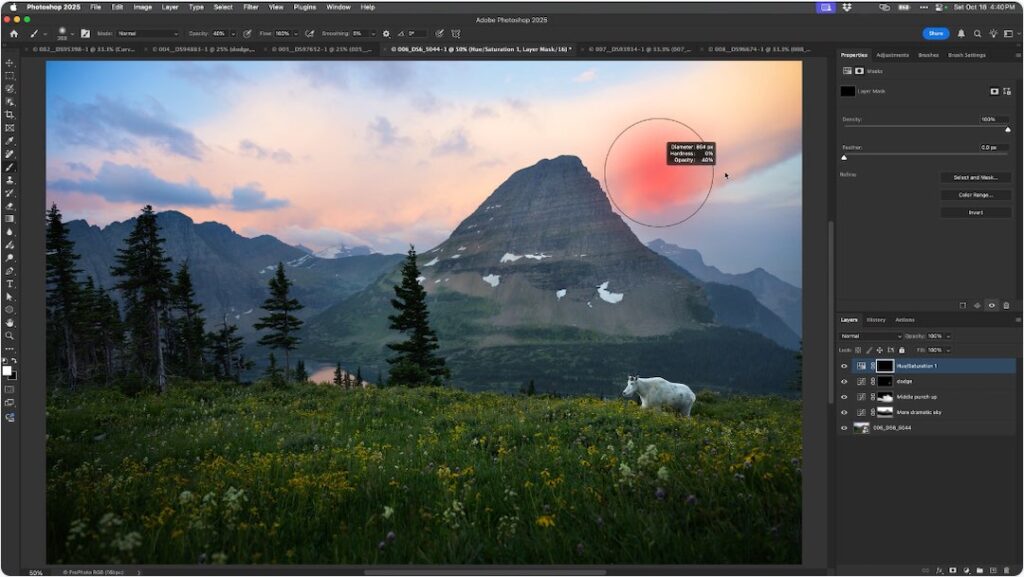
- Use layers and masks with ease and control: learn how to lighten, darken, adjust colour and guide the viewer’s eye without touching the original RAW file.
- See complete wildlife edits from start to finish: challenging lighting, back‑lit subjects, small animals in big scenes.
- Sharpen and reduce noise the right way: a measured, thoughtful approach so your images stay clean and crisp without artefacts.
- Prepare your images for web or print with confidence: correct sizing/export, formats, master files you can revisit.
- Explore optional techniques for creative control: multiple RAW versions via Smart Objects, under‑exposed images, black‑and‑white wildlife, stitching panoramas, graphics‑tablet brush work.
- Plus an additional module with gear and software discounts for you to take advantage of.
Full Module Outline
Modules 1–7: Getting Started with Photoshop for Wildlife Photographers
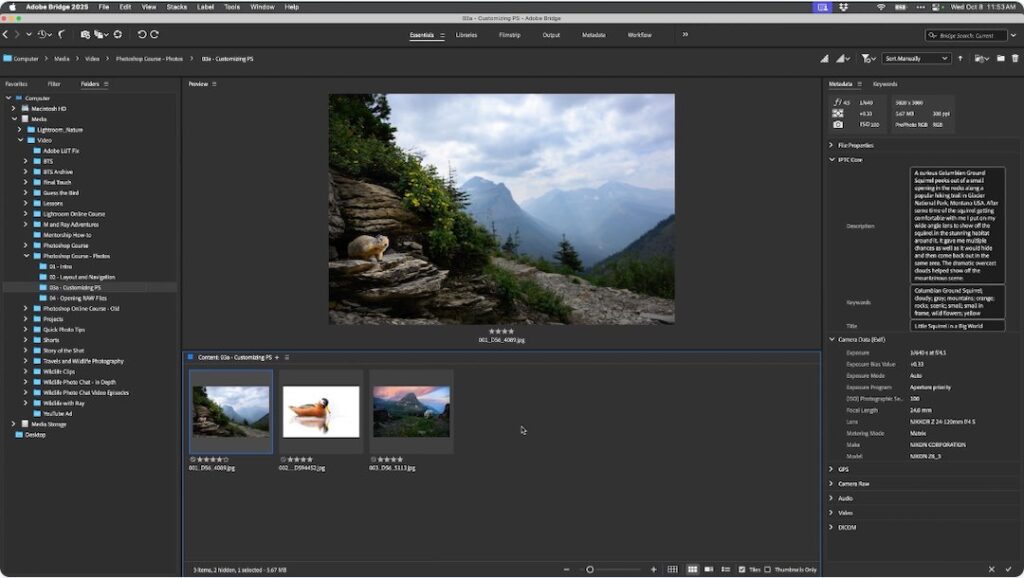
Set up Photoshop so it feels clean, simple, and familiar. Learn where everything lives, how to open and review your images, and how to organize and back them up with a system you can trust long term.
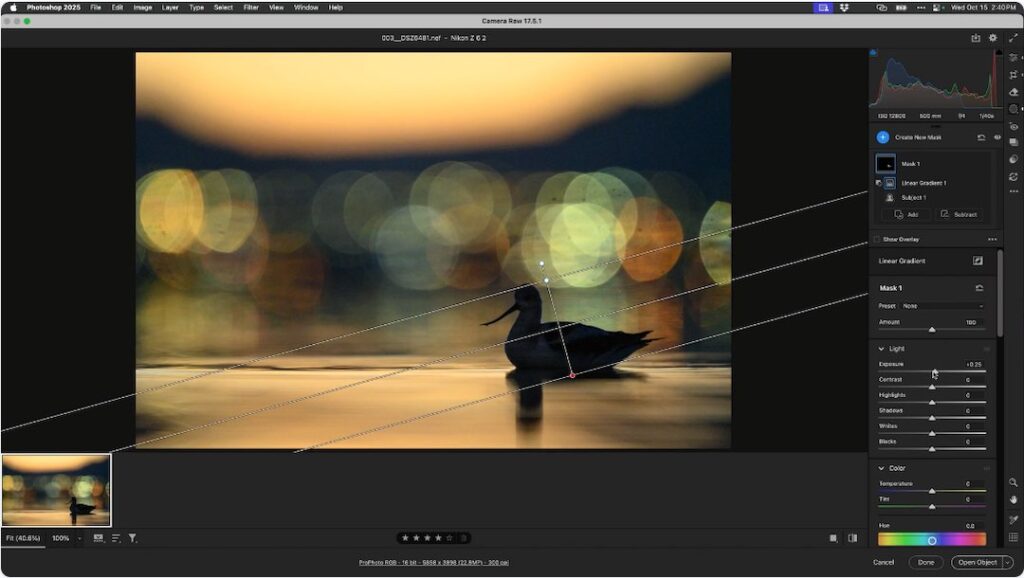
Modules 8–18: Camera Raw – Your Essential First Step
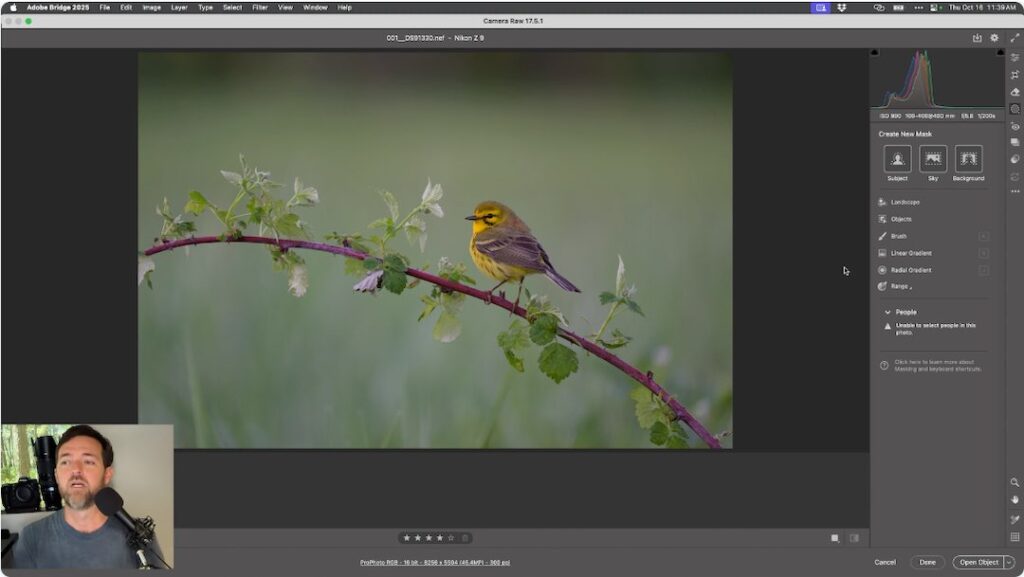
Begin every edit with a clear workflow in Camera Raw. Balance light, correct colour, recover detail, and prepare a clean, natural-looking file before moving into Photoshop.
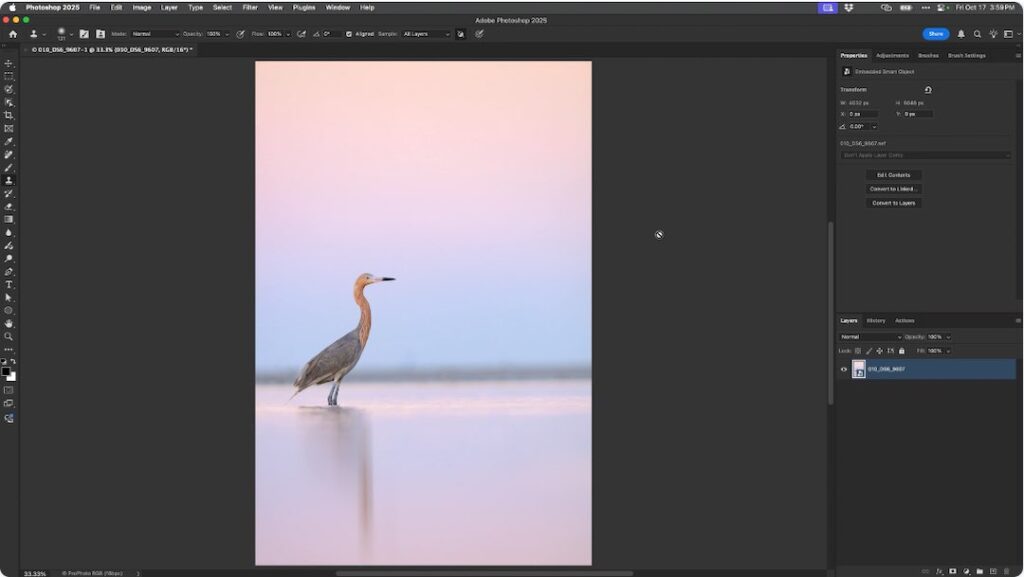
Modules 19–30: Photoshop Interface, Navigation, and Essential Tools
Move from Camera Raw into Photoshop with confidence. Learn to size, save, and prepare images, then work with the essential tools wildlife photographers rely on.
Modules 31–43: Cleanup and Retouching Tools
Crop with purpose, refine your composition, and remove distractions using the Remove tool, Spot Healing Brush, Clone Stamp, and Generative Fill. All changes are fully reversible using separate layers.
Modules 44–48: Layers, Masks, and Non-Destructive Editing
Learn layers, masks, adjustment layers, and smart objects. Apply adjustments only where you want and keep every step reversible.
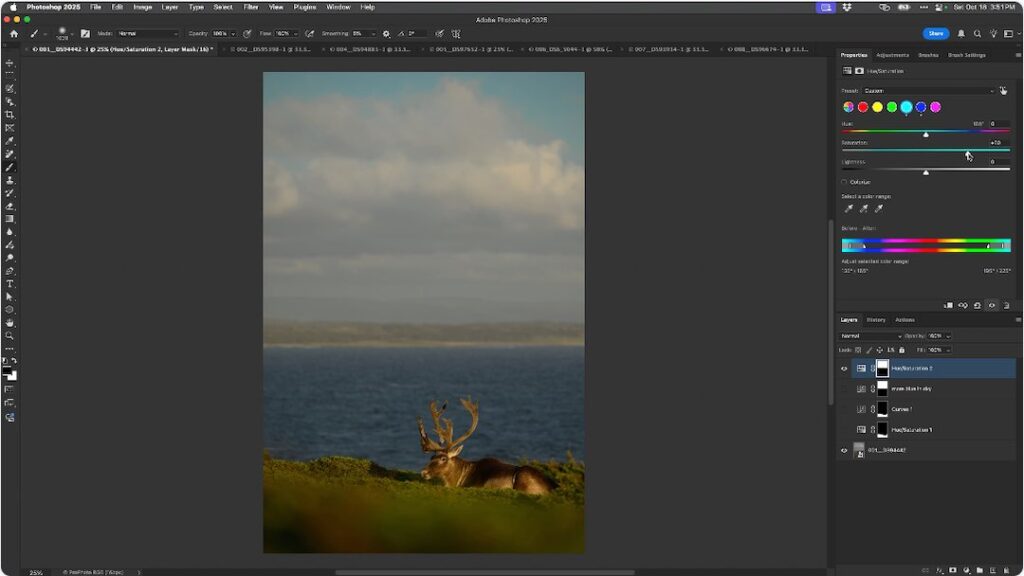
Modules 49–53: Curves and Hue/Saturation — The Only Two Adjustments You Really Need

Use Curves and Hue/Saturation for subtle color and light adjustments. Mask selectively to guide the viewer’s eye with precision.
Modules 51–53 (continued): Selective Dodge and Burn
Create clean, targeted dodge and burn layers to shape light naturally. Enhance the subject without changing image character.
Modules 54–55: One-Click Setups & RAW Blending
Duplicate smart objects, develop each differently in Camera Raw, and blend with masks — multiple RAW interpretations non-destructively.
Modules 56–60: Real-World Full Edits
Follow complete start-to-finish edits on challenging wildlife images. Ray provides you with the RAW images he will be processing during the course so you can follow along on with him step by step, pausing the video as needed. When you complete the course. you’ll have the necessary skills to apply the same approach to your own photographs with confidence.
Bonus Modules
- Module 61: Ray’s Favorite Keyboard Shortcuts
- Module 62: Converting a Photo to Black and White
- Module 63: Using and Customizing a Graphics Tablet
- Module 64: Stitching Together Wildlife Photos
- Module 65: Exposing for Your Final Edit
- Module 66: Gear and Software Discounts
Total: 12 Hours | 66 Modules
Why This Course Is the Best Choice
This course is tailored for wildlife photographers and provides a non-destructive workflow, real-world start-to-finish edits, lifetime access with bonus modules, and a proven instructor with 25+ years experience.
Who This Course Is For
- You want your wildlife photos to have that “wow” factor polished look without appearing over-edited. Your captures are strong in the field, but they lack the depth and impact they deserve on screen—this course shows you how to give them that professional finish.
- You learn best when things are explained clearly and build one step at a time. The course moves logically from opening a raw file in Camera Raw through layers, masks, adjustment layers, and real-world edits, so everything makes sense as you go.
- You’re cautious about permanently altering your originals. The entire workflow is 100 % non-destructive using smart objects, adjustment layers, and masks, so you can always revisit or change any decision without ever touching the original raw file.
- You want a professional, field-proven Photoshop workflow that is straightforward and repeatable for consistent, natural results. Ray shares the exact non-destructive system he has used for over 25 years on every single image he prints or shares publicly.
Final Thoughts
If you’re searching for the best Photoshop course for wildlife photographers, this is it. Ray Hennessy’s instruction and field-specific techniques will help you edit confidently, consistently, and creatively. Choose the course built for wildlife photographers, by a wildlife-photographer-instructor who knows exactly how to convert RAW captures into standout final images.